I promised a look back at the performance of both the Ottoman based infantry force and the Cossack Force which was used in the Skull Mound game.
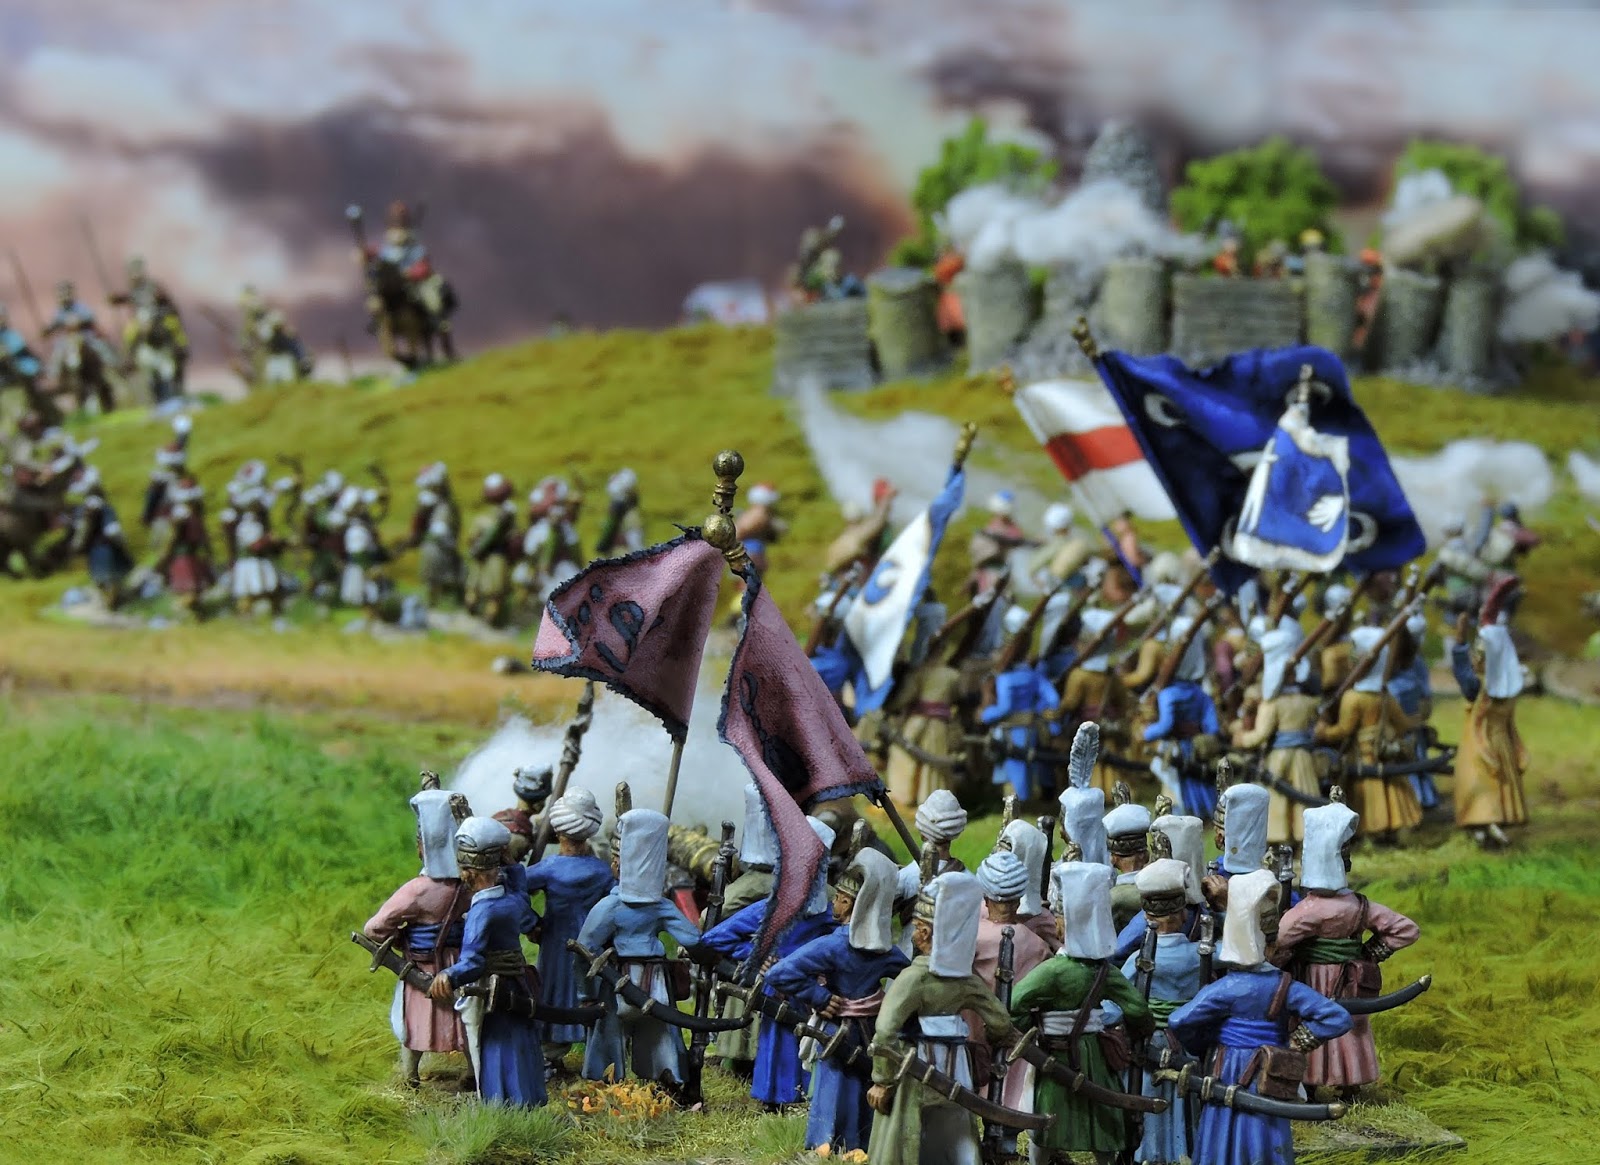
Let's deal with the Ottomans first. We beefed up the quality of the this force in order to achieve a points match with the enemy. This resulted in two Guard quality units - something that rarely if ever happens in the Western theatre but these ratings are relative to their opponents in this battle and not absolute. So, comparing one eight and one twelve model Janissary formation to their opponents, the quality differential between the Raw Ukrainians and the grizzled Turks justified the Guard rating. The other Janissary units received the Veteran rating which was also generous but for the same reason. The irregular infantry were Drilled making the overall quality of the Ottoman Foot vastly superior. This was compounded by providing all Janissaries with flintlocks and providing three field guns.
The Cossacks on paper appeared to be a pushover - six units of matchlock armed Raw, loose order infantry, two light guns, eleven squadrons of Tribal cavalry. How could this force possibly stand up to a highly trained, numerous Ottoman infantry force bristling with muskets? The defensive positions of course would be helpful but at that point we didn't know how much.
The skilful rating for the Turkish commander should also have given the attackers the edge however the game was so evenly balanced in the end that all of the above seemed cancelled out, but by what?
Listing the factors which could have produced the closeness of the game in no particular order: The even points balance (the Cossacks had roughly 2 or 3 points more than the Ottomans), the terrain and both defensive positions - hard cover and DEFEND orders allowed both positions manned by Raw troops to hang on - one permanently despite 60% losses, The movement allowance balance over the 20+ turns, the troop mix and armament relative to the terrain and each other and finally tactics and generalship.
Dealing with those one by one. The points differential was not I believe a significant factor although it may have had some small influence in making troops available at certain points of the game.

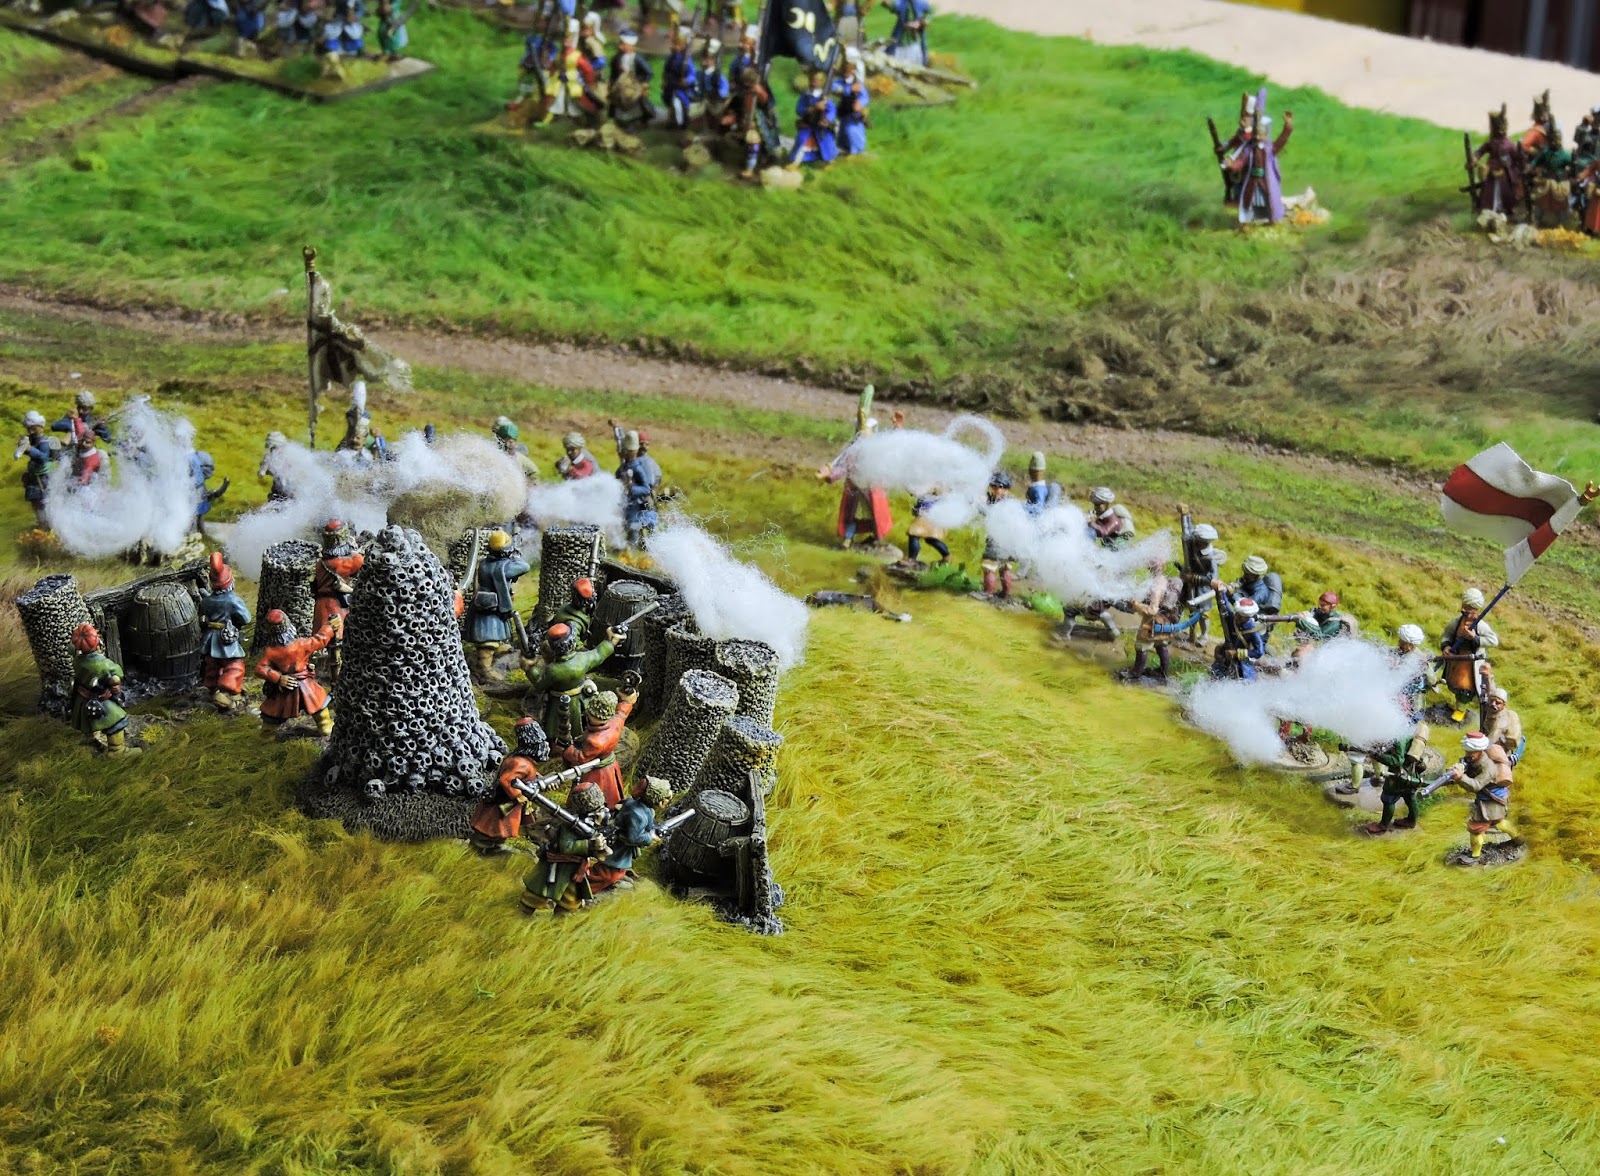
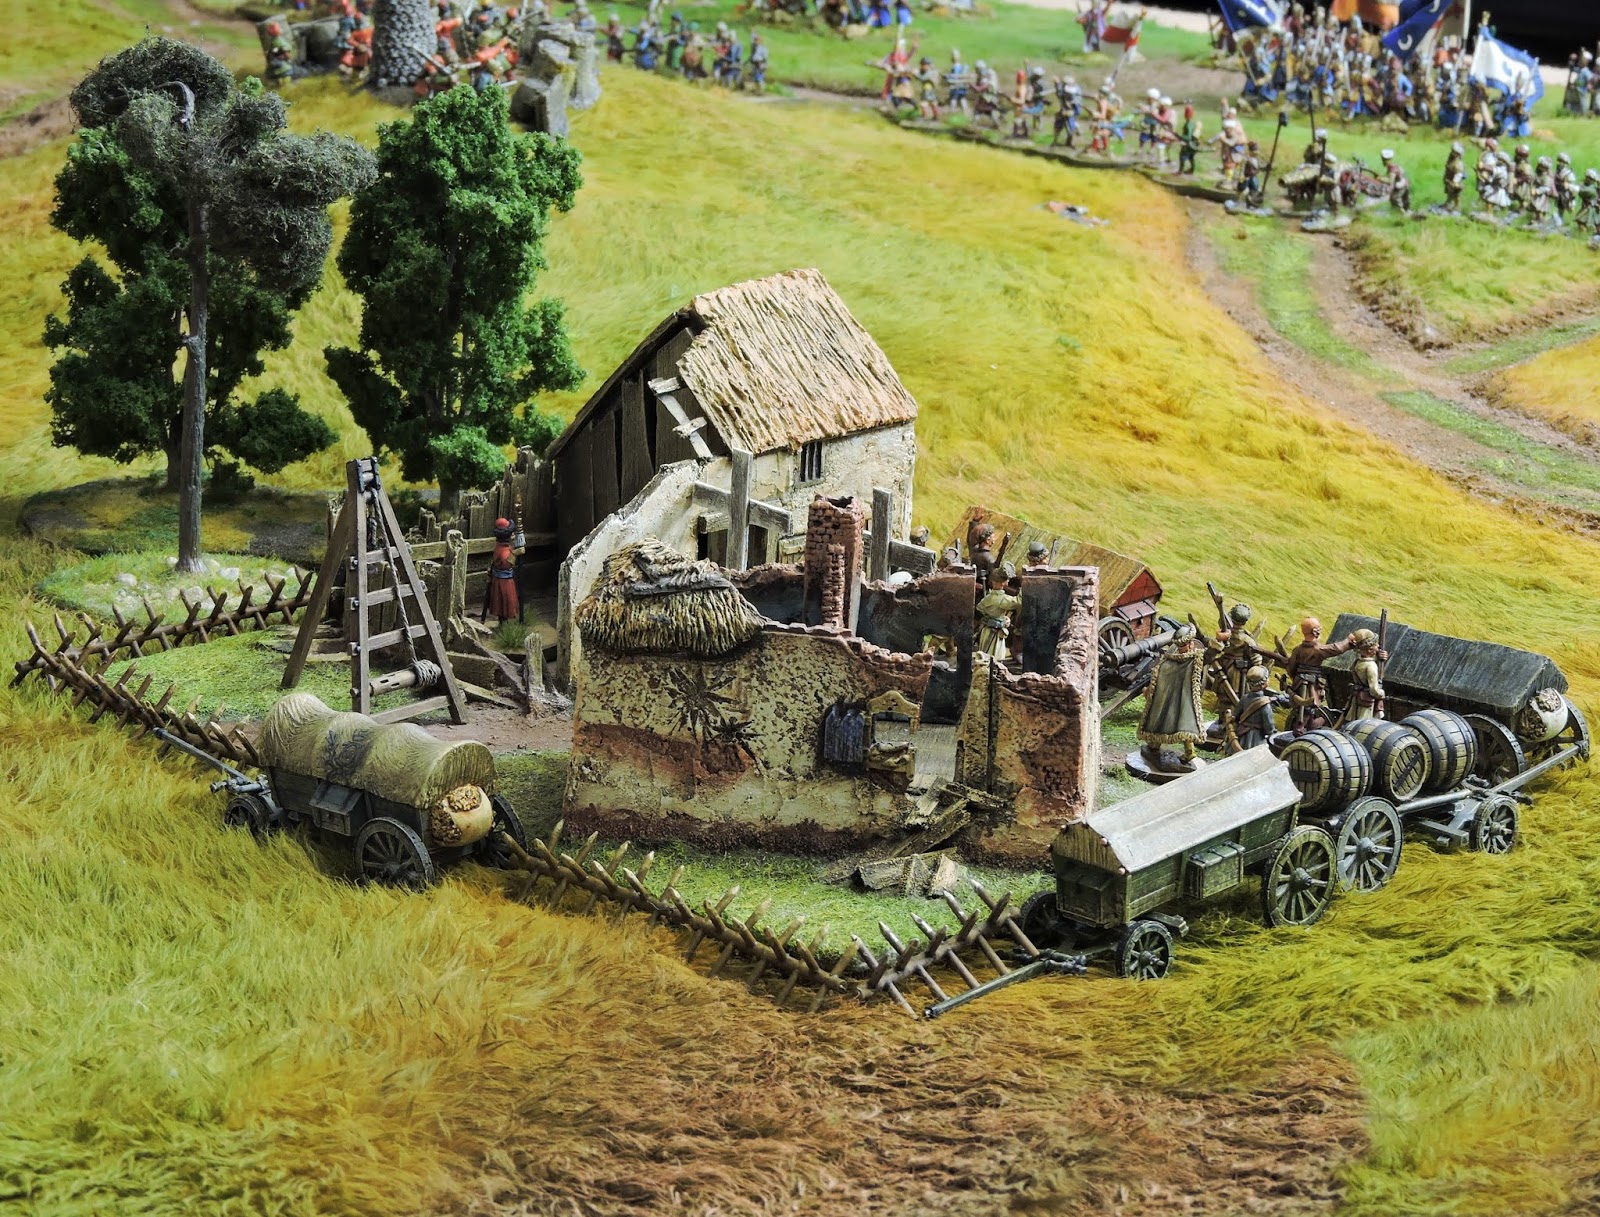
The terrain did have an influence. Skull Mound was a gentle hill but did slow the Ottomans down. Combining the uphill/hard cover situation with my decision not to storm it but wear it down with the combined fire of four units soaked up a lot of time. Raw troops are far more robust under BLB3 and although the garrison caused only about four or five casualties over around eight turns, it survived numerous morale checks. This I feel was very realistic in that the position did not devastate the attacking force but held it up for considerable time. A couple of parallels could be the intention of the Turkish redoubts at Balaklava and the Russian redoubts at Poltava. The village garrison proved equally stubborn - I attempted to get three Veteran Janissary ortas shooting at it simultaneously but this never worked out in practice as Cossack squadrons kept appearing from different directions forcing me to reform, about face, shoot at them or fight them. The village survived a la Skull Mound and did not crumble on its morale checks unlike the mound garrison which finally retreated after taking 50% losses. In conclusion, the anchor positions of hard cover with Raw garrisons and DEFEND orders were a significant contributor to the outcome.
The movement differential ie Competent Cossack general, Skilful Ottoman general did not matter too much either. The Cossacks were fighting a defensive battle and did not need a big movement allowance every turn. The Ottomans were guaranteed some movement every turn and most troops managed to get to where they were needed. So I also believe this was not decisive as a contributing factor to the outcome.
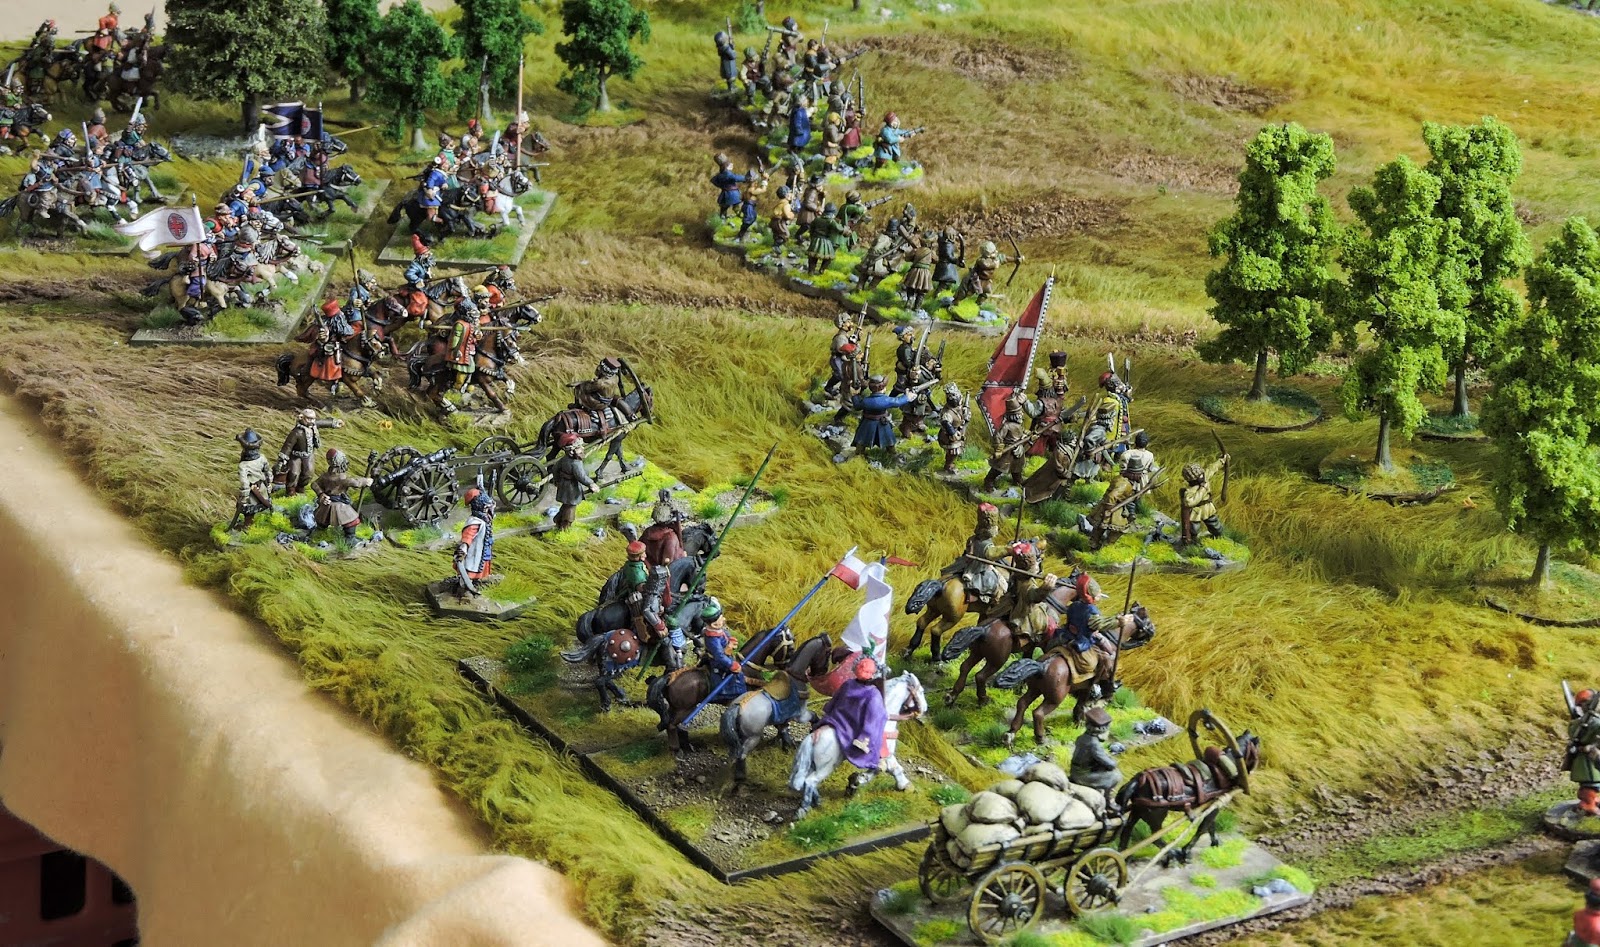
The troop mix and armament was significant but perhaps not in the way you may first imagine. The volley firing, flintlock armed, column-enabled Janissaries were not the battle winning element. The completely lance armed, Drilled quality Cossack Tribal cavalry with the ability to change direction and move or vice versa was the decisive element in the game. Eleven squadrons of fast moving, agile and good quality cavalry were the key to Cossack survival and almost won them the battle. They put charges in from rear, flank and front. They managed to break five Janissary units including the two Guard ortas. Were they too powerful? Dave and I agreed on some final tweaks to the conditions attached to them in With Talon and Claw just to re-balance a little.

Finally, what about tactics? Well, I had a plan! Not inspired but clear. Use firepower to wear the enemy down and then push towards the village with my central infantry force. Dave played a good defence. We both had good and bad luck. The result was fair. It was a draw. Both armies were wrecked with no hope of further offensive action before night.
The right result.