Where do we start?
There were valiant regiments on both sides and there were regiments who should have known better!
We had generals and brigadiers who gave their all and more. There were great men who did not live up to their reputations and were great men no more.
Here is a pick list of the Heroes and Zeros from Bloody Aughrim
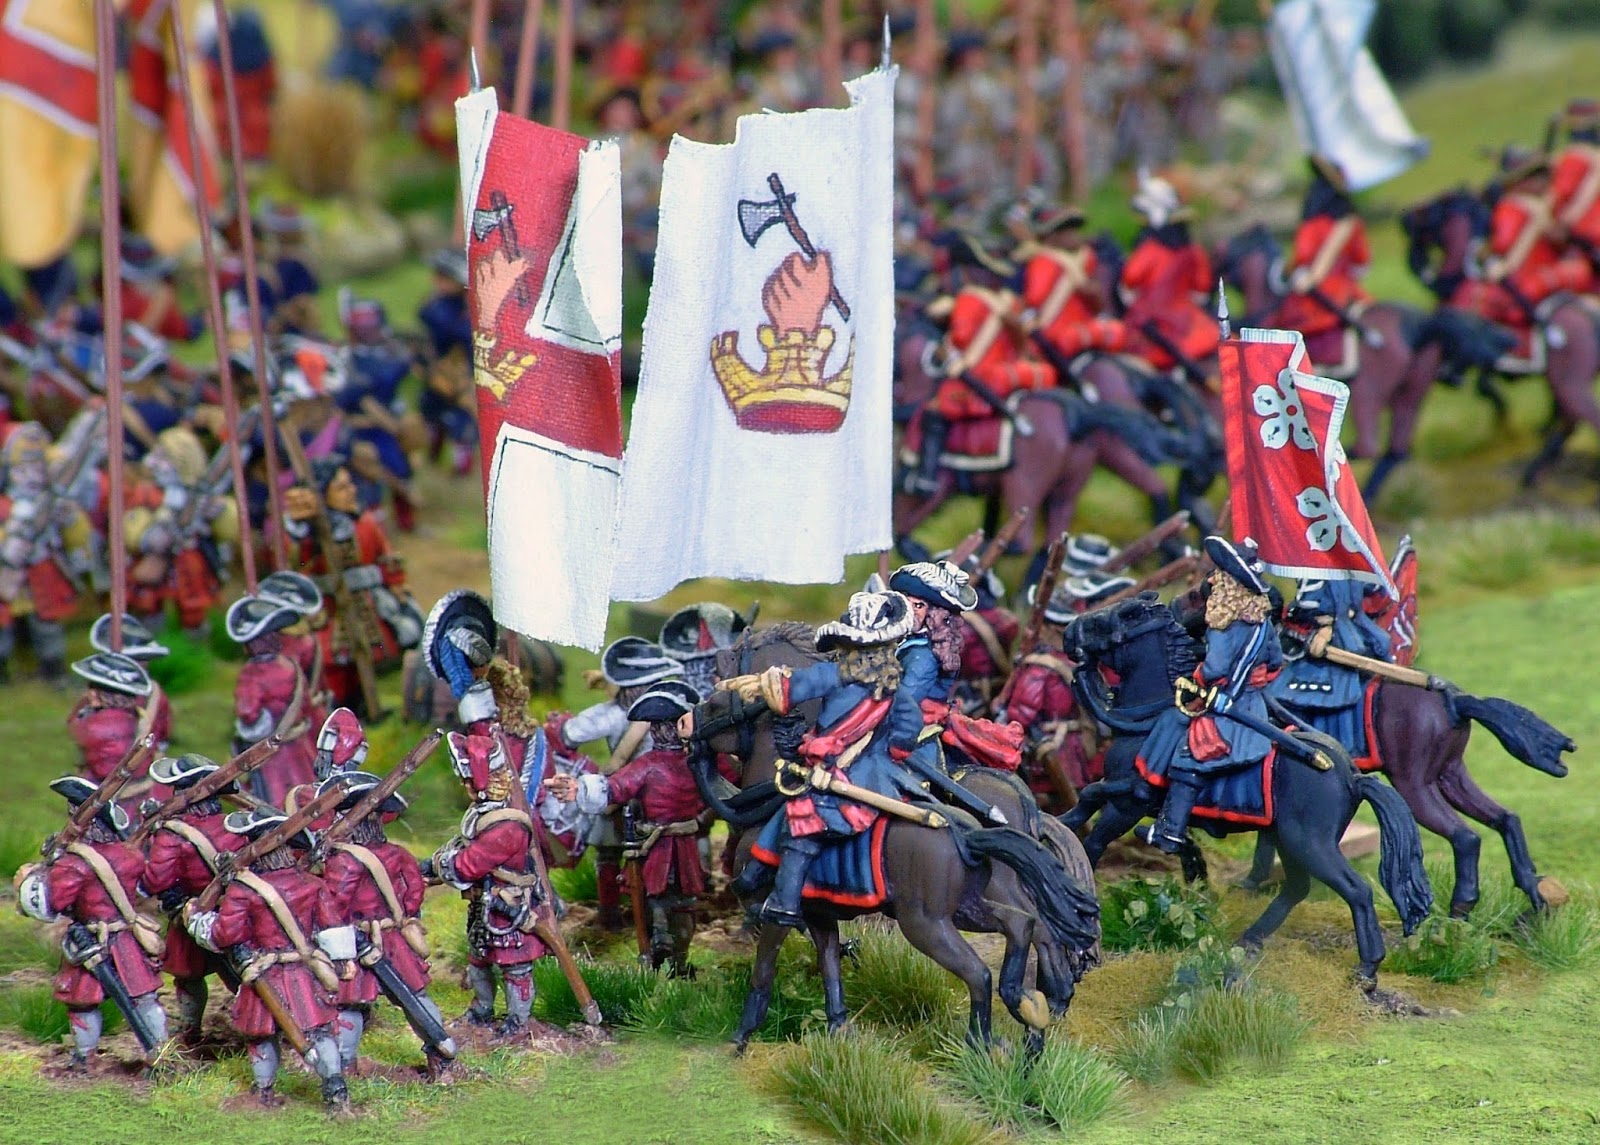 |
| Abercorn's capture the colours of Brewer's Regiment |
This strong regiment was at the heart of the Jacobite defence on the northern(left) flank. They operated as three separate squadrons which between them put in 5 charges. The first squadron broke, destroyed and captured the colours of Brewer's Regiment after the Englishmen had repulsed a charge from Galmoy's Regiment. The 2nd squadron charged and destroyed the Royal Fuzileers cutting them down to a man. The 3rd squadron fought two squadrons of Oxford's Blews repeatedly at the causeway beating them off twice until they themselves were wiped out. Around half of the 2nd squadron were still active on the flank as the sun set. TOTAL HEROES
 |
| Pierce Butler's men ride to glory and Hamilton's Regt go down |
Lord Galmoy's Regiment
Galmoy's defended the left centre south of Aughrim village. Their glory moment came when the crashed into and flattened Hamilton's Regiment of Foot mercilessly cutting the Ulstermen down. A second charge into Brewer's Regiment was repulsed with heavy loss. Part of the 2nd squadronwas active until very late in the battle. TOTAL HEROES
 |
| Run Rabbit run! Kilmallock's chase the Earl's men to an early Bath! |
Kilmallock's Horse caused mayhem to the enemy. They performed five charges and were active for an extended period of time from midway through the battle until the dying moments. Their 1st squadron chased off the Earl of Bath's Regiment. The 2nd squadron rode down and destroyed Stuaert's Regiment of Foot.A desperate charge late in the battle routed Wolseley's famed Enniskillen men and perhaps saved the flank. At their head, Pierce Butler led a final sacrificial charge which destroyed the remnants of the regiment but stymied another valiant effort from the enemy right wing. TOTAL HEROES
 |
| St Ruhe watches the Guards volley Langston's |
Mention must be made of the King's Foot Guards who endured hours of bombardment from Ginkel's positional guns without being able to fire a shot. Casualties were so heavy the two battalions had redeploy several times to try and gain respite from the pounding. A brave advance by the 2nd battalion against Bath's Regiment was driven back by musketry and cannon fire. St Ruhe himself steadied the Guards. By the time the 2nd Battalion was able to deliver its first volley around 41 turns of the game had passed and they had sustained 60% losses. Their first fire, a devastating close range volley at +15 factor shredded Langston's victorious cavalry who had just destroyed Lord Gormanston's Regiment less than 30 paces in front of St Ruhe himself! The Guards saved the commander without a doubt. The 1st battalion with 80% losses could take no more and left the field just as darkness fell. DOGGED AND DETERMINED
 |
| Lord Creagh addresses his regiment before the battle |
Despite being armed only with pikes and being rated as Recruits, Creagh's men performed mightily. In the front line on Kilcommodan Hill they endured the wrath of Ginkel's heavy artillery for hours passing test after test. In the desperate climactic stage of the battle they sacrificed themselves by attacking down Kilcommodan Hill into the teeth of Kirke's and Erle's Regiments. At that point they themselves had sustained 66% losses. They broke under the fire but not before seeing the enemy line disintegrate as both Erle's and Meath's Regiments fled. This was the final act and so they performed the last charge of the day. Recruits no more! TRUE GRIT
 |
| Grace's march off to reinforce the northern flank |
Grace's performed two great acts in the battle. Despite their inexperience, a devastating volley threw back the Dutch Regiment Brandenburg who were ascending the slope of Kilcommodan Hill in the centre of the line late in the morning. They stood for awhile but were moved with Lord Louth's Regiment to shore up the left wing late in the battle. Here, they also delivered a timely volley which broke up a cavalry charge by Langston's disorganised squadrons. COOL UNDER PRESSURE
 |
| O'Brien's fight till the last (right of shot) |
A field gun commanded by Captain O'Brien did magnificent work most of the day until the gunners were all killed by vengeful counter battery fire from Dutch guns on the lower slopes of Kilcommodan Hill. O'Brien's gun singularly did more damage to the Huguenot, Dutch and Danish infantry than all of the musketry of the entire Jacobite right wing. These civilians died by their gun in the early evening.TOTAL HEROES.
 |
| Lord Dongan's Defend Attibrassil bridge |
 |
| Dillon's finally break and are cut down by the Gard te Paard |
The battalion had the unenviable job of defending the approach from the Attibrassil bridge. The withstood two charges from the Gardes te Paard before breaking under the third attempt. No shame for theses fine fellows! FULL OF FIGHT
SPECIAL MENTION: The detachments of commanded shot who lined the hedgerows to the front of Kilcommodan Hill did much to break up the rhythm of the Williamite attack. One particular detachment on the southern end of the hill continued to pour fire into the enemy despite being surrounded and with many enemy units between them and the rest of their army. They did not run or surrender but went down fighting.
 |
| Fighting till the end.. commanded shot harass the Huguenots |
On the Jacobite side there were relatively few villains. The chief bad guy was of course Patrick Sarsfield who, having been shot at leading the Life Guards in a late charge turned and fled. He deserted his army in the very moment of their victory to a huge wave of boos and hisses!
As he galloped from the field Sarsfield took with him Simon Lutterell's Regiment of Horse who whilst themselves fresh and of good quality simply turned tail and left the field with their brigade commander. What a bunch!