 |
| The Battle of Aughrim |
| From Kilcommodan Hill looking ENE towards Mackay's positions |
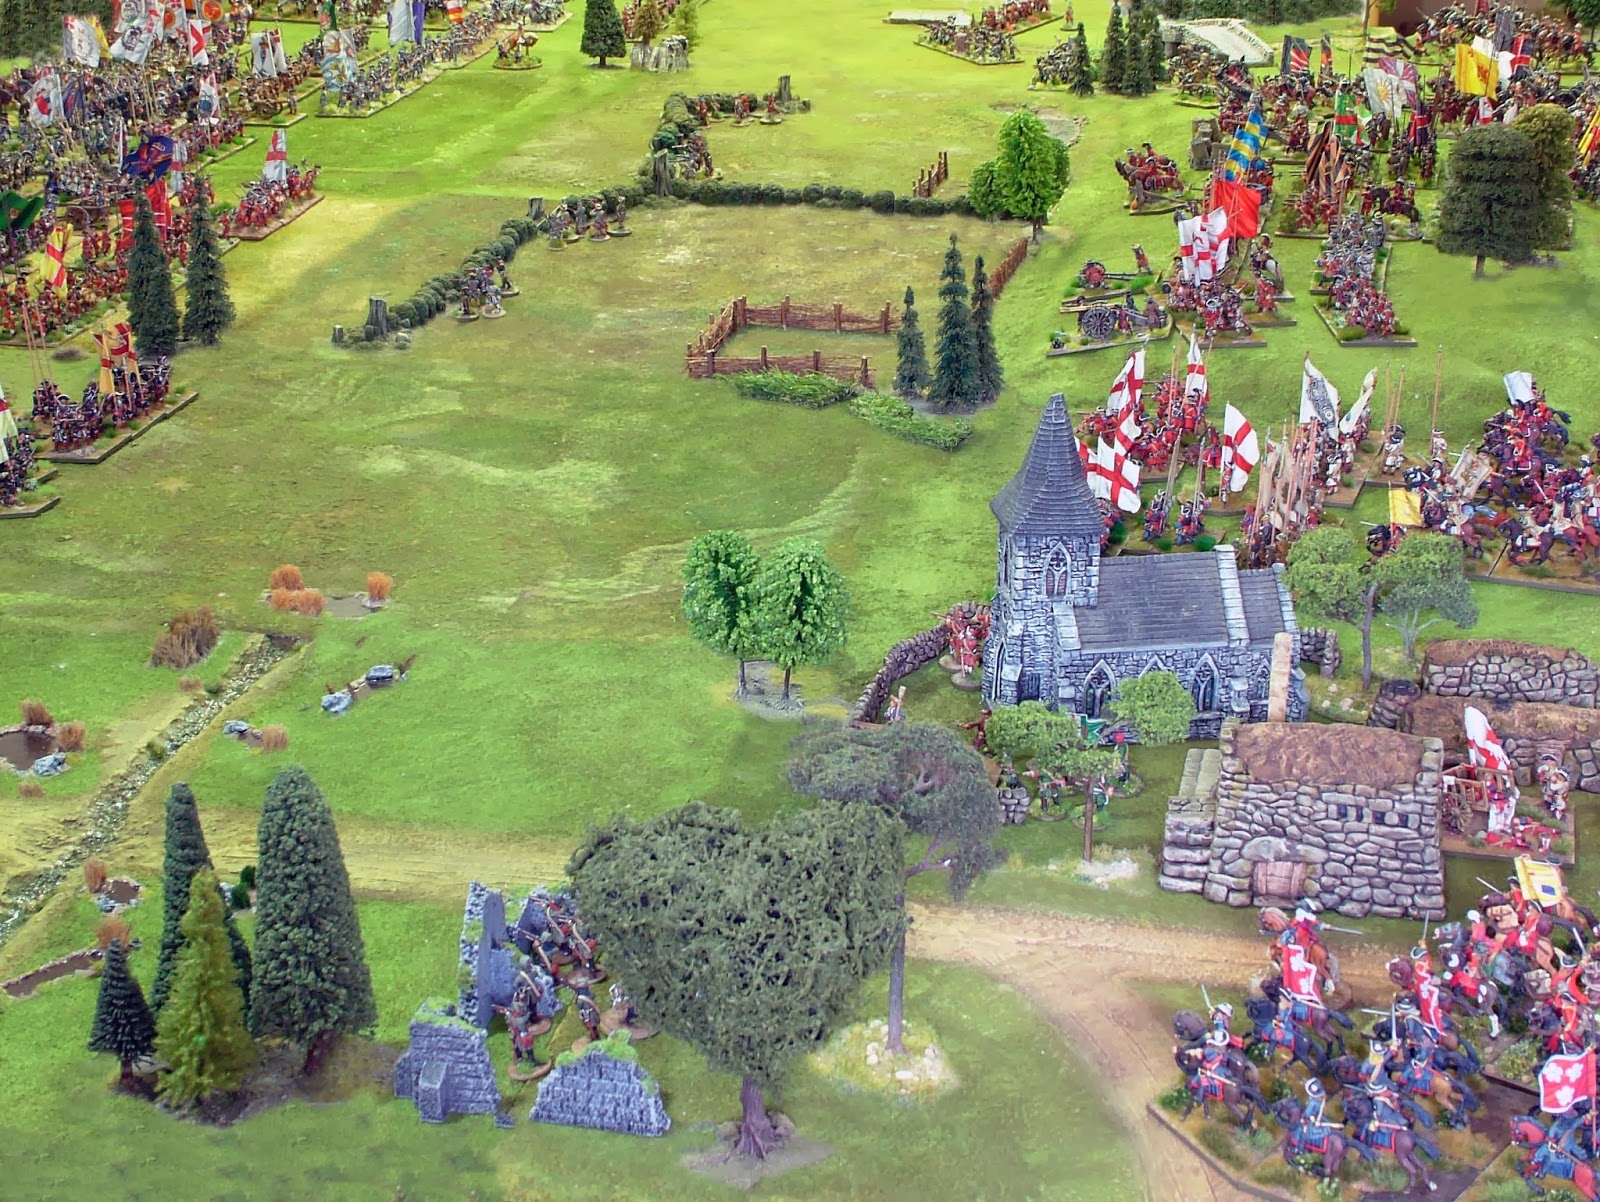
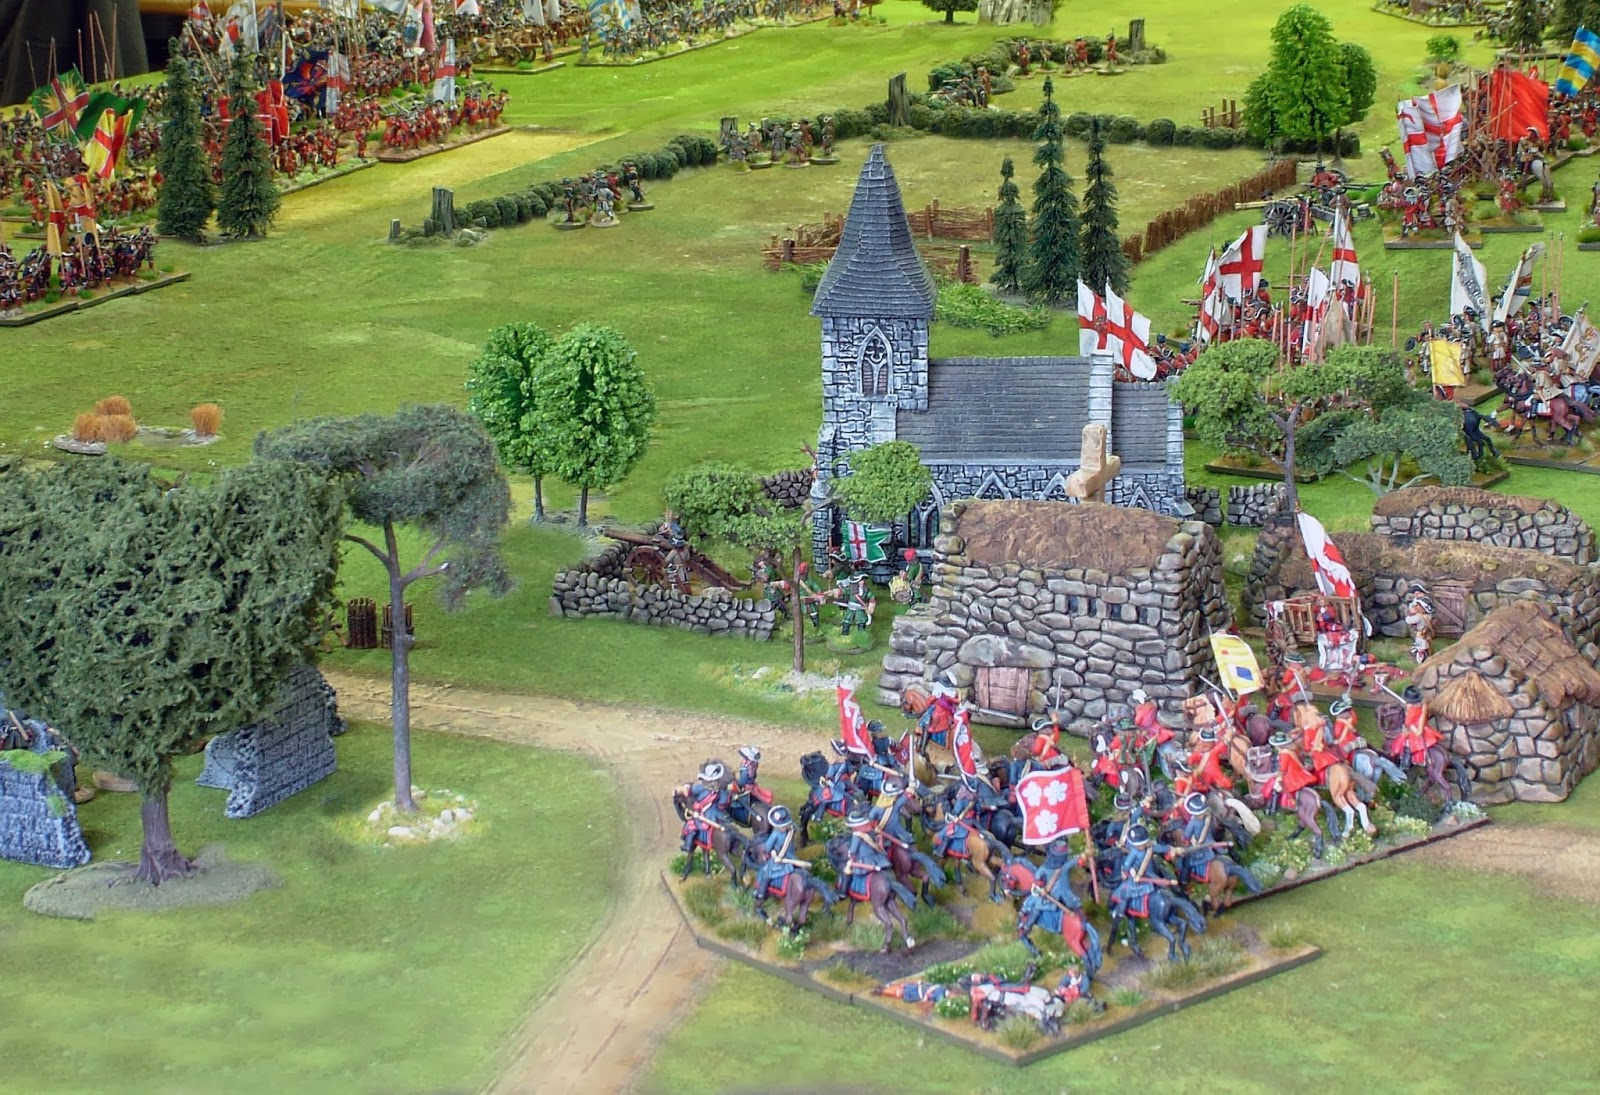
If you look at the pictures of the initial dispositions you should be able to spot the obvious key landmarks. Starting on the Jacobite side; Kilcommodan hill dominates the deployment area. The piece of terrain I used was 4 feet long by 2 feet deep. On its southern flank the lower ground contains a section of the Tristuan stream and an overly large representation of the Attibrasil bridge. To the north we left a gap of about 2 feet before the village of Aughrim is reached. Travelling on toward the northern table edge I placed some ruins to mark Aughrim castle.
|
Stretch of Urraghry Hill from which the Williamite right advanced
|
|
The line of Kilcommodan Hill from the Williamite right
|
 |
| The Williamite Left |
We chose not to extend the Melehan stream right across the centre of the battlefield as the terrain set up was just getting too busy. If you look to the Jacobite left you'll see the Melehan appears in a more tangible form just at the northern tip of Kilcommodan hill and runs across to the northern table edge.
 |
| Looking South east from Aughrim |
The area known as Bloody Hollow can be seen marked by a pool and trees. The boggy ground along the Tristuan is marked with a winding brook and some lichen. Here, dragoons battled for many turns!
Although I have 'straightened the flanks' slightly the biggest liberty was taken by starting the Williamite army a bit further forward than history. An 8 feet wide table is not possible in my garage and no wargamer I know has the arm length to stretch that far into a table anyway!
 |
| Looking South west at Kilcommodan Hill |
We represented Urraghry hill with a small model hill on which the Williamite artillery was placed (perhaps not 100% accurately but from a scenario perspective it worked because it gave a clear line of fire onto the Jacobite lines).
Overall, I felt the terrain was a pretty good representation of the battlefield albeit the usual wargaming distortions had to prevail. I have spent about 6 hours over two different days driving around and walking over the field at Aughrim. Comparing the set up with photos I shot whilst there I was happy that the mechanics and flow of the game would work pretty well.
