 |
| Many Warfare components are visible in this shot |
The tools I used were very limited: sanding block and coarse
sand paper, two different pallet knives, some old brushes, oh yes and my brain!
A bloke I know once said to me ‘terrain construction is all
about drying times’. That is so true. Much of the work is not particularly
onerous but if you leave it too late to get certain things started or the
sequence is wrong you can run into all sorts of problems. I knew this project
would require short bursts of building and setting followed by 24 hour periods
of nothing happening as the work dried out. Fine if you find yourself living
and working from home base but for me, this is by far the biggest challenge. I
have a nomadic lifestyle being home less than 50% of my life most of each year
and this in odd chunks of days. Had I left it too late? That was my biggest
worry.
My chosen dinner mats for this project Mrs H had grown tired
of. I knew that as I found them in a stack at the front door which is the
intermediate step between household treasure status and scrap heap. Each item
is offered to Barry as a pre-dump staging post. Roughly 30cm in length and 20cm
wide they offered ample space for creativity.
My first piece was to feature the gun screens (WLOA919) as a
centrepiece. I firstly took a cork sanding block, wrapped it in heavy duty
sandpaper and chamfered the edges of the mat all the way round. This meant it
would blend well with the table when placed on top and would not have an
unsightly lip. I marked off the halfway point in the length and then found the
centre point of the entire piece. I measured 3cm in from the long edge. This
would be the nearest point to the edge of the mat to which the defensive line
would extend. I then measured a further 3cm towards the centre point of the mat
and drew a line here. The gun emplacement would arc out from the main defensive
line. The latter would run parallel to the long edge 6cm in.

 |
| A single section including parts from 4 code packs |
 |
| Dressing the pieces with wrecked guns and burning wagons. |
 |
| marking the mats with distances helps alignment on multi mat assemblies |

I glued three gun screens to the cork covered base of the
mat as shown. Having let this dry I then began to build up the shape of the
defences using fascine racks and gabions as shown. Being metal and unyielding I
was clear that gaps exist. The obvious ones were plugged up with fascine
bundles both large and small from WLOA920. Having filled the length of the mat
by gluing various pieces of defences to it I let it dry for a few hours.
I now used Milliput and tile grout to seal the
defences as seen. Worth pointing out that I was undercoating most of the metal
components before gluing to the base board. Although tedious I knew from
experience crevasses and curves would leave lots of exposed metal if I was
trying to undercoat in situ.
 |
| close up of undercoated pieces with Milliput holding fascines in place |
 |
| tile grout was used to seal the section and begin the groundwork |
 |
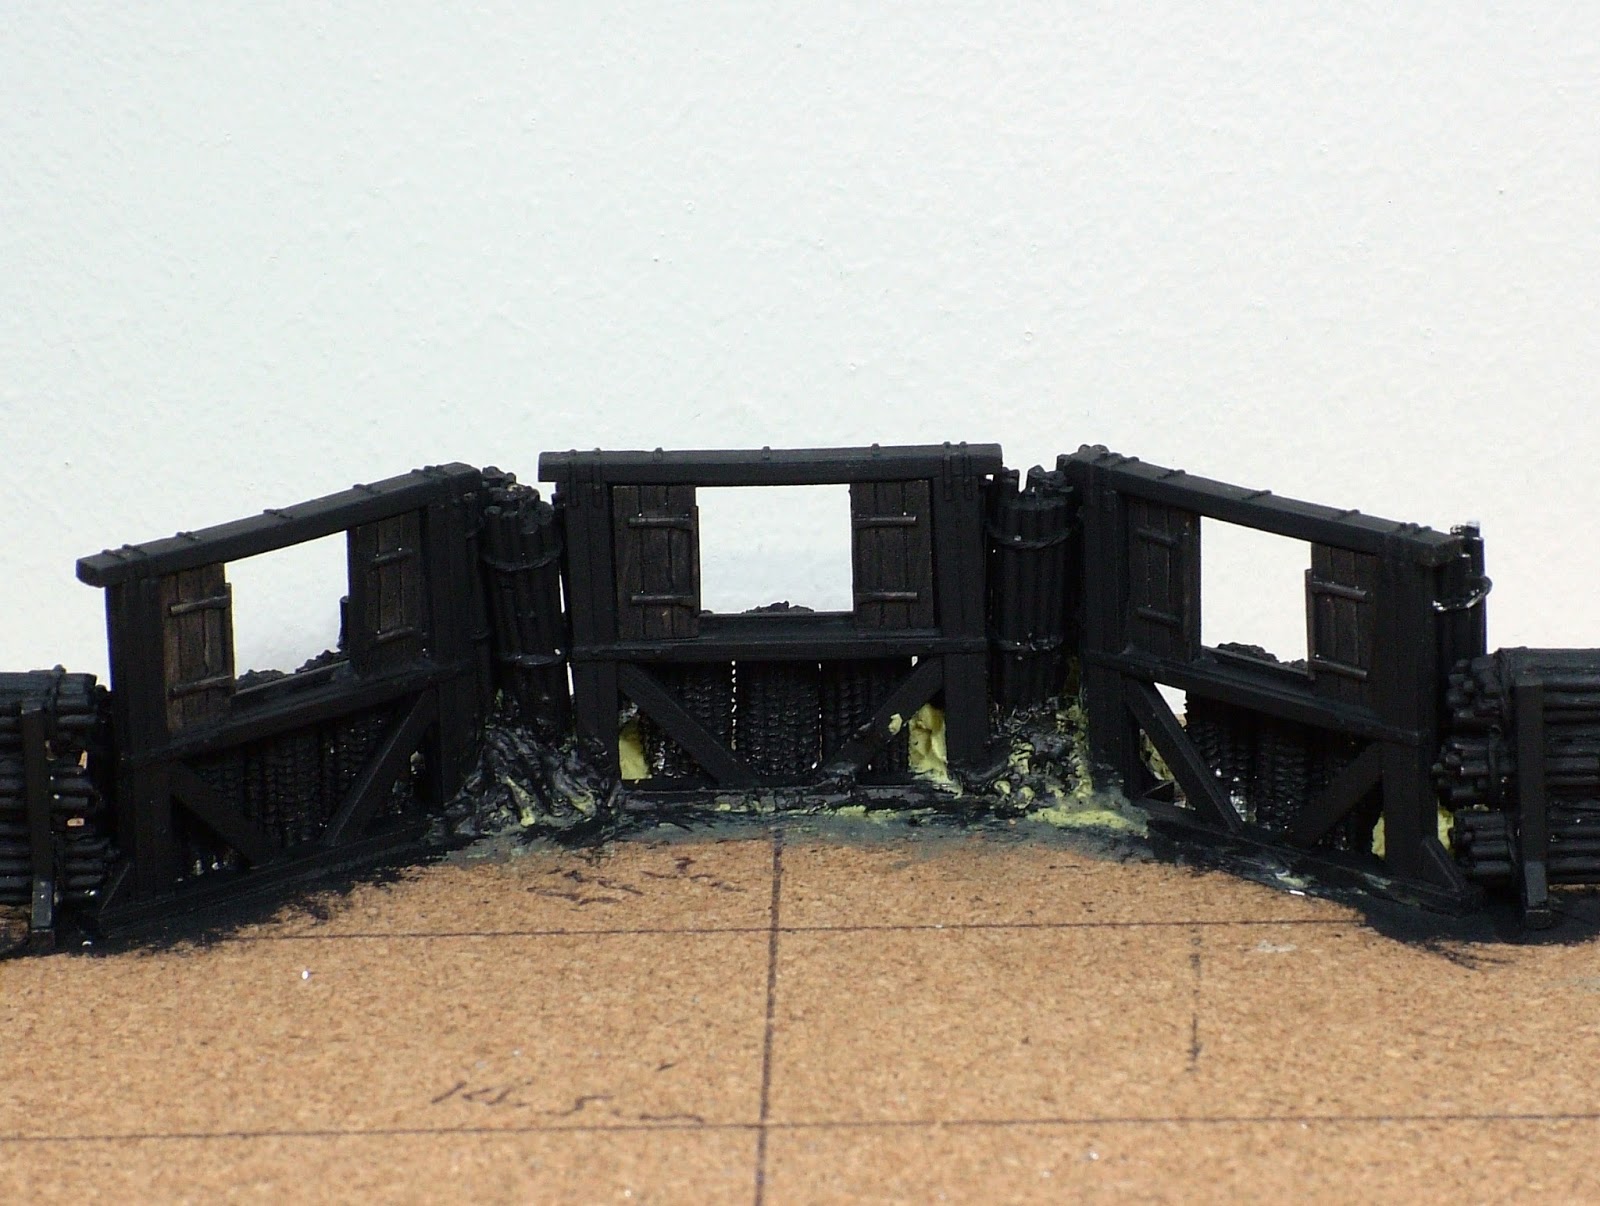
| Front view - lots to be done but taking shape! In part 4 I'll continue with the assembly process step by step to allow those interesting in trying their hand to have a go. It is pretty straightforward! |