 |
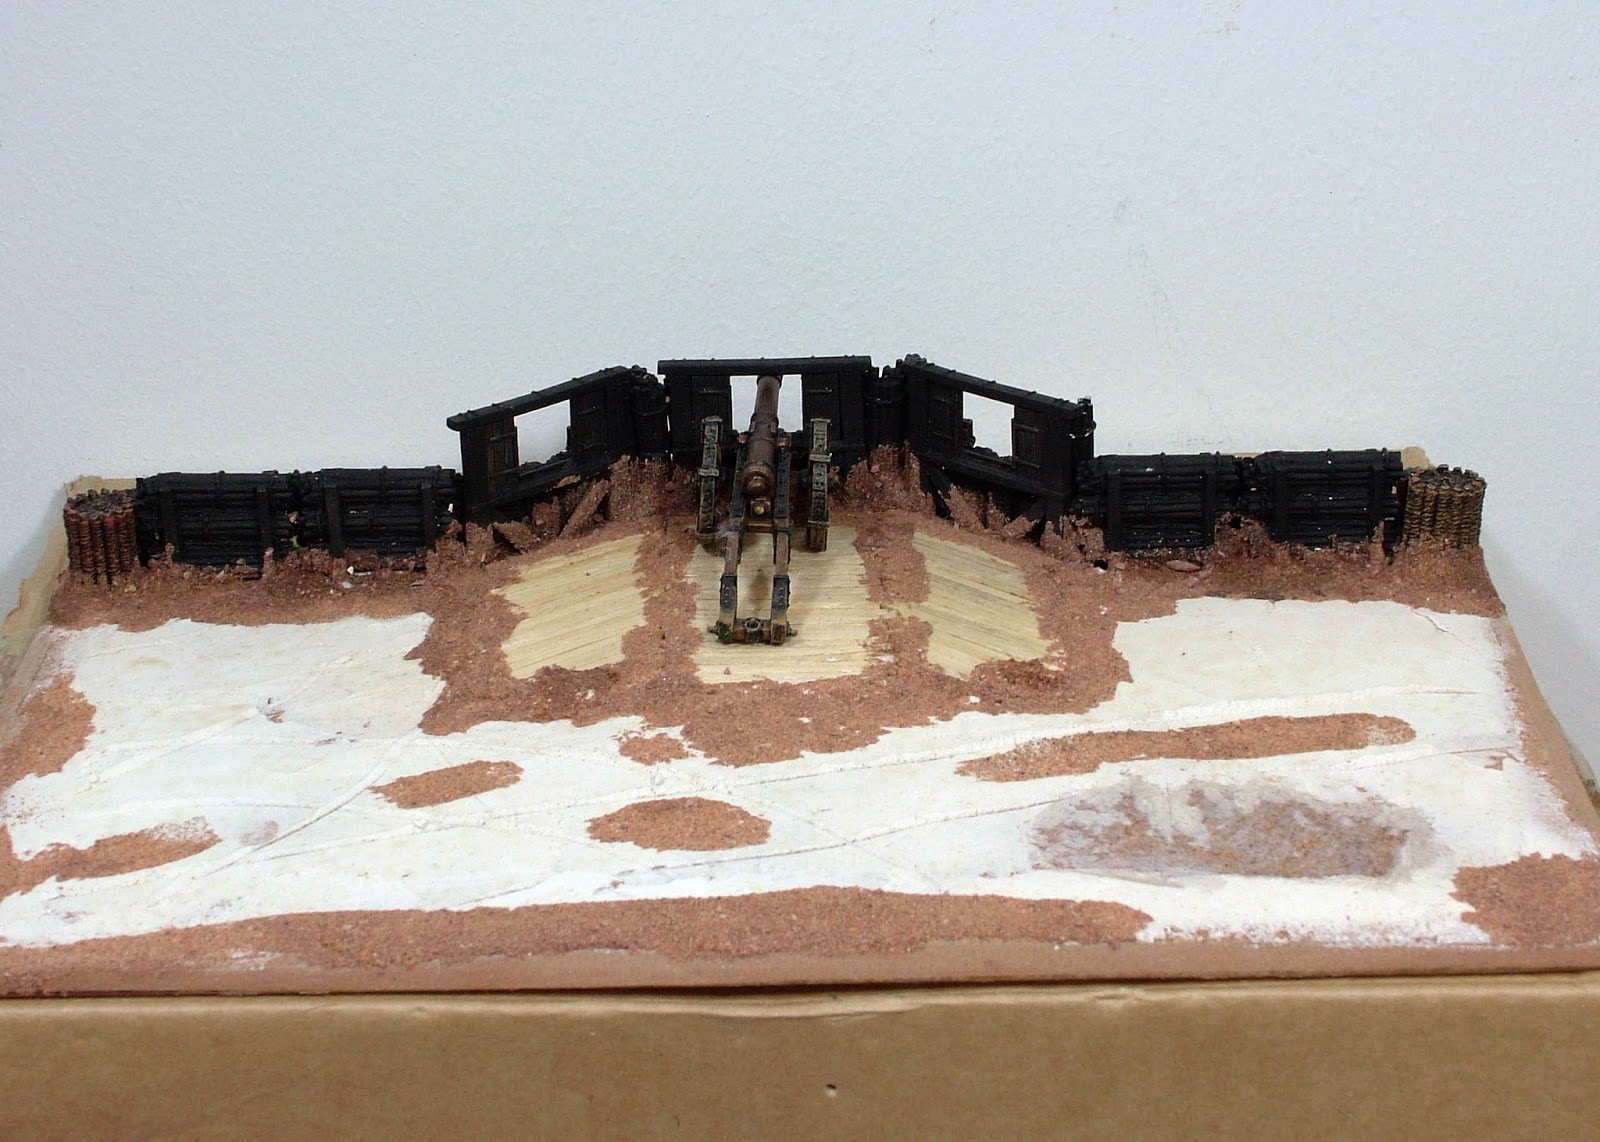
| gun platform - I did two sections like this in the original four. |
A lot of fancy detailed painting could have be done on these
defences but the effect I was looking for was very particular. I wanted a
massive, consistent, interesting but at the same time not overpowering terrain
feature onto which the eye would be drawn but in the context of the entire
table. In Part 4 you will begin to see how the mental vision of the piece takes shape logically. Ultimately I wanted something which would set off my figures and table not overpower it.
 |
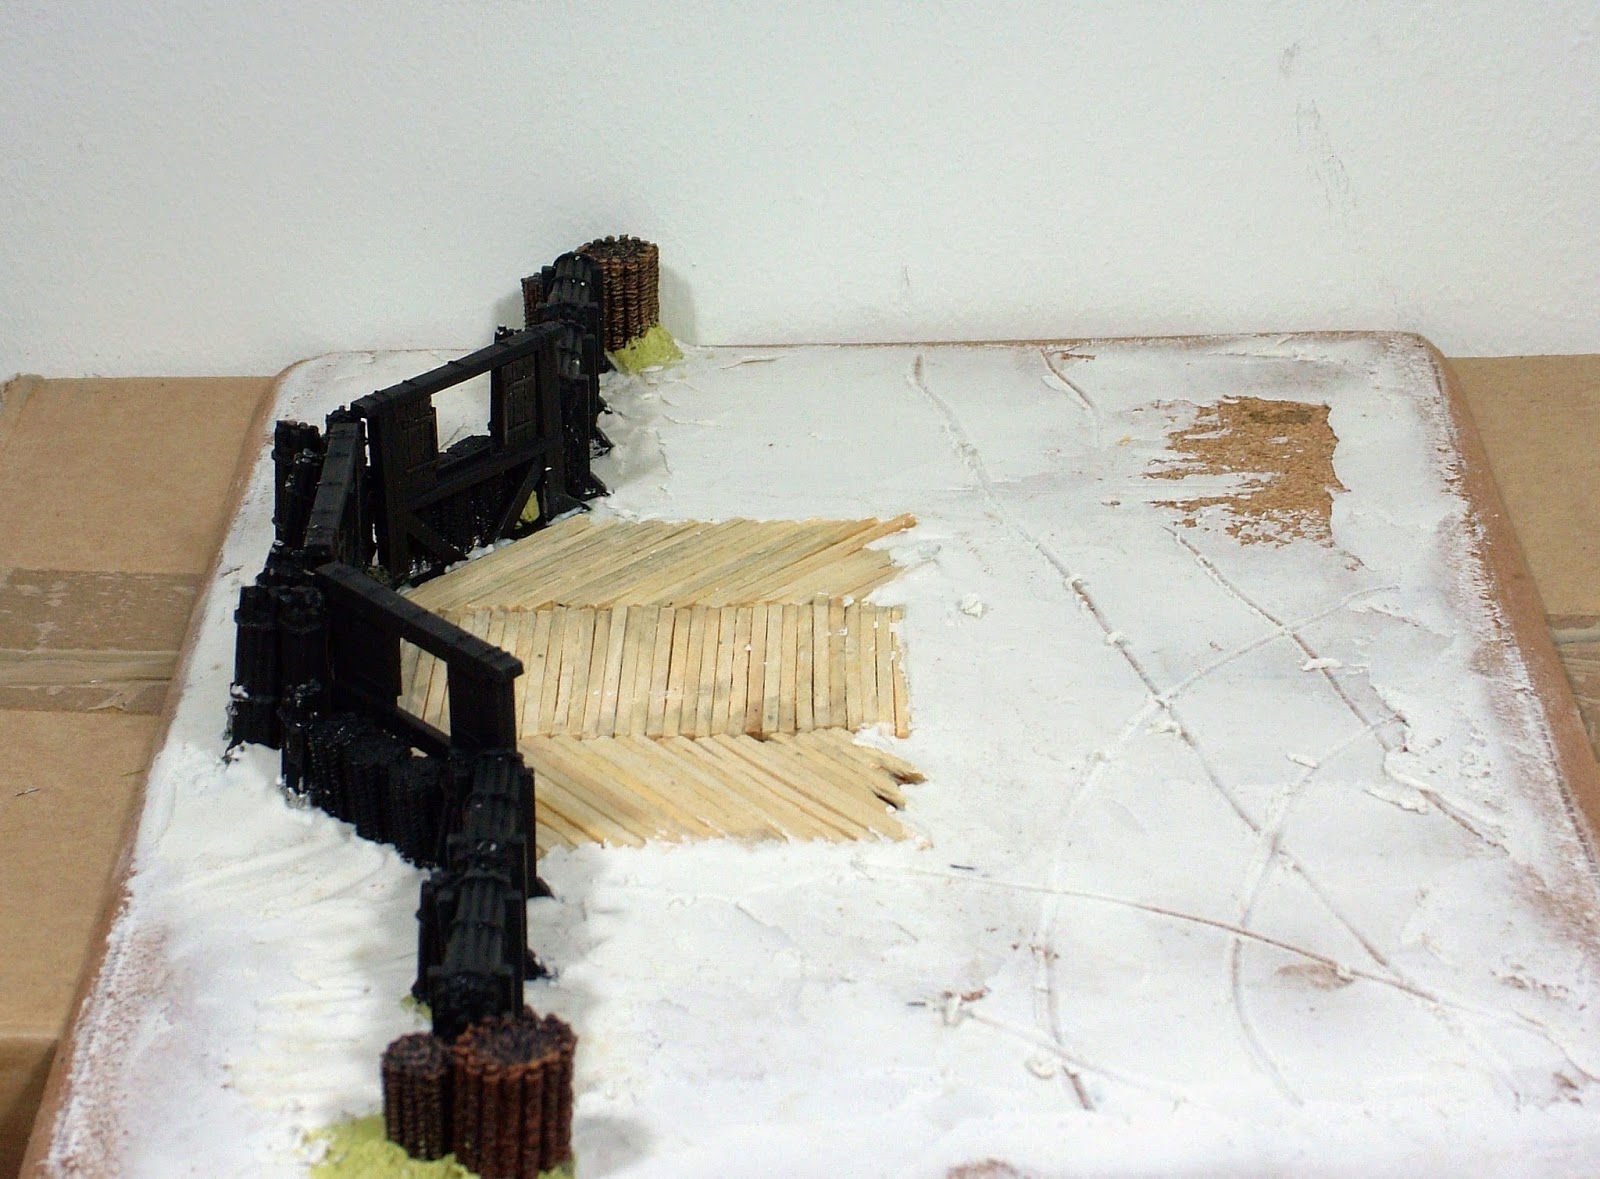
| Matchsticks! - tile grout spread thinly using a palette knife |
 |
| Notice the section of cork base left clear. Muddy puddles at a later step! |
On some sections I wanted to install prepared gun positions with wooden flooring. I had in my head to use stirring sticks from McDs or Costa. I never got their and found a bag of matchsticks I had bought from a craft shop years ago.. they'll do said I!
I glued them onto a layer of PVA setting them carefully but not too carefully.. it was a hurried position remember! The lay out is clearly visible in the shots above.
 |
| Heavy application suggests excavation at the front edge. |
 |
| Leave patches of grout clear to contrast the ground effect |
 |
| The gun was add to encourage me to continue. Be bold with the sand! |
The next step is one which I am often asked about - creating some texture to groundwork. Pretty easy really. Using an old paintbrush spread aruond some patches of PVA and then sprinkle with rough builder's sand(no I don't mean the sand from a rough builder!). If you want to make rocky patches dollop it on thick, place the little stones in first and then sprinkle over with fine sand to create a bonding cement. Then, do your rough sand patches as per the picture.
Having done most of the messy work in Part 5 we'll get the paints out!


