|
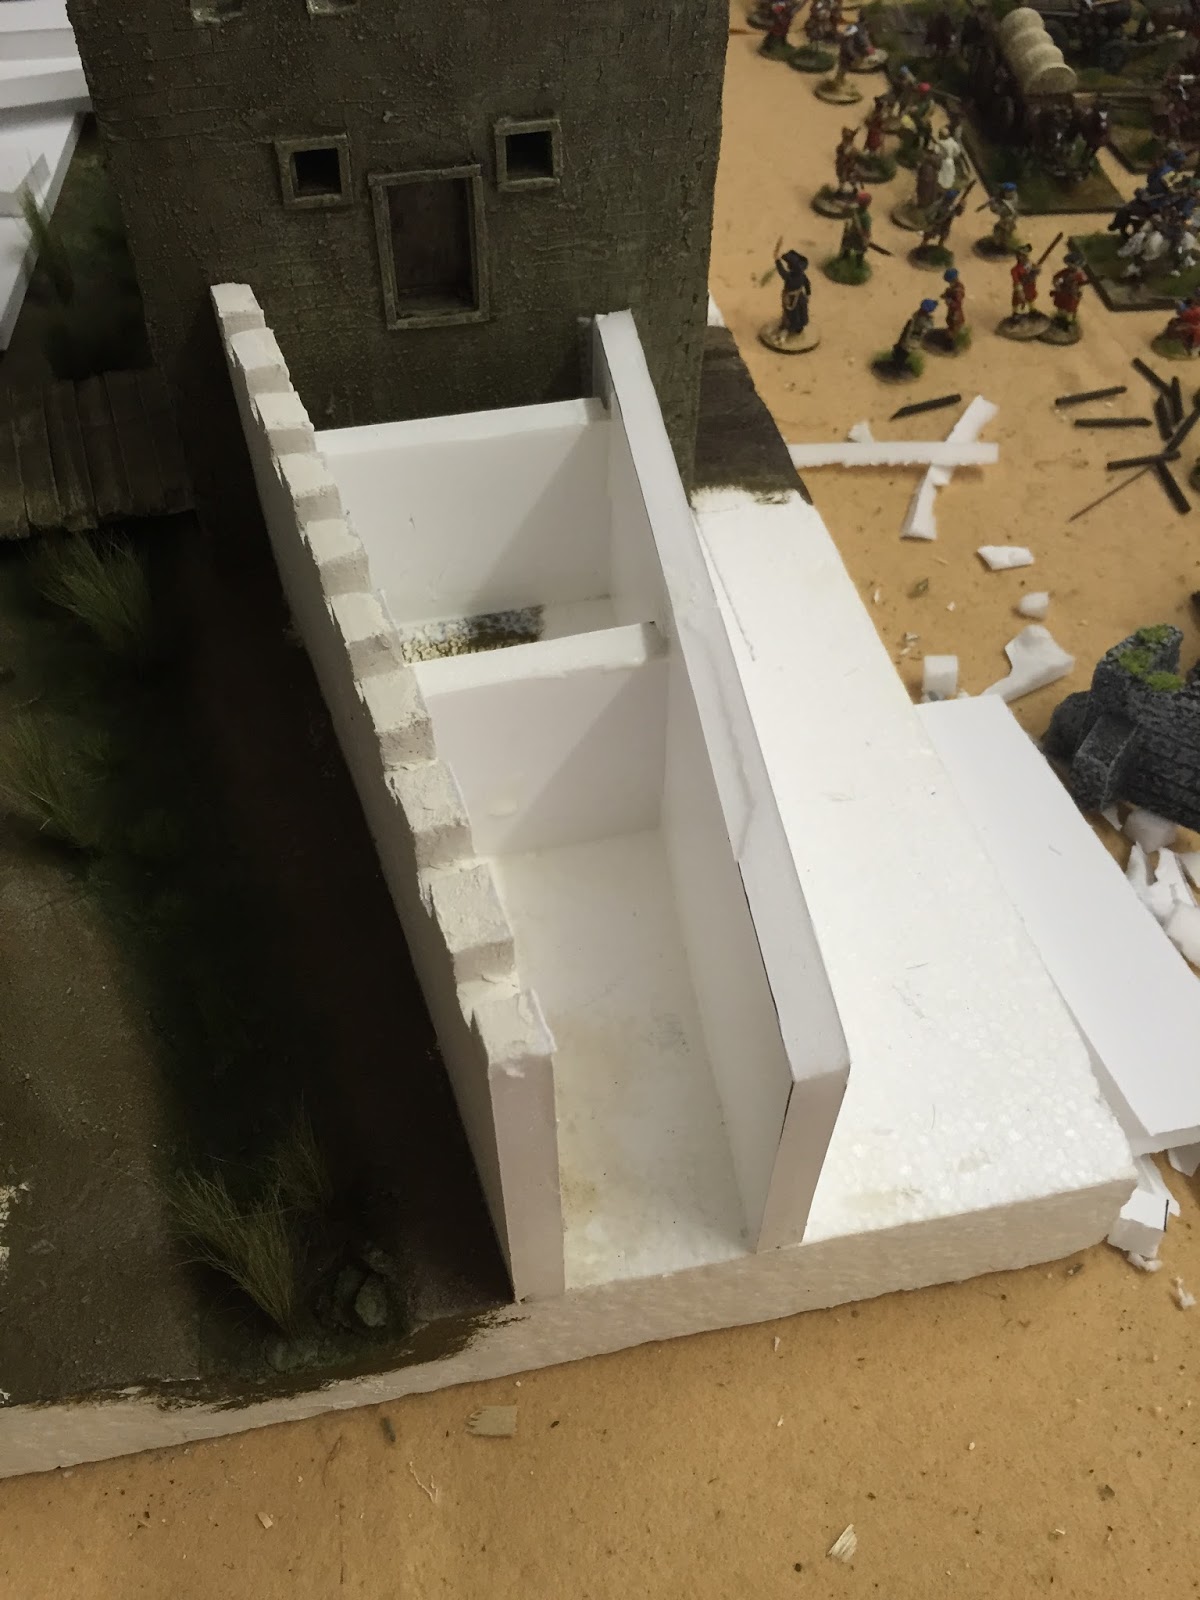
| Gateway placed on in front of wet ditch under construction |
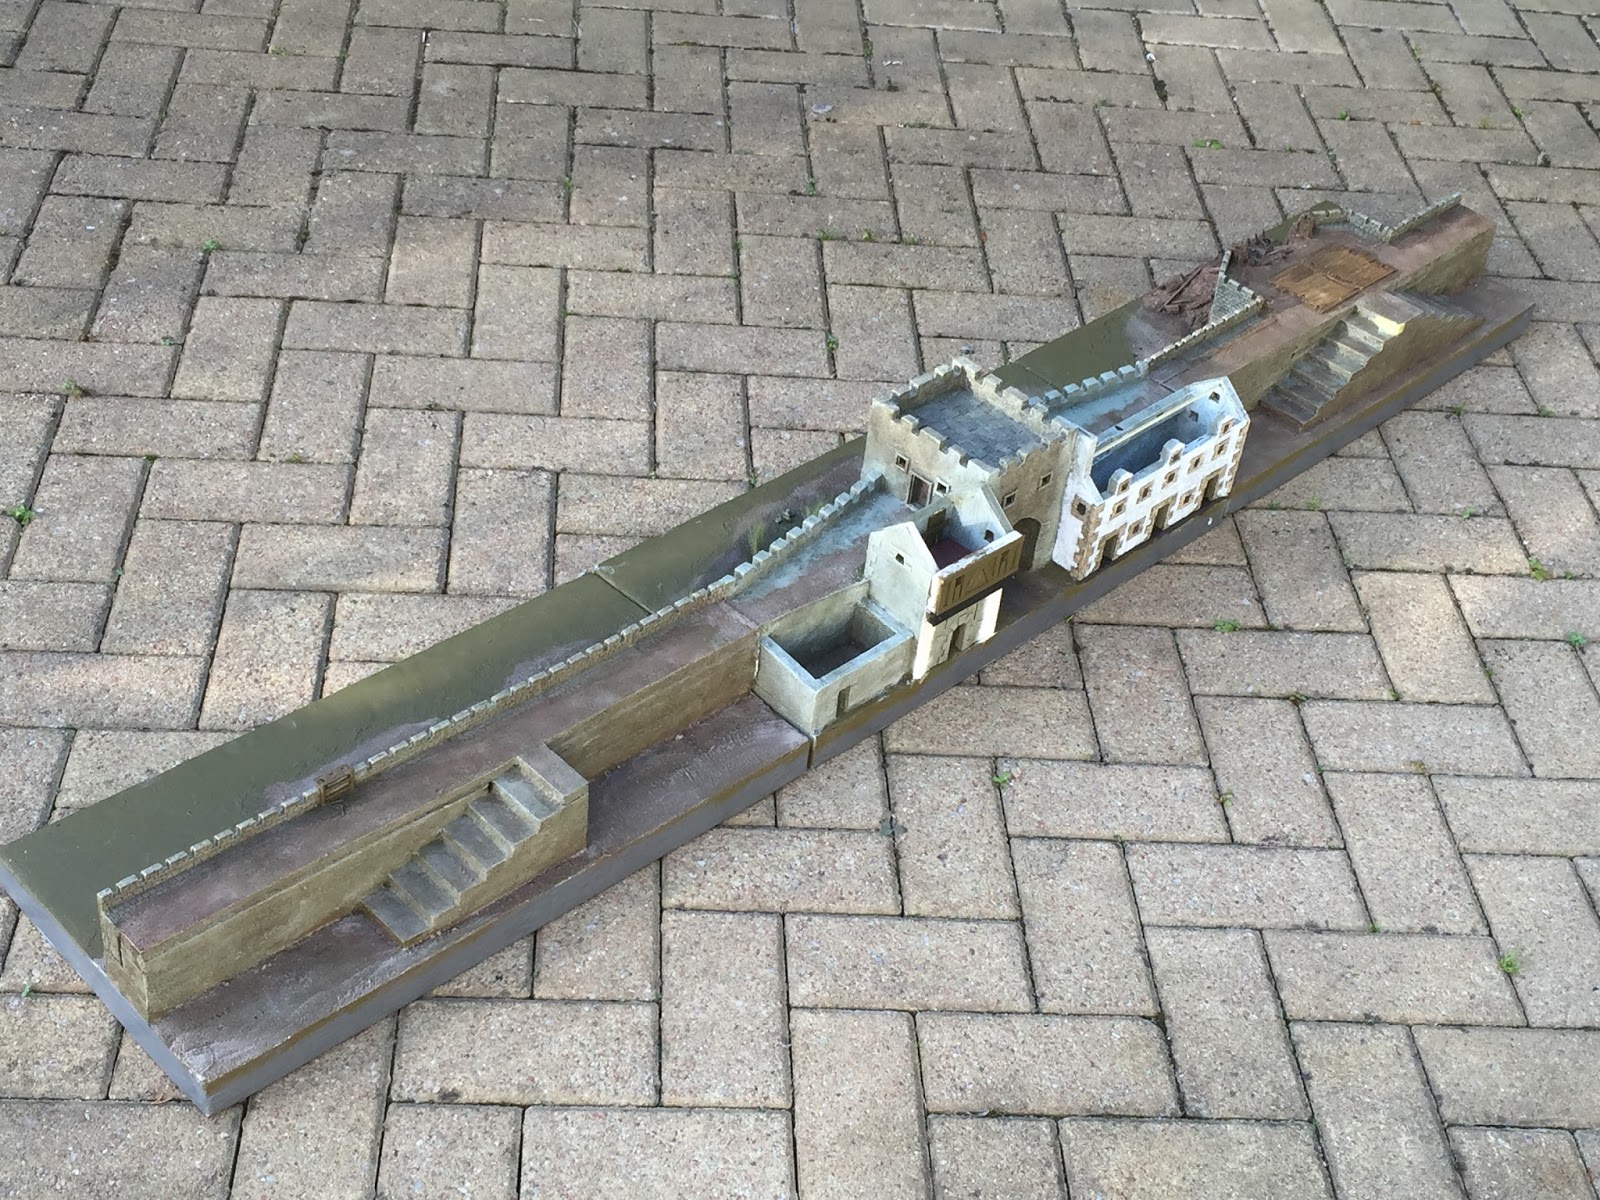
Having fallen at the first hurdle with the 10mm medieval piece from Kallistra I bit the bullet and decided to make a gate house for myself from scratch.
 |
| buildings on the inner wall under construction around the gateway |
The original gates of Derry are long gone and have been replaced by semi ornamental arches and bridges. The available illustrations suggesting what they may have looked like in 1688 were variations on a theme.
 |
| scribe marks on template show how distances were gauged |
Best described as simple in construction, squarish in shape and unadorned, some illustrations show the gates with a drawbridge and some without. This is of course possible. Derry had four gates, they may have been built to the same design or to different designs. Some or all may have had a drawbridge. They all pointed in different direction and into different terrain in including onto the estuary of the River Foyle.
 |
| Cutting 10mm foam core with a scalpel sometimes produces angled cuts. |
My main reference sources were Philip Armstrong's wonderful 'Paint the Past' illustration of 1689 Derry, the sketches in Doherty's Siege of Derry and modern photos of what has replaced the 17th century structures.
 |
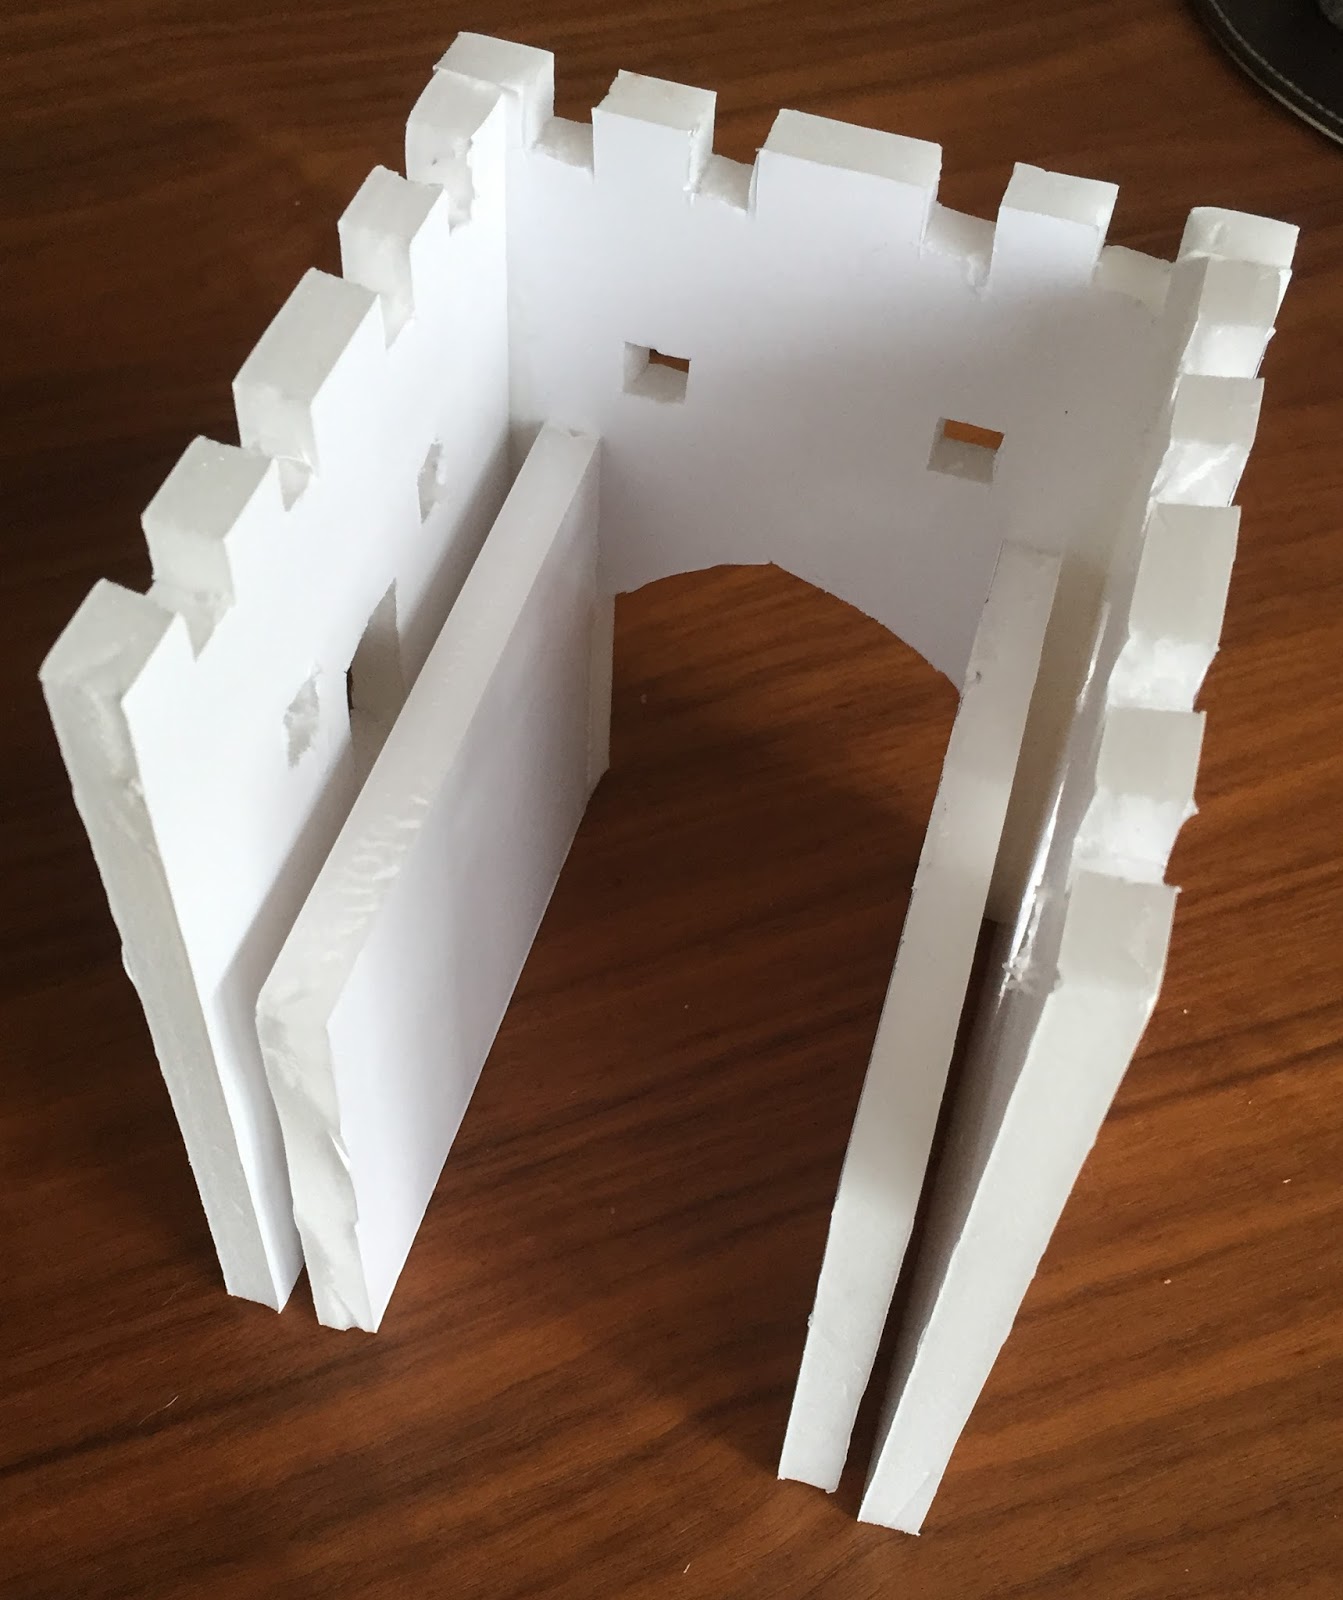
| Double wall forming the gatehouse tunnel |
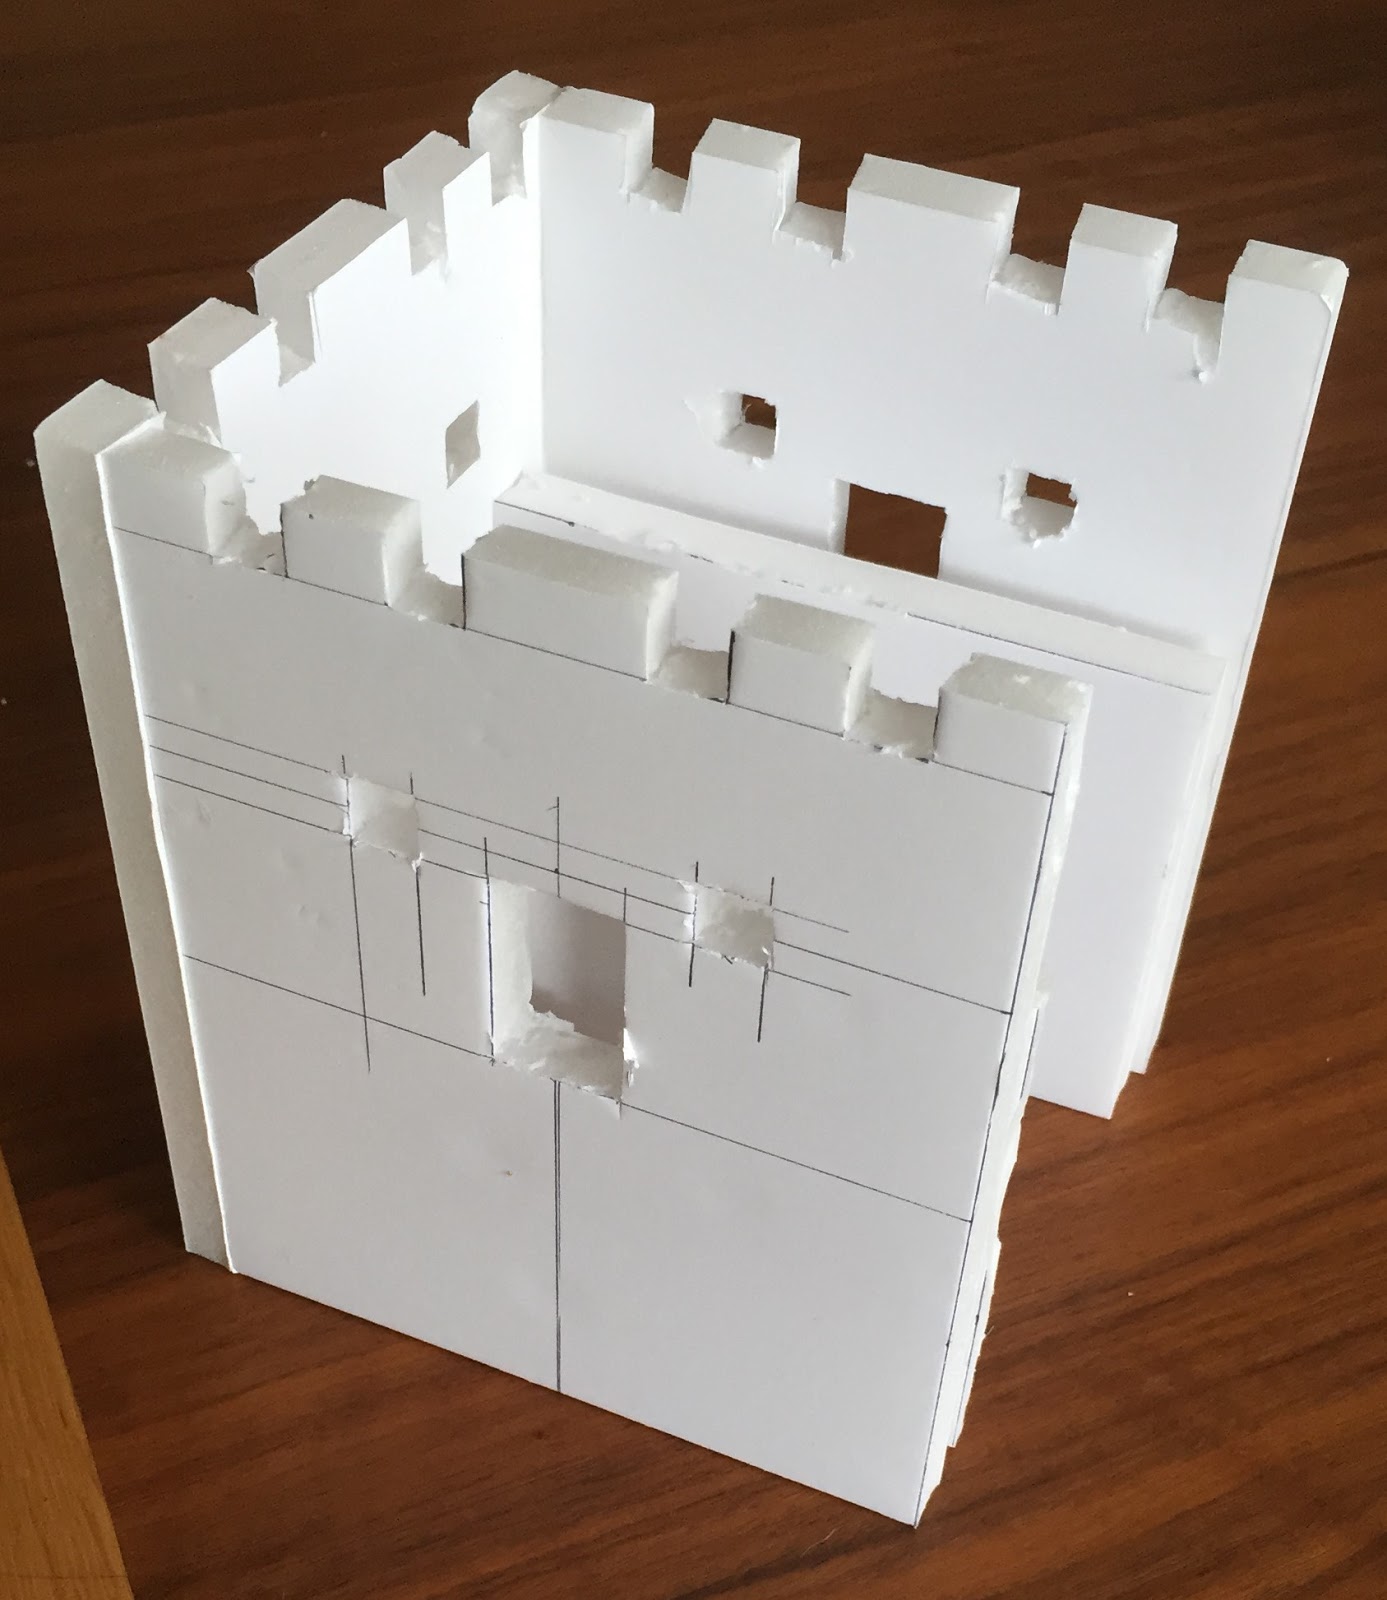
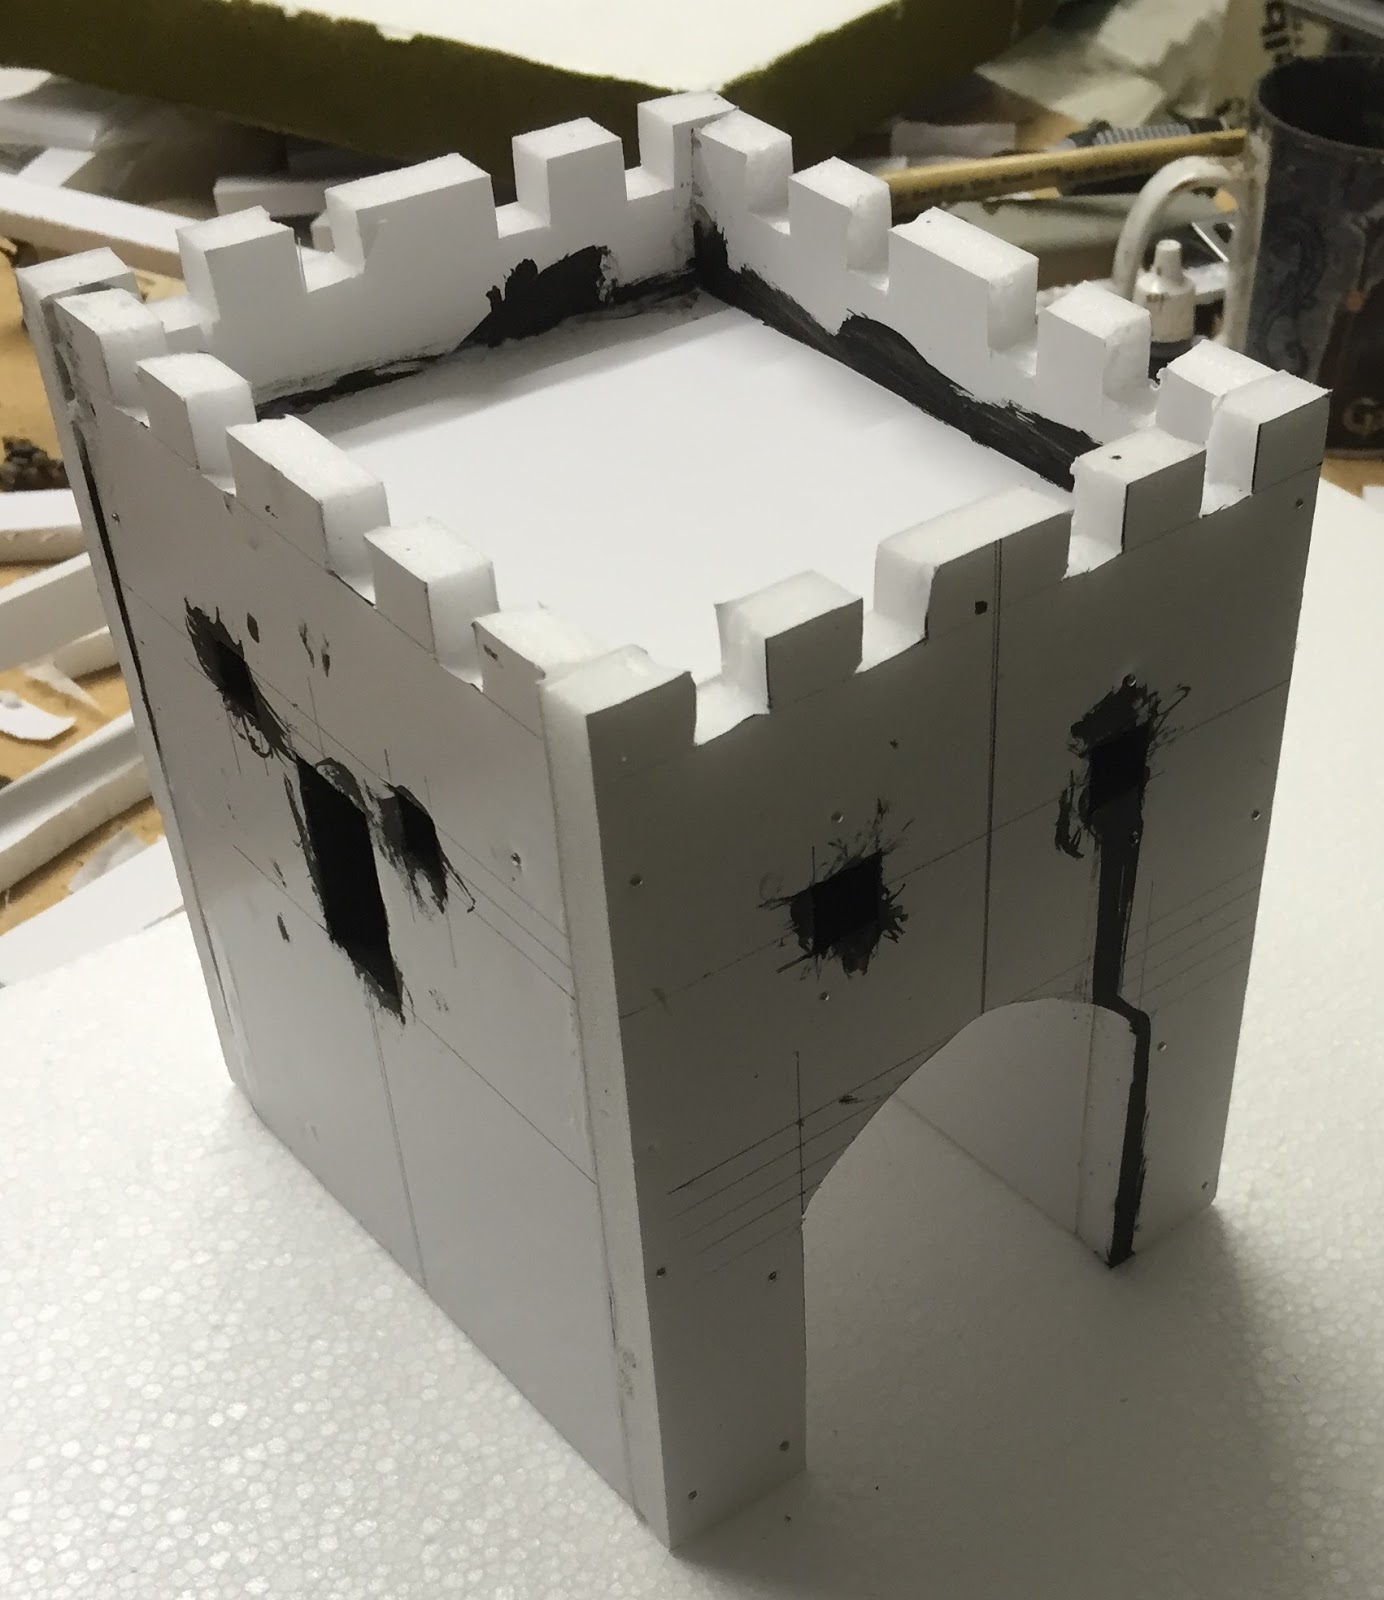
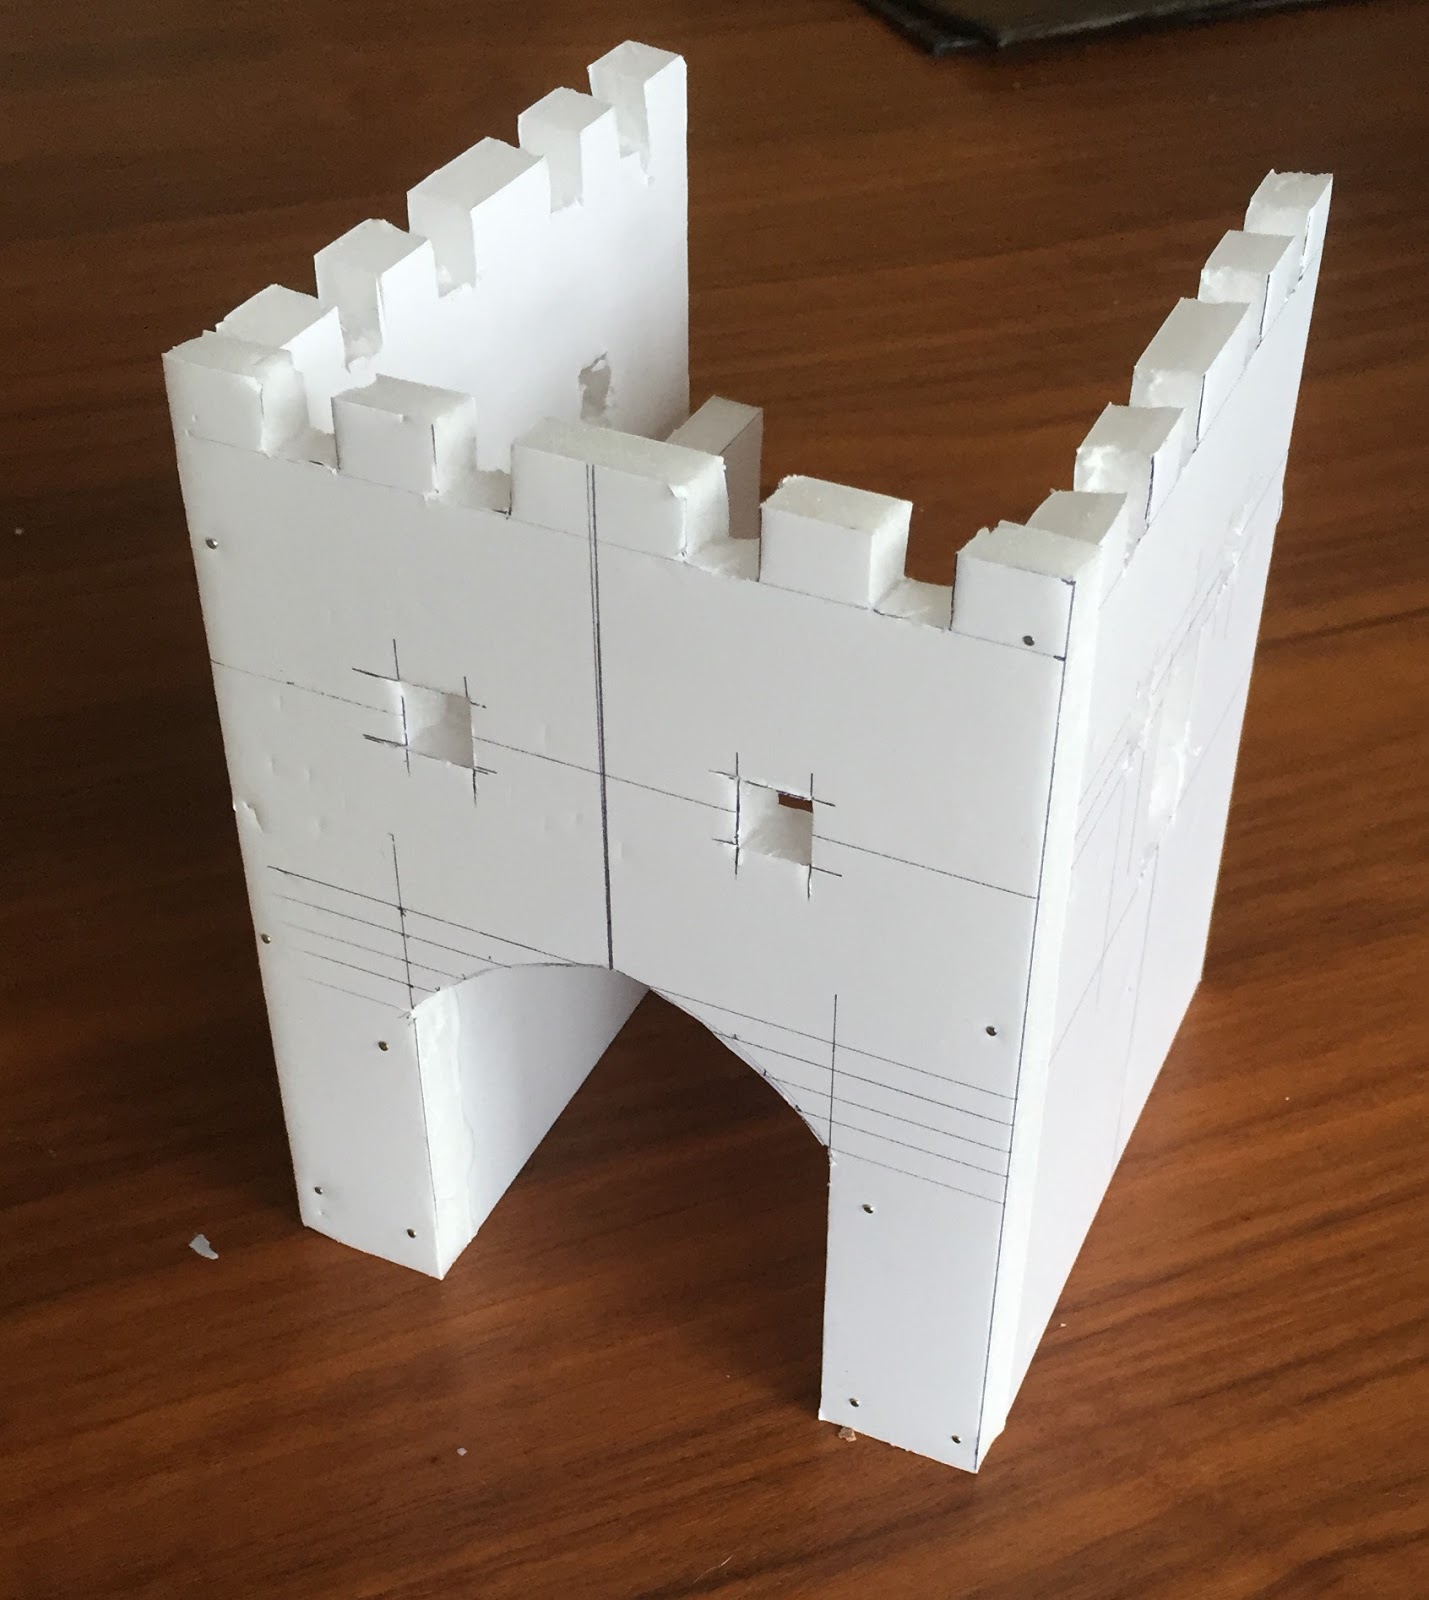
I only had 10mm thick foam core to work with. I mocked up several templates before deciding on the final design. I have kept this drawing which is on squared paper in case I ever have to make one of the other gates!
 |
| Double wall inside the tunnel before affixing the inner wall gate |
I quickly began to realize that the biggest challenge would be a vaulted tunnel connecting the two arches.I needn't have worried. It is possible to have a flat ceiling as it is largely out of view.This is created by putting a middle floor in the tower.
 |
| blotting out any white which might show through at later stages |
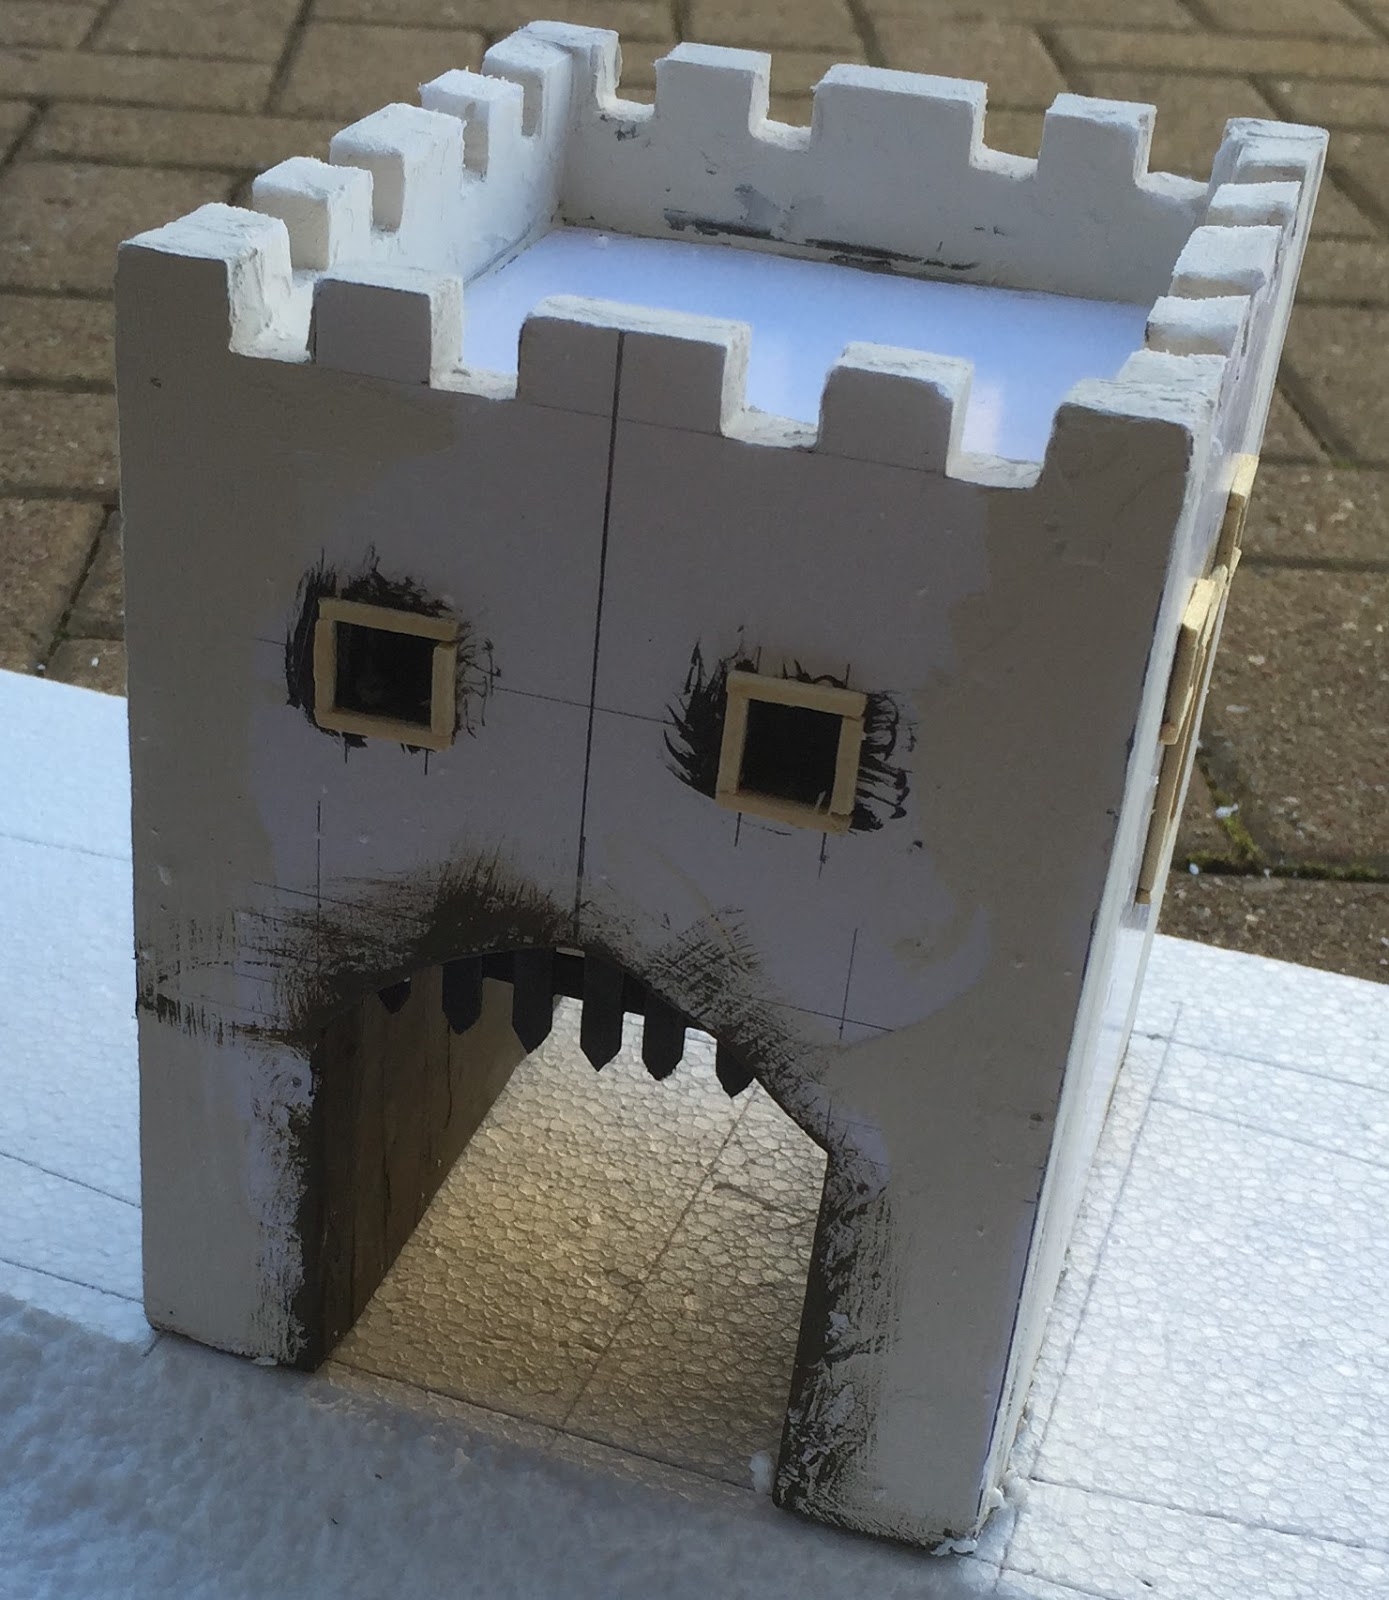
It is also necessary to create a double inner wall to provide the walls of the tunnel. I marked out all the windows and doors beforehand and cut those out before assembly of the four outer walls. I also painted in black difficult to access areas such as the inside surfaces which would 'show white' after assembly and be out of reach of paint brushes. This was a consistent precaution throughout the entire construction.
 |
| Matchstick window and door frames, portcullis in place |
Using sewing pins to hold together PVA glued pieces in place as they dry is a really helpful thing to do. It not only prevents separation but adds rigidity. The pins can very easily be disguised at the next step.
 |
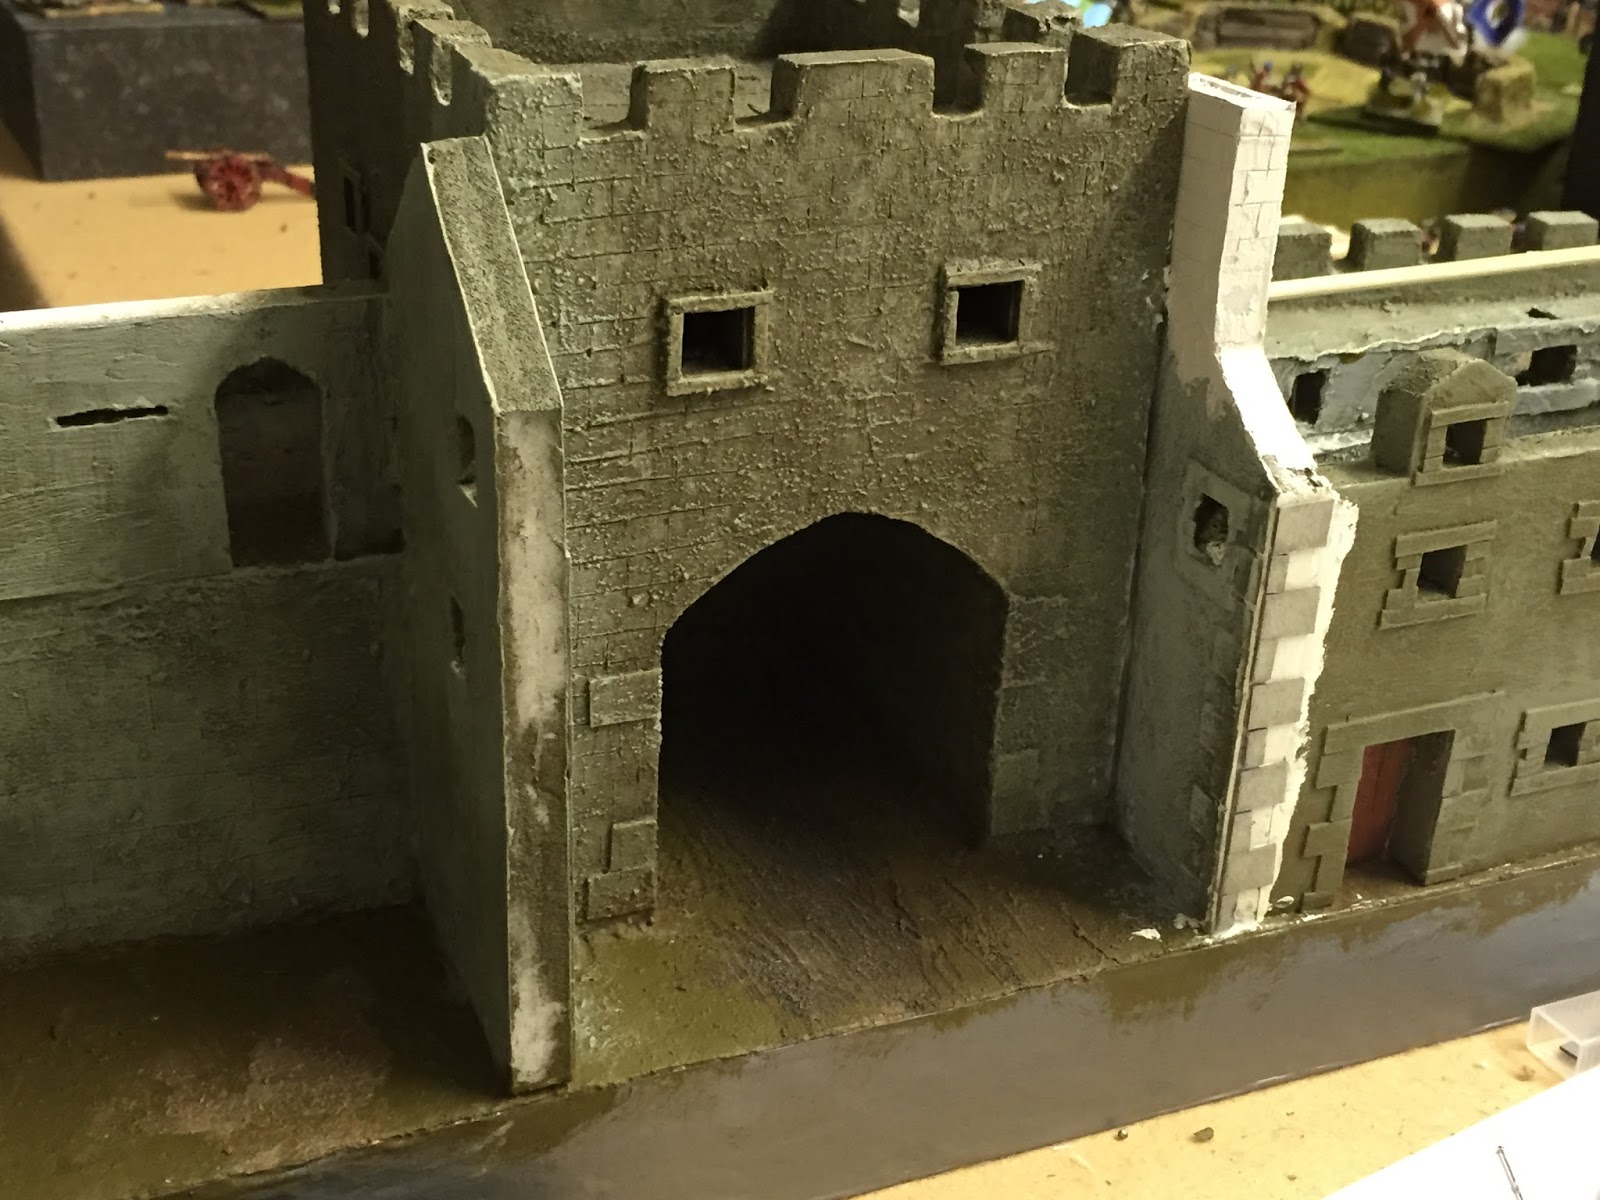
| The reason for the advanced level of finish on the gate becomes apparent with later construction |
I used matchsticks to create window and door frames. I decided not to attempt internal access to the tower and permanently affix the top floor.
I skimmed the entire building in plaster and then quickly etched in brickwork (roughly) with the modelling tool. Once this was dry I coated the entire surface in a viscous mix of sand and PVA glue which gives the outer skin the rough texture. Always take a few minutes to give any plaster work a look over in order to lightly sand off bumps and brittle prices.
 |
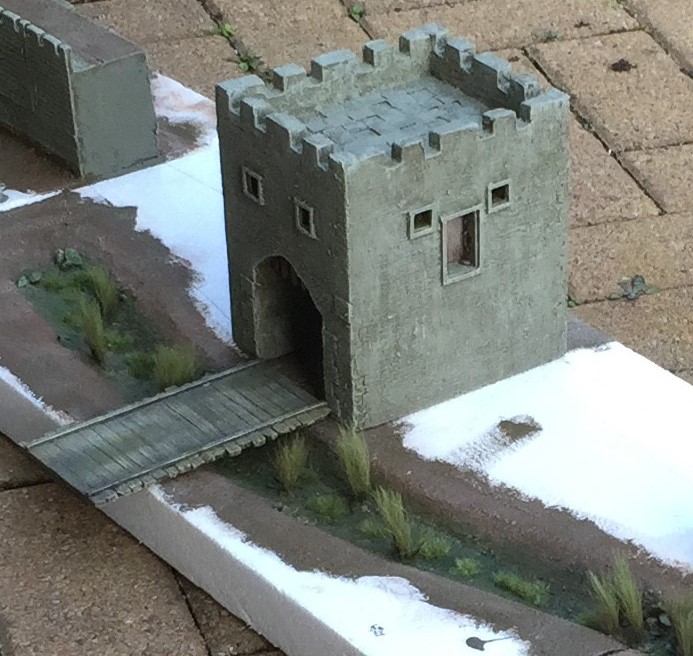
| This drawbridge is a placeholder and not the actual piece |
The platform surface had a matchstick access trapdoor added in the corner. the reason for this was to prevent an awkward obstacle in the centre of the platform floor which would prevent the placement of items such as artillery or figures.
 |
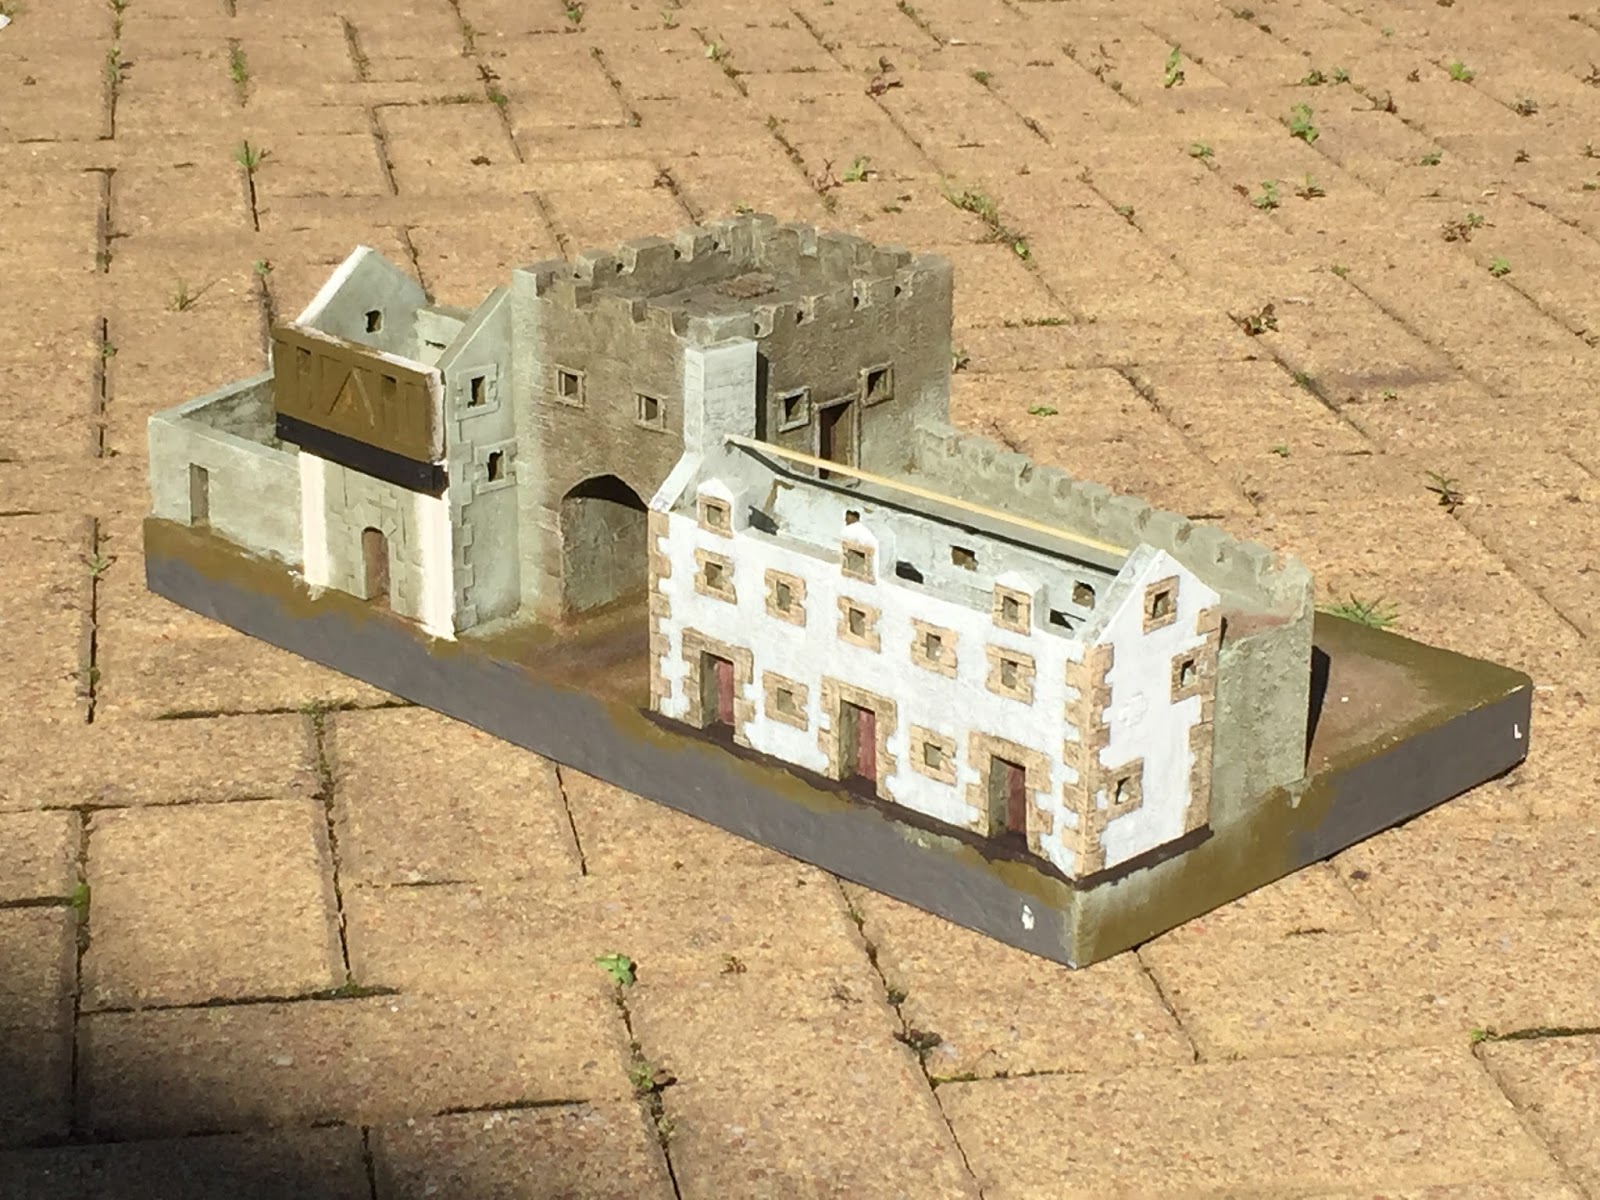
| Start of the inner wall construction - a modest storehouse which will be thatched |
The floor construction was possibly a needless effort as I could have done it so many different ways. My chosen method was to cut lots of individual pieces of thin card and lay them in a mosaic on the floor which was then coated in the PVA mix.
 |
| The entire project builds in complexity - this is all macro scale rough work at this stage |
The final component which went in at this stage was a portcullis constructed using one of the most ubiquitous item in the entire project - the humble coffee shop wooden stirring stick. The wooden lattice was attached to the inner wall of the gateway tunnel.
Many fine details still have to be added such as the drawbridge and the inner gates but painting at this stage was a very good idea.
 |
| from concept to... |
I used chocolate emulsion as the base. I heavily dry brushed this is a nice stone grey and then added in a little white to bring up the highlights particularly on the crennellations and corner edges.
After painting I washed the tower in a mix of black, umber and yellow ink with water in the following approximate proportions 1:6:6:24.
 |
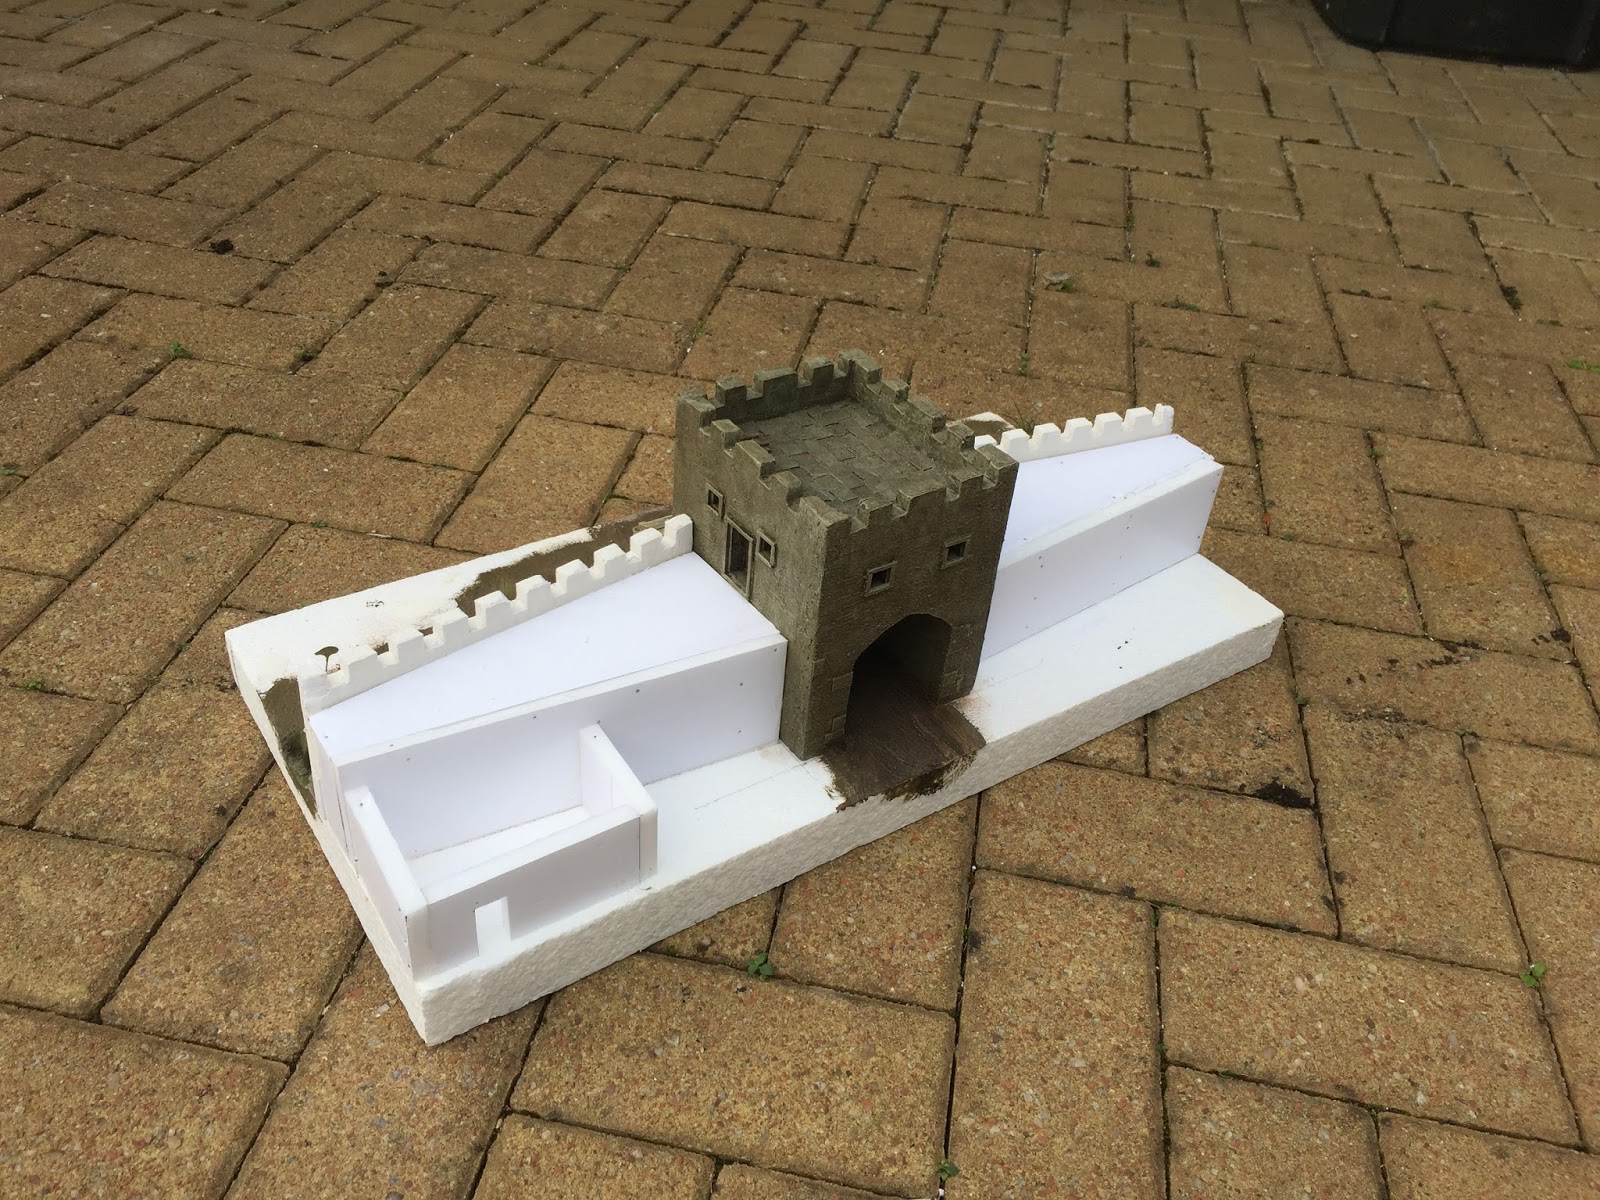
| ... near completion |