 |
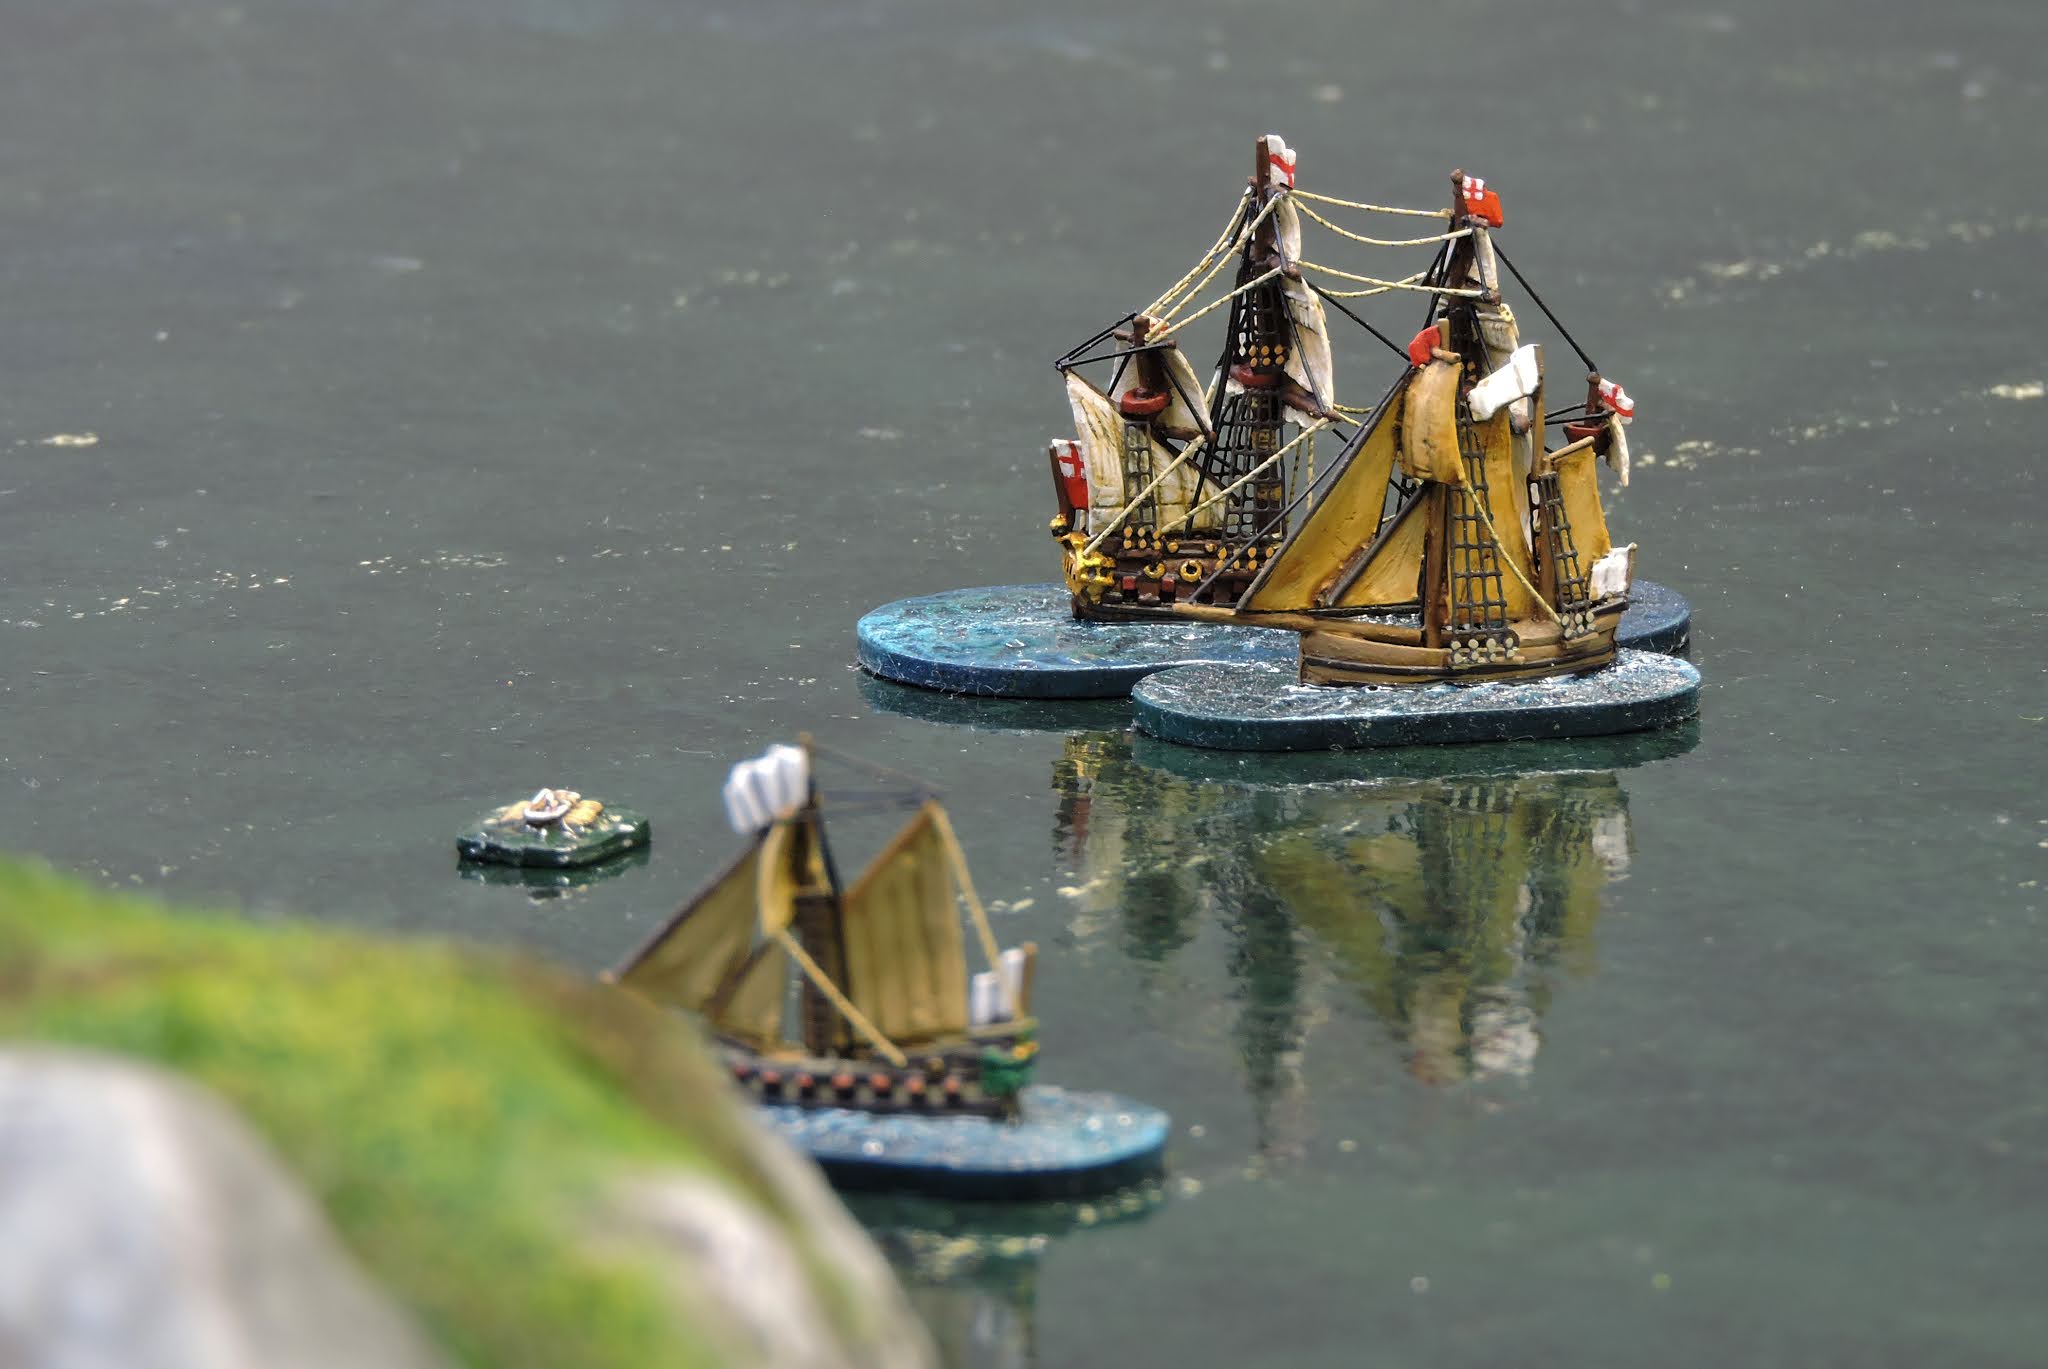
| The plucky Arran boards St Albans - a bloody fight ensued. |
The concluding episode in the unexpected 1685 saga. Here were the briefs;
ARGYLL
Things have gone badly for Monmouth and he has pleaded with you to help him. His army has been pushed west into Wales and now is positioned with its back to the sea near Milford Haven. You have agreed to sail south to extricate the Duke and the remnant of his army and bring them to Scotland where the Whig forces can regroup and consolidate. The Royal army is within site of the landing places and poised to strike although negotiations between Duras and Monmouth continue.
Inland from St Ann's Head the waters are narrow and treacherous. You have no idea what forces the Royal Navy might throw at any evacuation fleet. Your ships will have to hold off any attempt at attack whilst ferrying out up to 2,000 of Monmouth's men and the Duke. You have insufficient transports to carry the whole army meaning, at least two ships will be required near the embarkation point to accommodate the soldiers.
Some of your prizes from Mull of Kintyre are as yet not fit for sea and there have been problems finding crew enough to man existing ships. Your new fleet flagship Anna (Warspite) is not ready for sea. Should you go in person and provide your charismatic leadership to the fleet or, will you send John Cochrane of Ochiltree in command of the relieving squadron?
Here are your options, please choose one:
Argyll 46, Veteran crew, Middling guns, Marines, Flag officer Earl of Argyll +3 on ship morale/+1 on squadron checks for fleet
Covenant 40, Veteran crew, Middling guns, Marines
Thistle 46, Drilled crew, Middling guns
Claymore 24, Drilled crew, Light guns
Arran 6, Drilled crew, Light guns, Swift
Charlotte 8, Drilled crew, Light guns, Swift
625 points
OR
Argyll 46, Veteran crew, Middling guns, Marines, Master gunner.
Thistle 46, Drilled crew, Middling guns, Marines
Scotland 54, Drilled crew, Middling guns, Marines, Master gunner. Flag officer Ochiltree +2 on ship morale/0 on squadron checks for fleet
Arran 6, Drilled crew, Light guns, Swift
625 points
At least two large ships must anchor off the embarkation beach until as much of Monmouth's army as can be brough off has been saved.
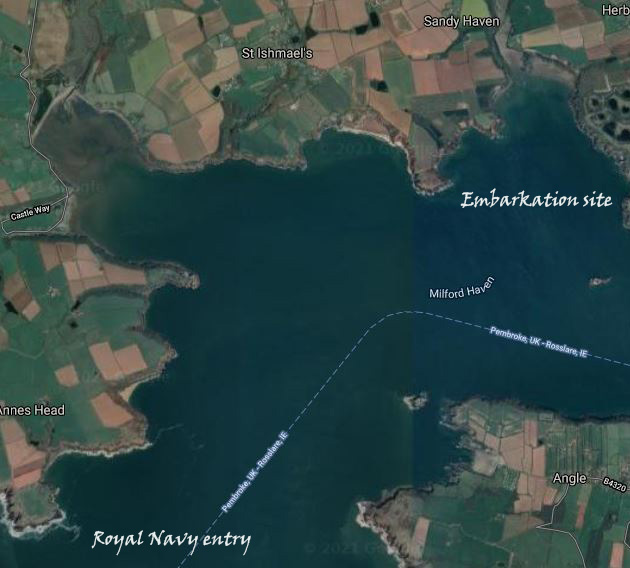 |
| Screen grab of the battle area. |
AYLMER
Things have gone badly for Monmouth and his army has been pushed west into Wales and now is positioned with its back to the sea near Milford Haven. The Royal army is within site of the landing places and poised to strike although negotiations between Duras and Monmouth continue.
Inland from St Ann's Head the waters are narrow and treacherous. You have heard rumour that Argyll will send ships south in an attempt to evacuate 2,000 of Monmouth's men and the Duke himself.
The navy has been embarrassed by the series of defeats inflicted up it and must redeem its reputation by capturing Monmouth, possibly Argyll and destroying any potential fleet sent to rescue the rebels. The waters of the Haven roads are both narrow and shallow. The enemy may possibly have large gunned ships as Warspite was recently captured with Deptford at Mull of Kintyre. Choose your fleet well.
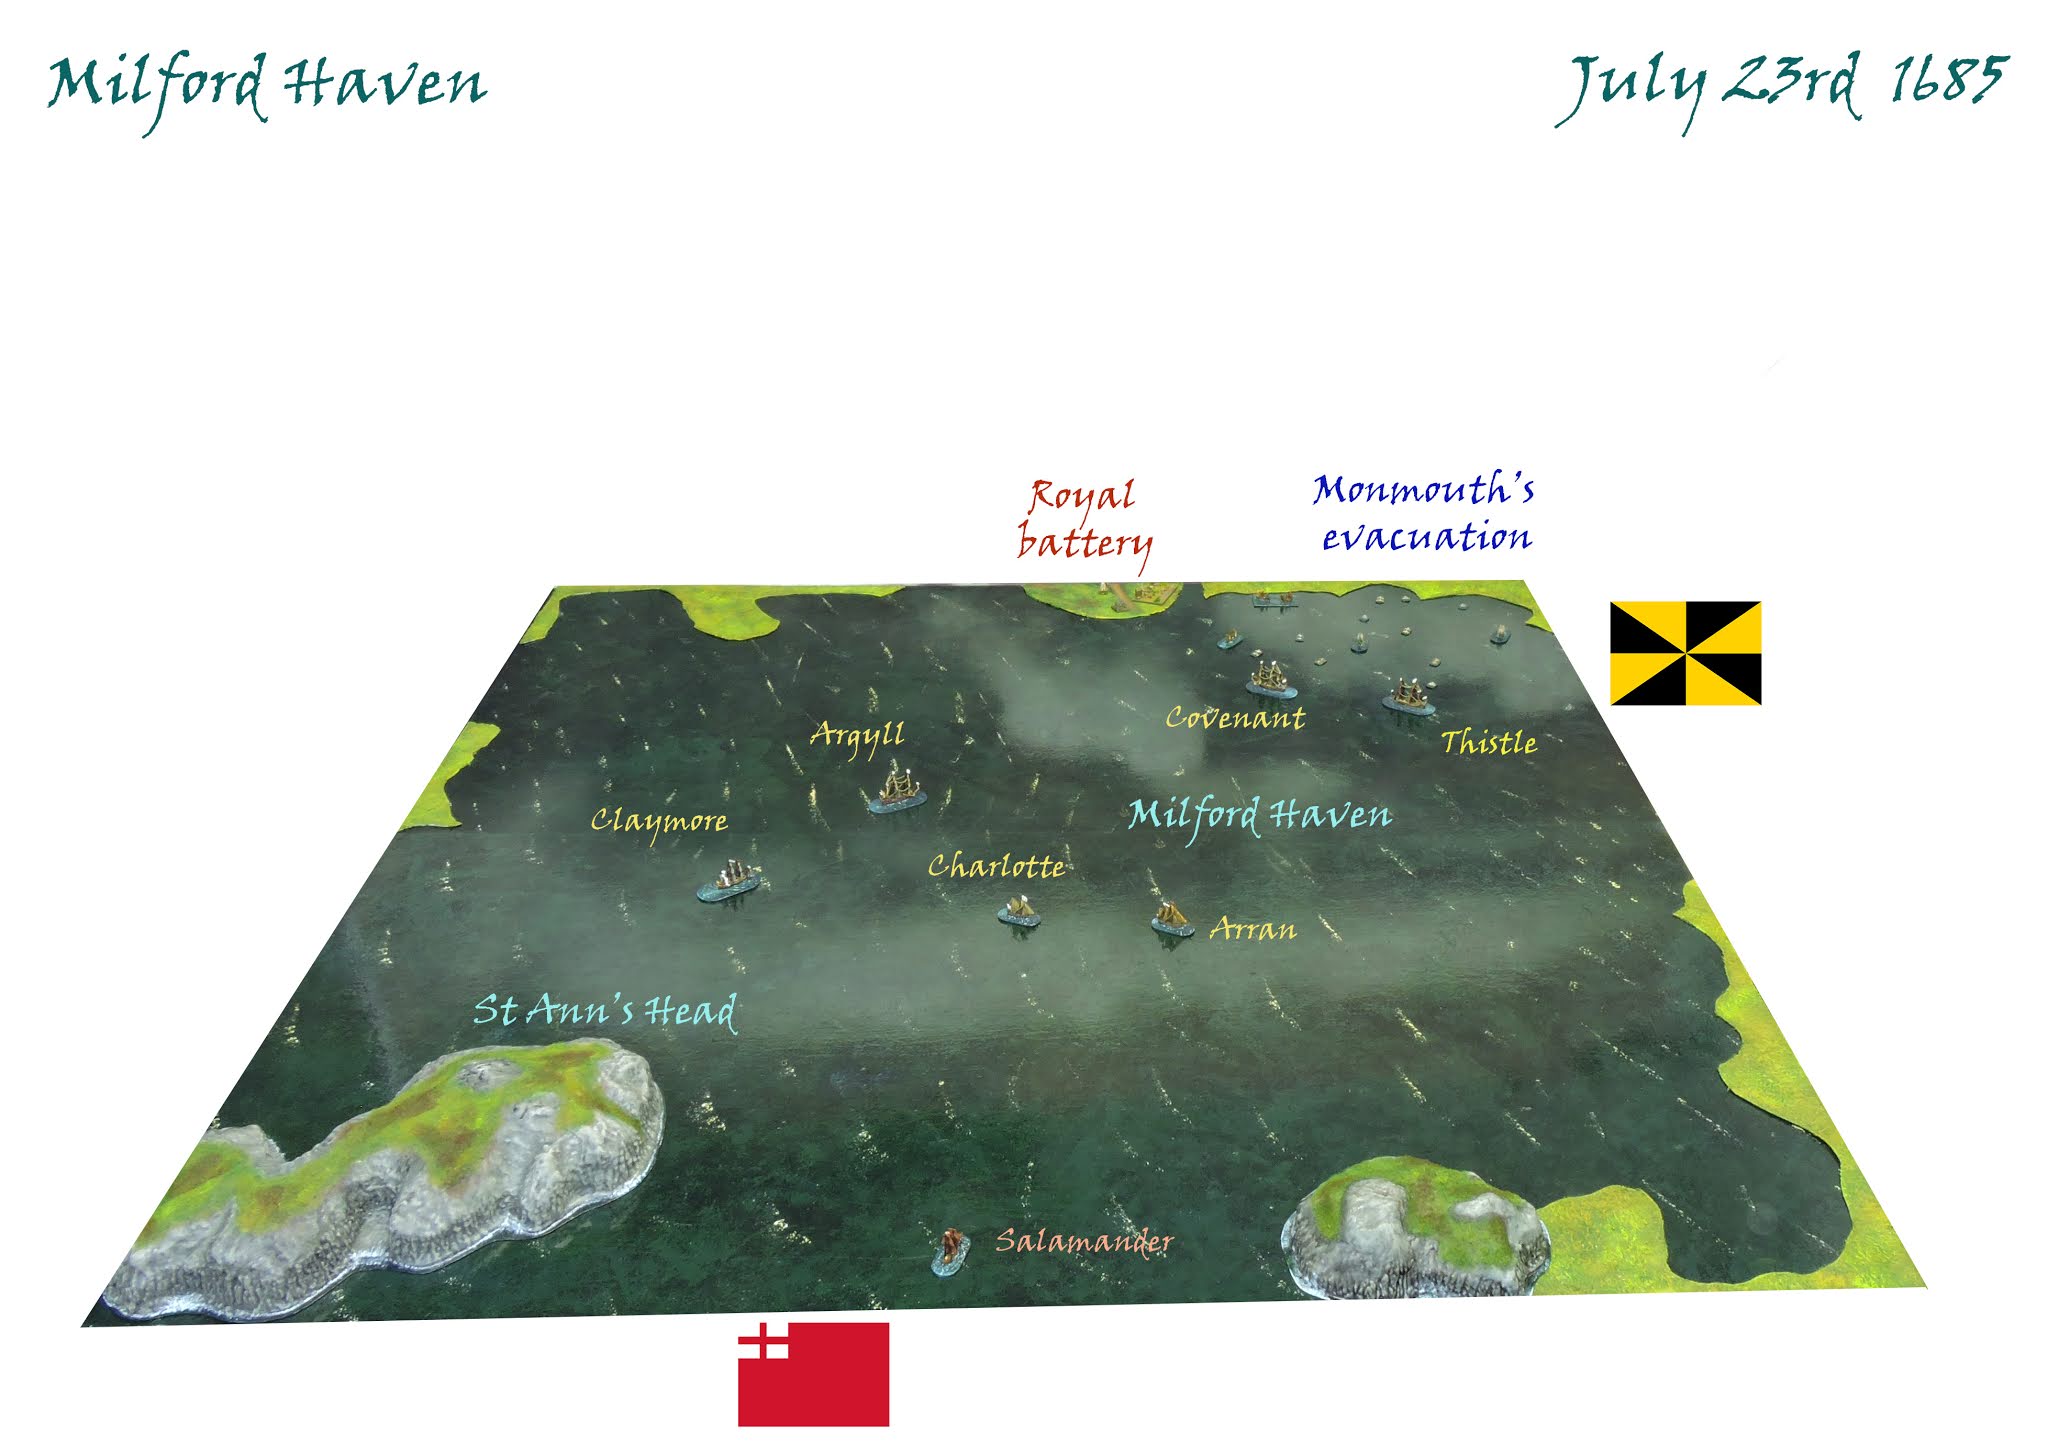 |
| The set up of the Milford Haven game looking from the west, wind in the south west. |
Here are your options, please choose one:
Sovereign 102, Drilled crew, Heavy guns, Marines, Flag officer Admiral Herbert +2 on ship morale/0 on squadron checks for fleet (Slow)
Mary 60, Drilled crew, Middling guns, Marines
Portsmouth 34, Drilled crew, Middling guns
625 points
OR
Mary 60, Veteran crew, Middling guns, Master gunner, Marines, Flag officer Matthew Aylmer +2 on ship morale/0 on squadron checks for fleet
St Albans 50, Drilled crew, Middling guns, Marines
Advice 42, Drilled crew, Middling guns, Marines
Portsmouth 34, Drilled crew, Middling guns
Portsmouth 34, Drilled crew, Middling guns
Salamander 10, Drilled crew, Light guns, Fireship
Dave chose option 1, Colin option 2. Both are seasoned players and know that the number of ships you have provides an initiative advantage. Colin was also wary of the possibility of running aground with Sovereign in the narrow waters of Milford Haven.
Colin's sailing order was - Salamander, Portsmouth Mary, St Albans and Advice. Dave had Thistle and Covenant anchored to receive Monmouth's survivors with Argyll and Claymore anchored in deeper water and the yachts patrolling off St Ann's Head.
 |
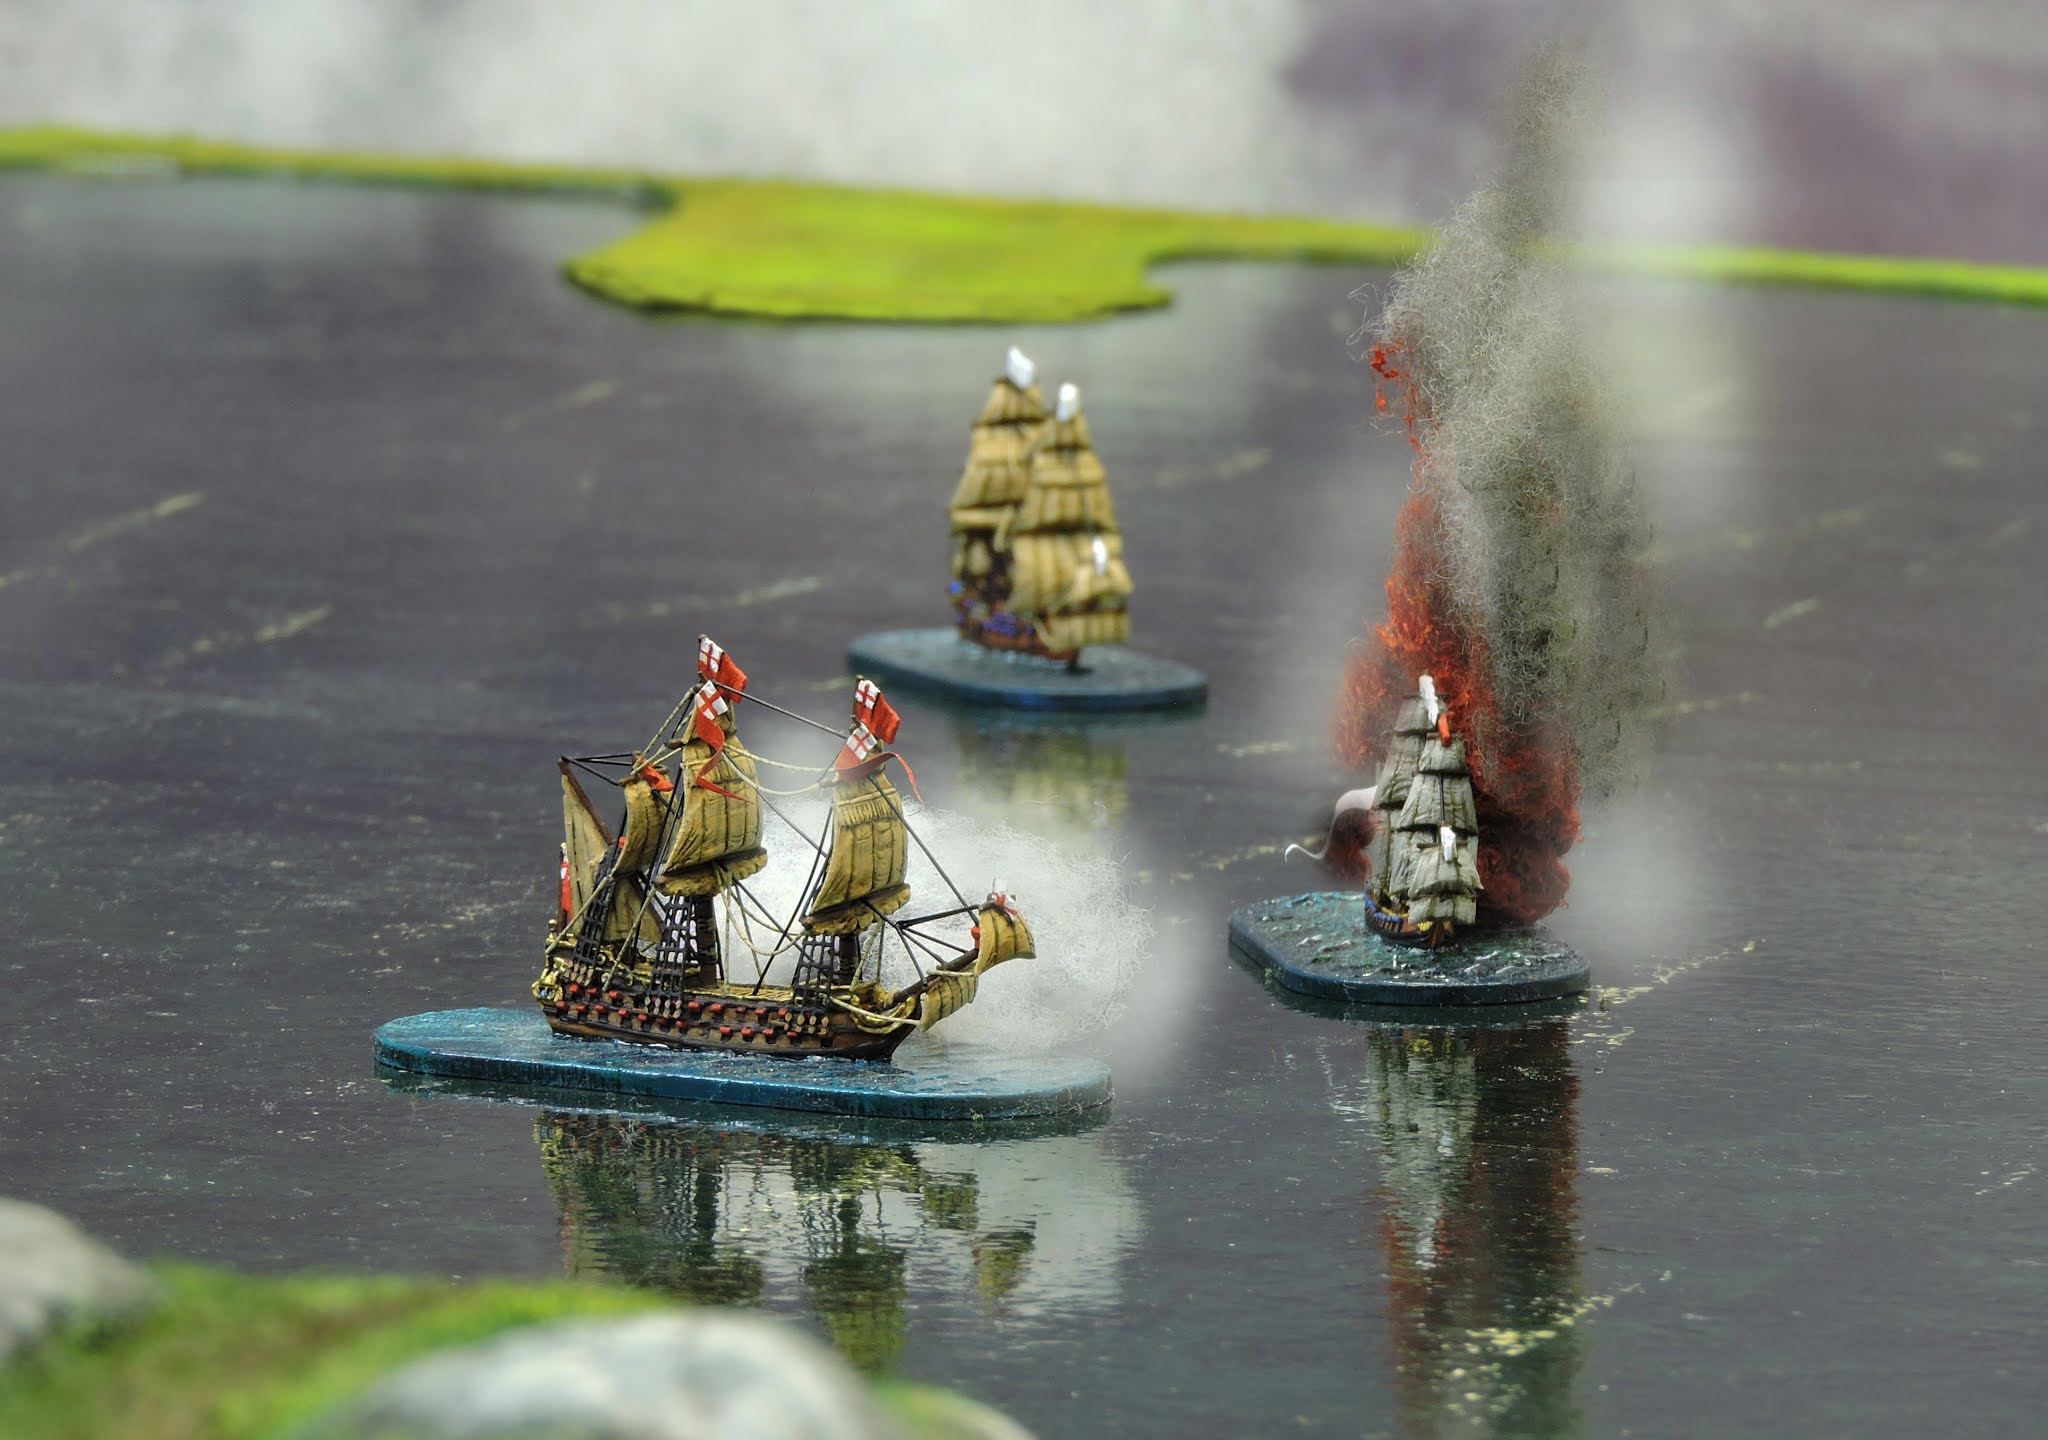
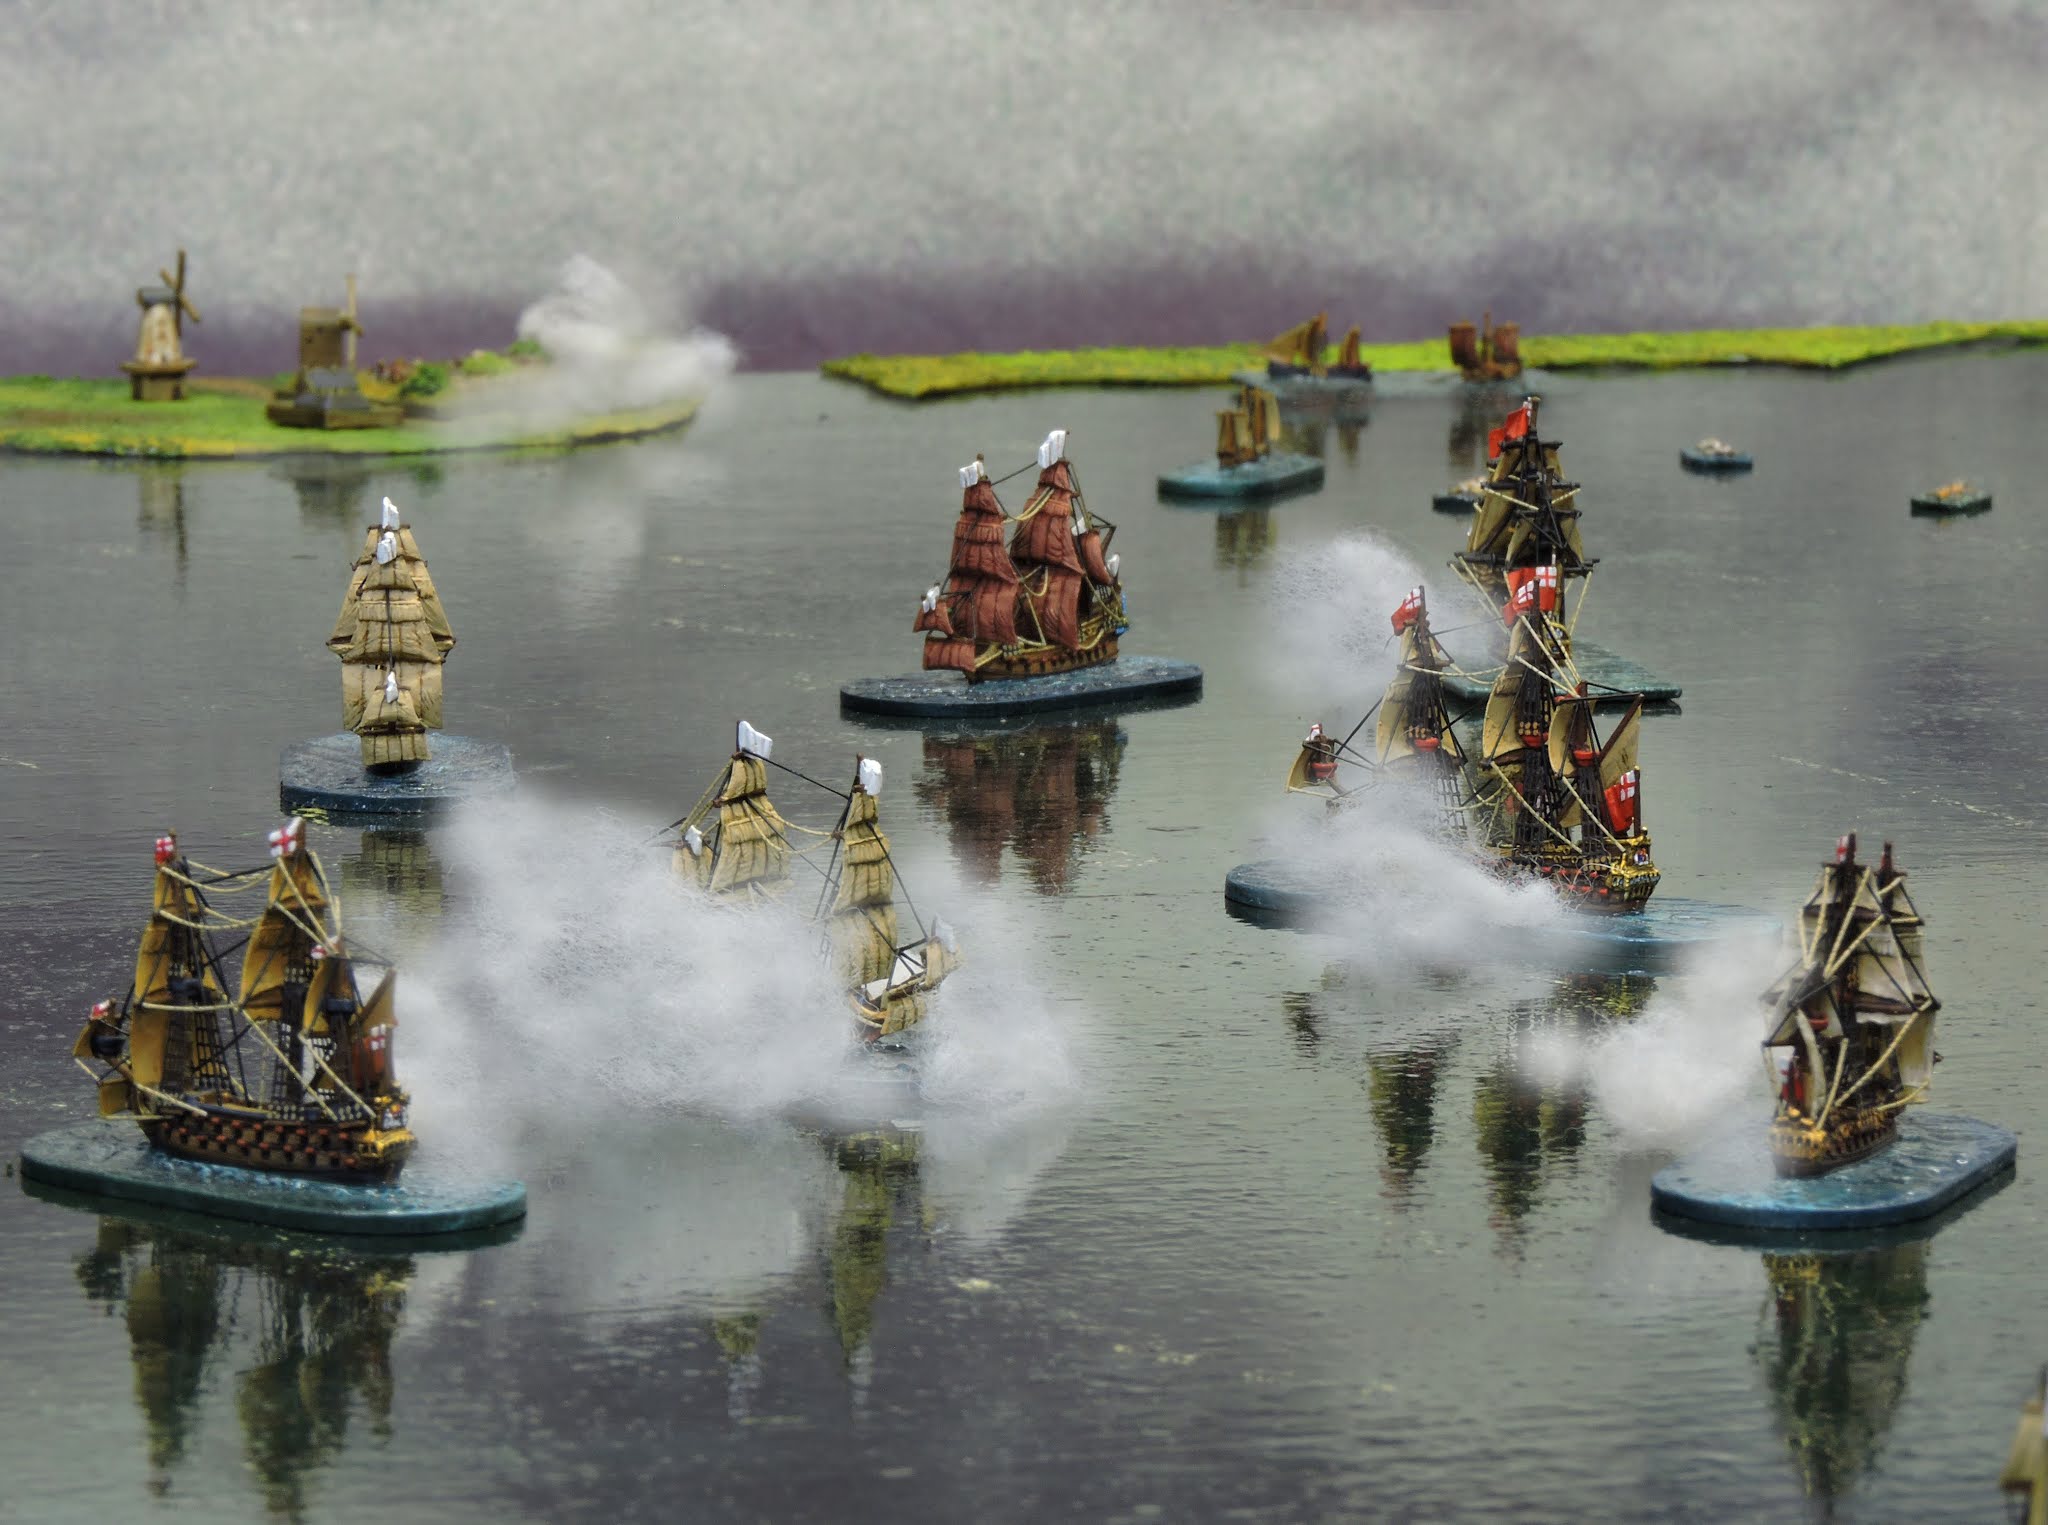
| Battle commences - The Royal Navy's view into Milford Haven. Salamander enters (foreground). |
What a battle it turned out to be. Salamander attempted to ignite as she entered the haven and exploded causing damage to the proximate Charlotte. As Argyll (aboard Argyll) got his two ships moving into the south westerly, the Royal Navy struck back for the first time in many hours of battle. The commander of Claymore misjudged his approach and fell under the guns of Mary.
 |
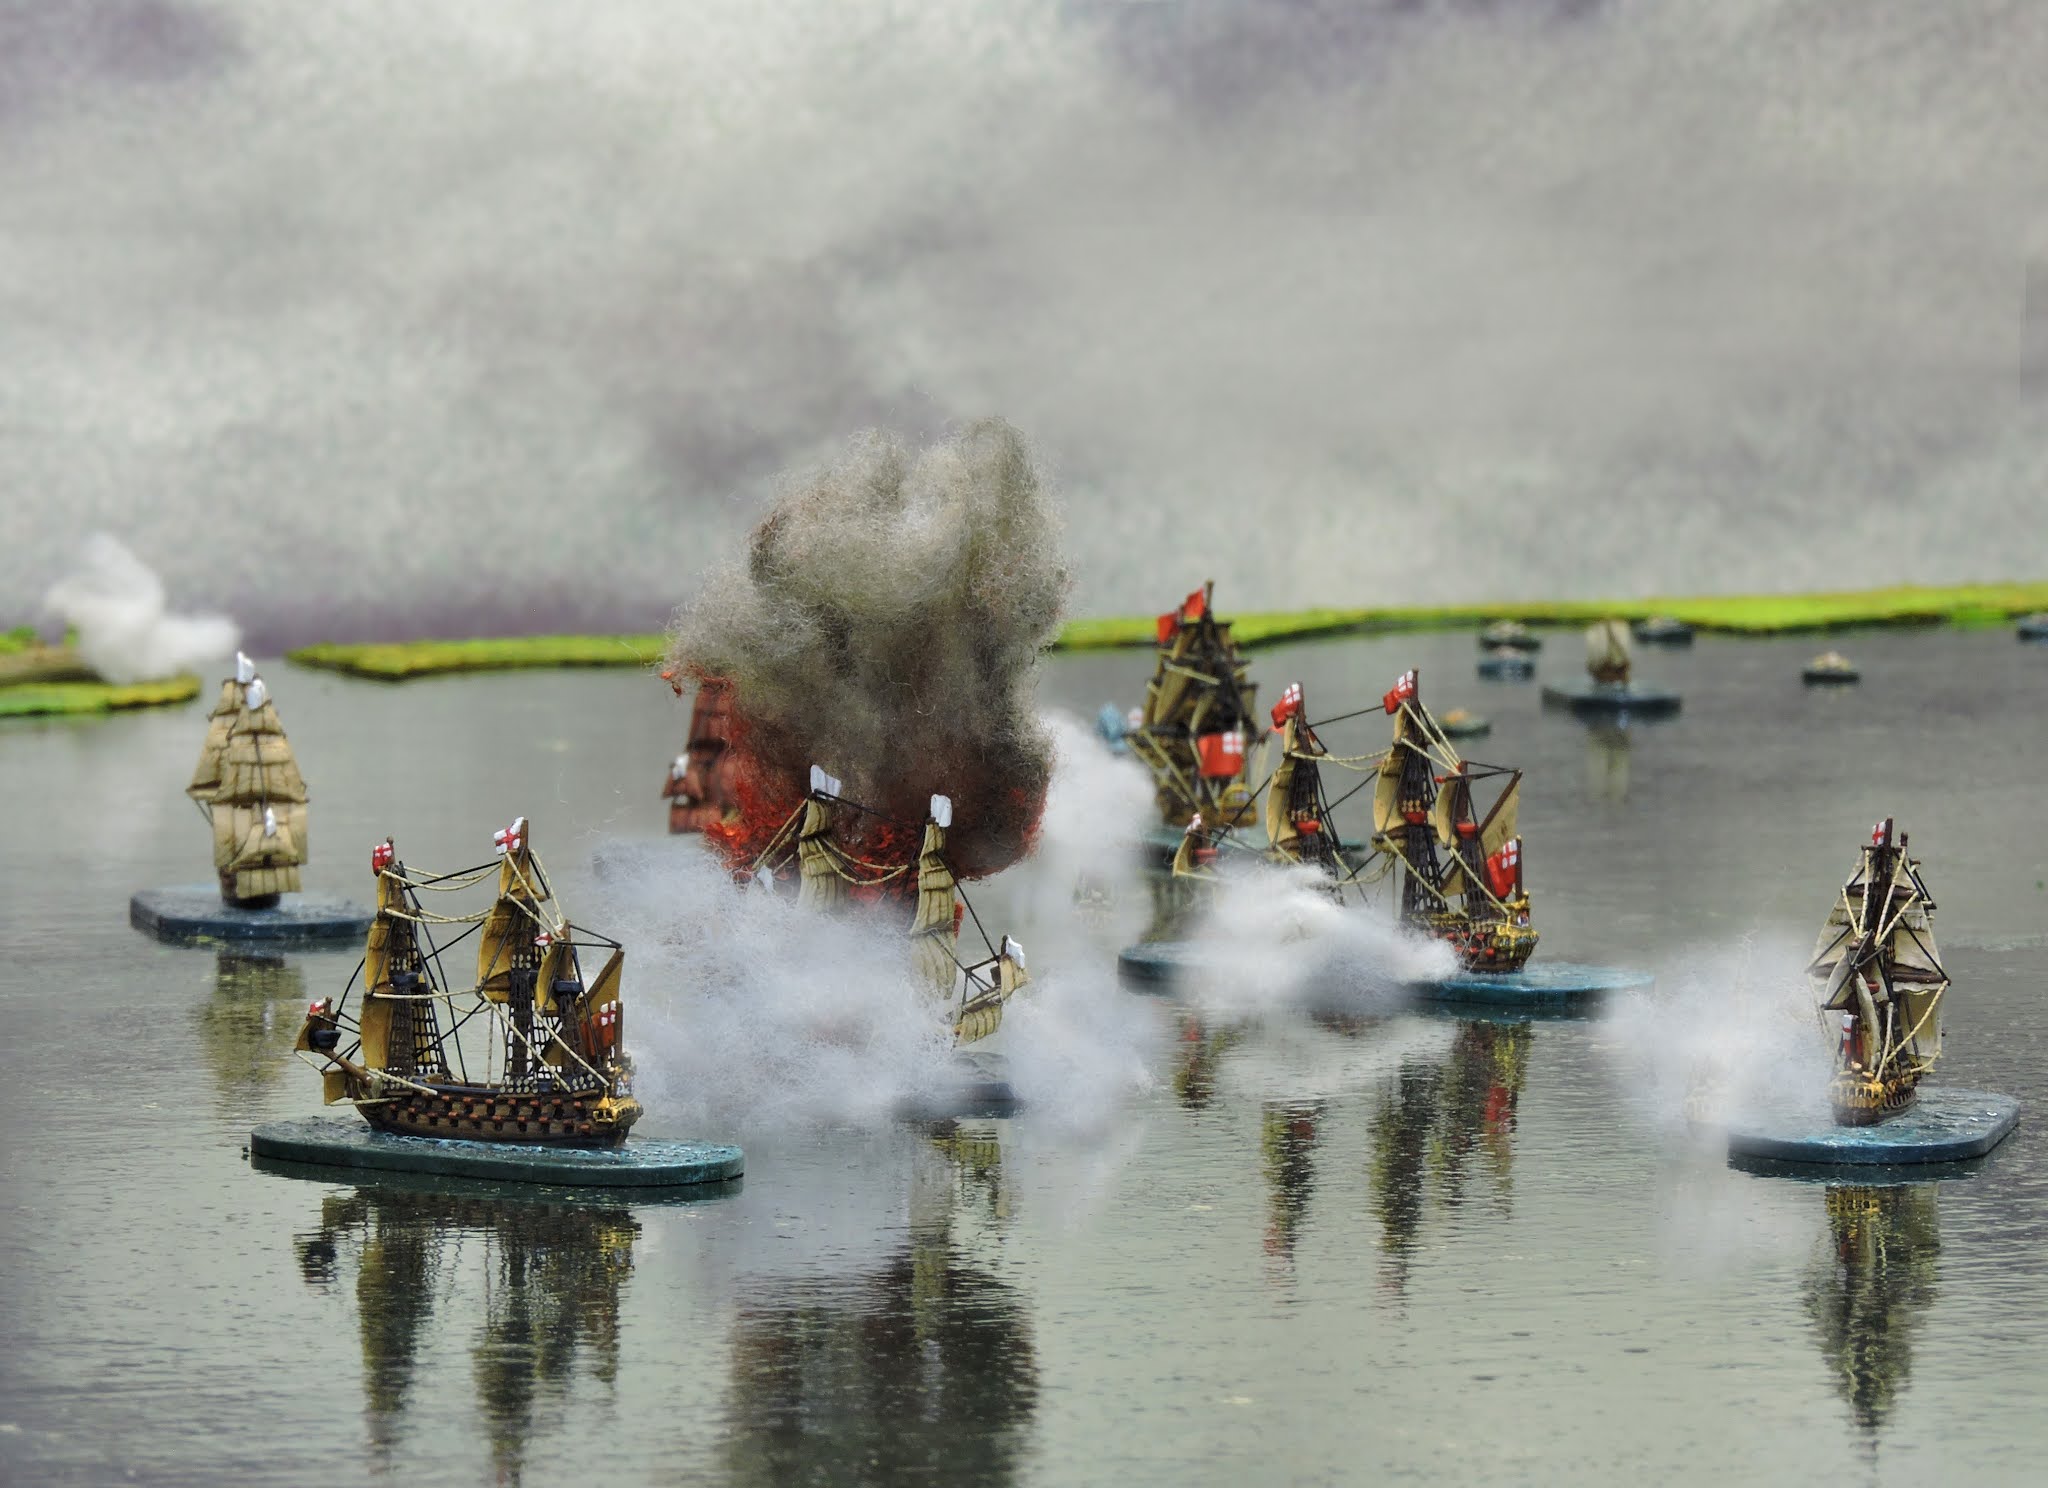
| Mary destroys Claymore by igniting her magazine. The larger ship sustained explosion damage. |
The broadside ignited her magazine and she vaporized. Sticking to his well honed tactic of close and board, Argyll had transferred soldiers from his larger ships to the yachts Charlotte and Arran. The latter attacked the 50 gun St Albans and almost captured her before being overpowered and herself taken. As the prize crew sailed her out of Milford Haven they collided her with the lurking Charlotte so damaging the latter that she struck her colours as she lay helpless from the damage. Suddenly, Argyll was left with three ships against the four Royal Navy vessels. He brought Argyll's head right into the wind and with some deft sailing headed straight for Mary. Aylmer's three largest ships had manoeuvred such that Advice lay off Argyll's starboard, Mary off her port and St Albans across her bow.
 |
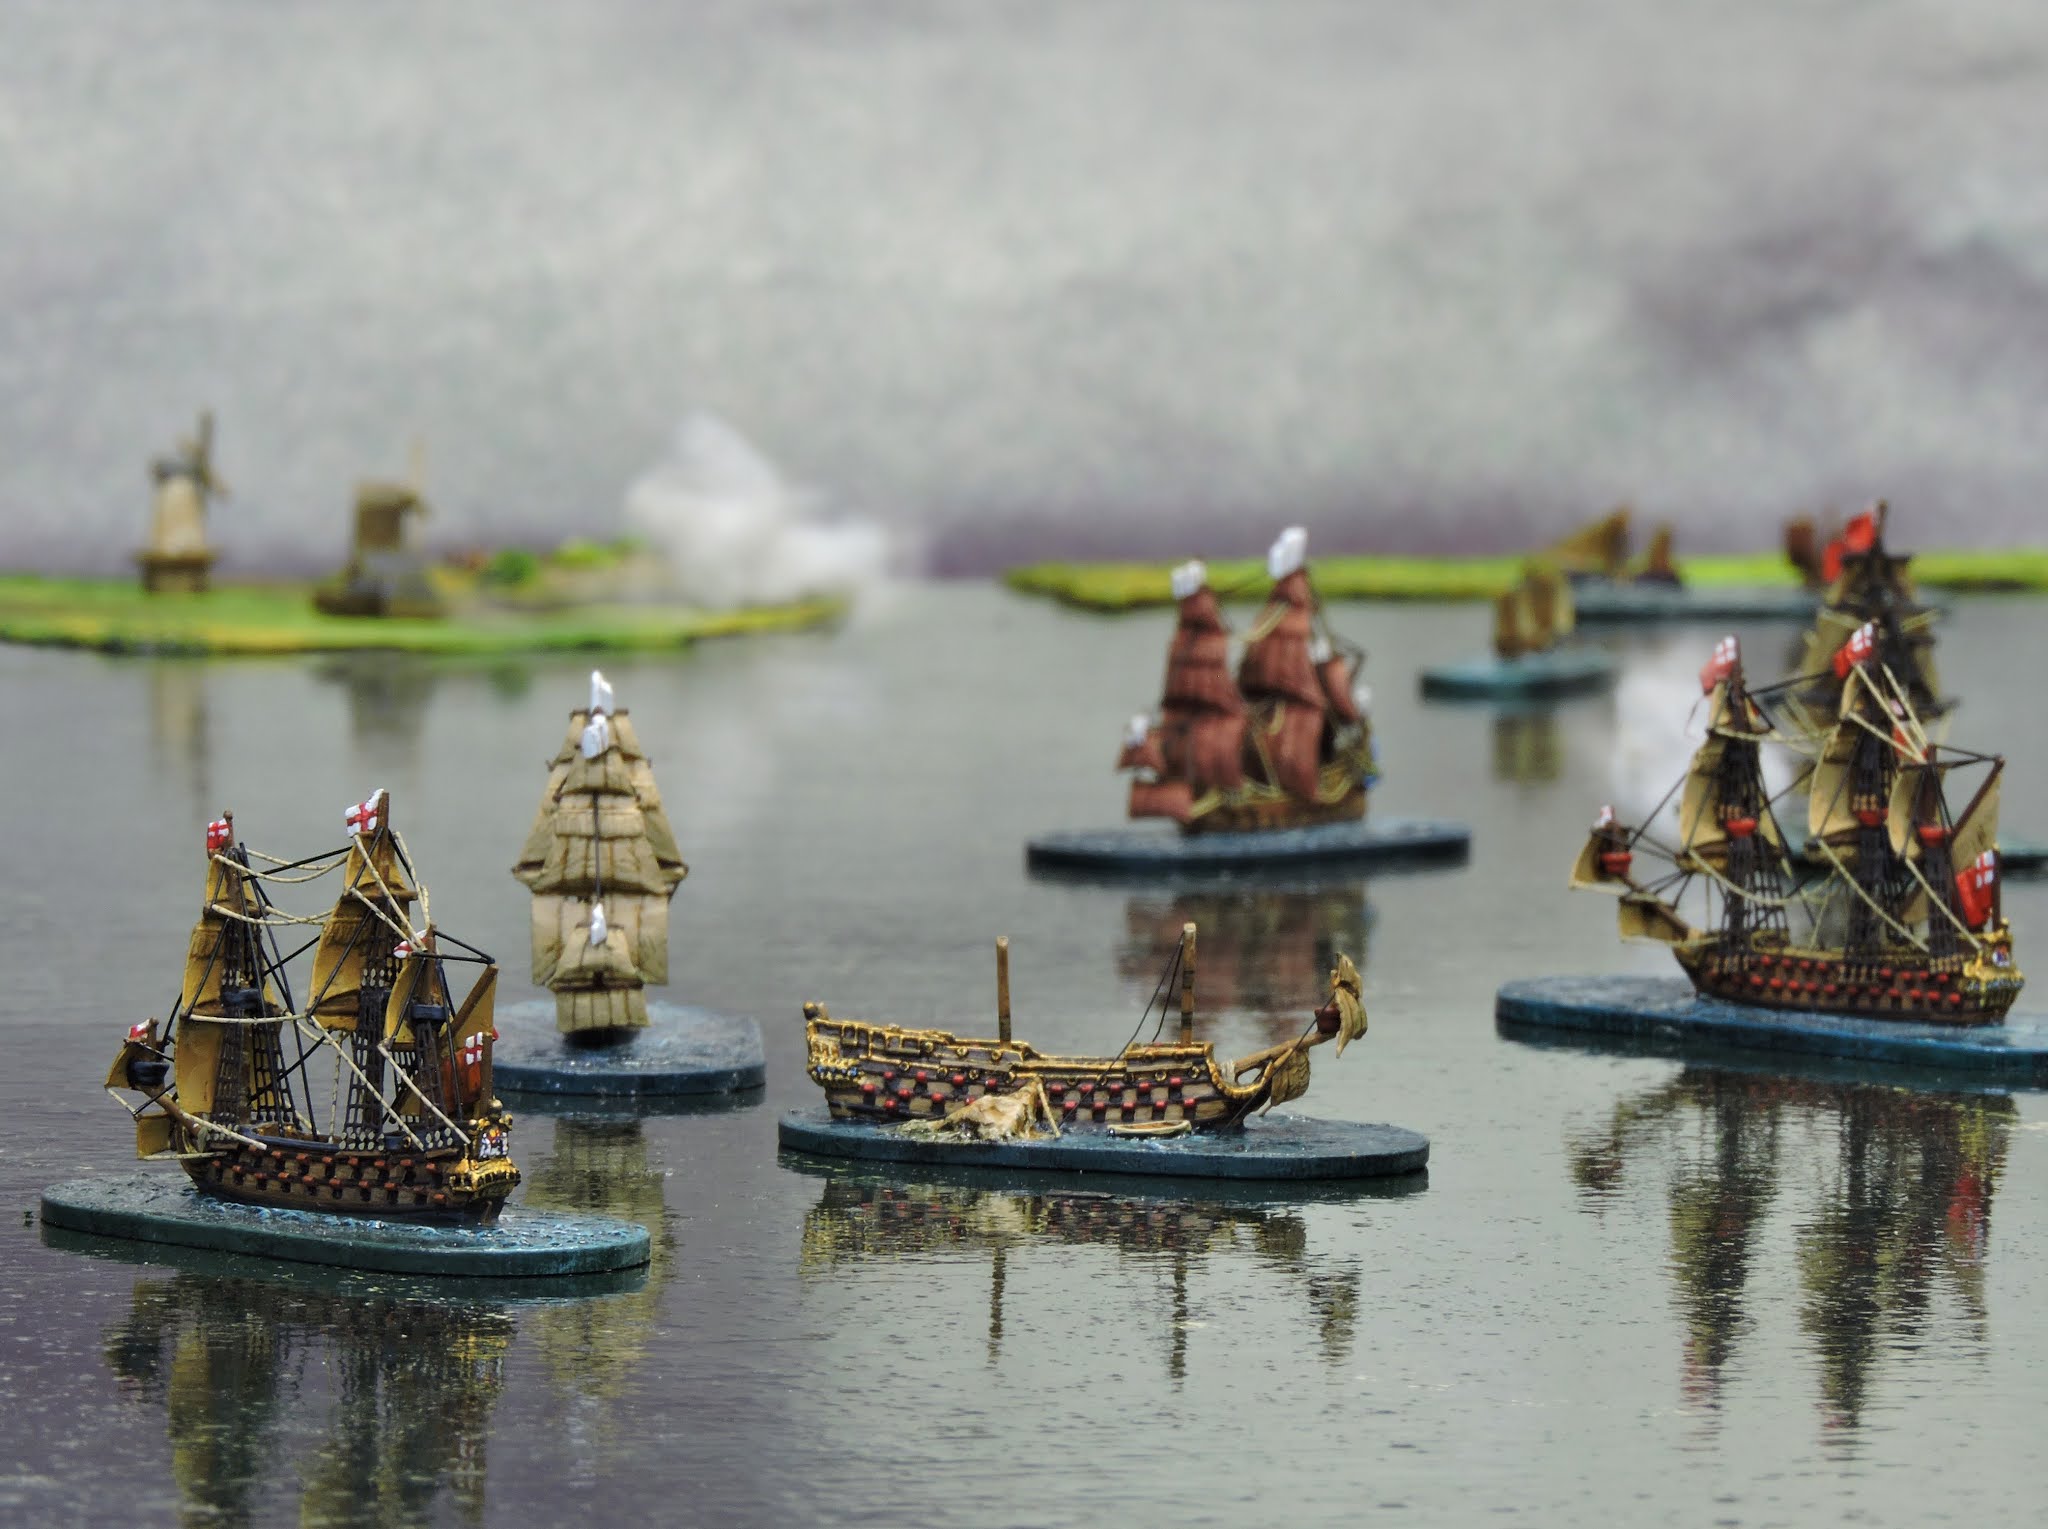
| First of a three shot sequence - Argyll centre left is under fire from front and flanks |
All three let rip with a combined 70 guns. Argyll fired both broadsides simultaneously but the welter of shot tore her apart and her magazine exploded. The flagship was completely wrecked and the Earl lost in the carnage. The damage to the royal ships was significant but now Aylmer smelled victory.
 |
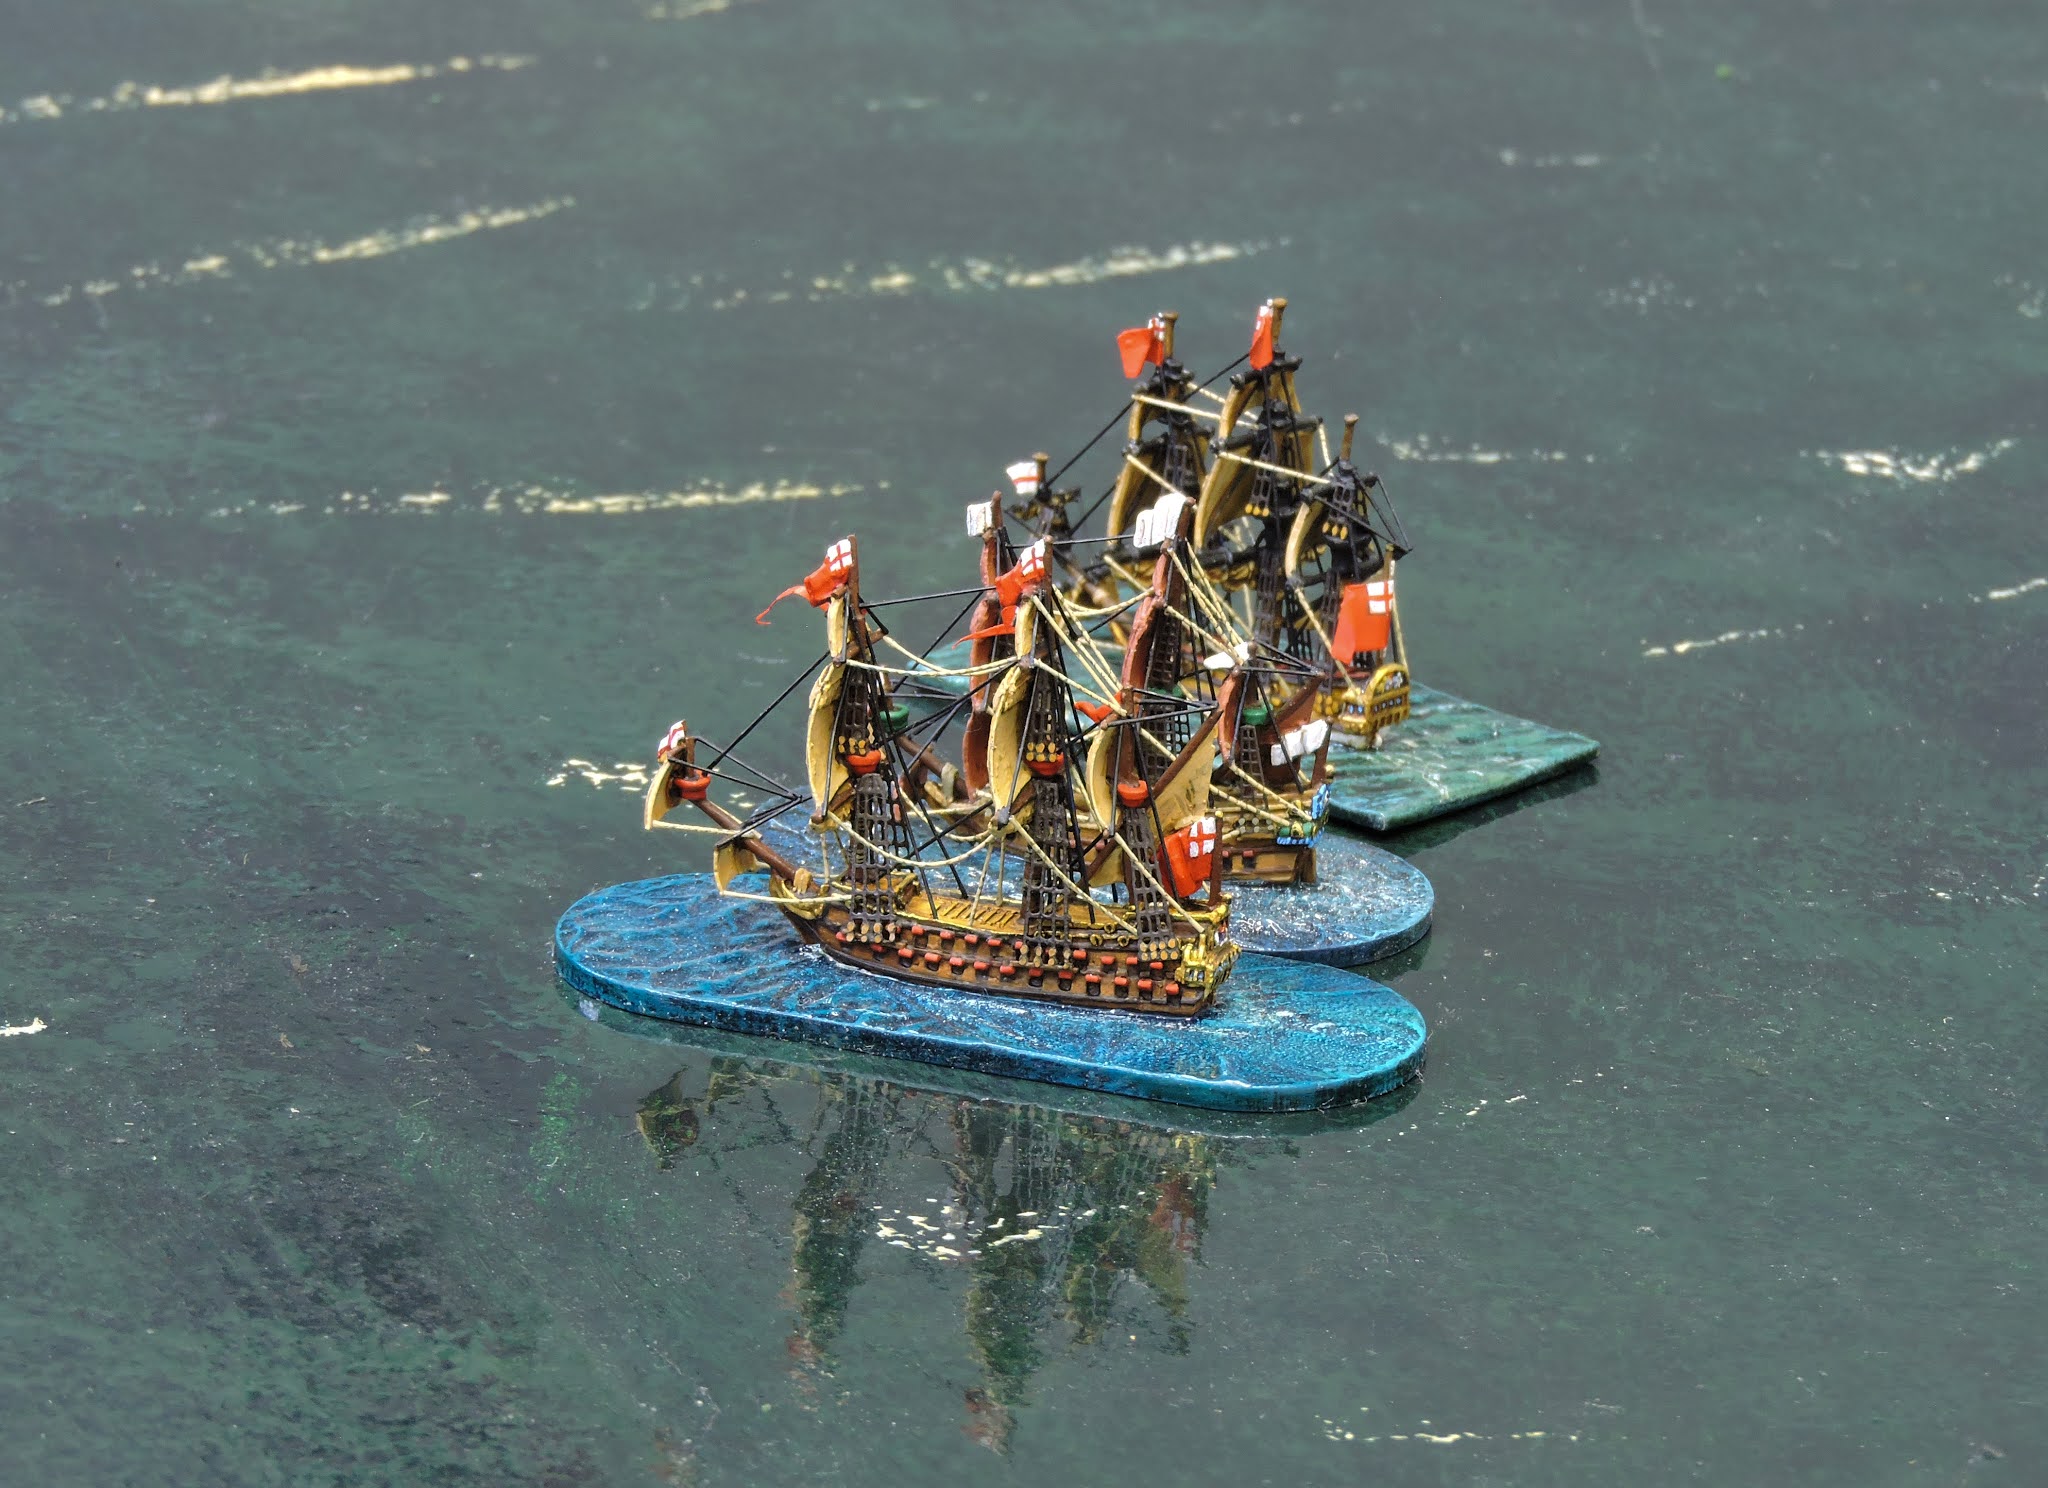
| A good end - both broadsides and bow chasers blazing - Argyll explodes killing the Earl. |
 |
| Shattered and lifeless hulk of Argyll |
His badly damaged Mary grappled with Thistle and a titanic struggle took place. It was found that the Duke of Monmouth was aboard this ship. He led the soldiers in a desperate struggle for survival. It looked that the Whig ship would overwhelm the larger Mary but then Portsmouth came up on her starboard quarter and grappled. The furious Whig crew fought them off forcing Portsmouth to cut her cables and retreat but in a final frantic combat, Aylmer's marines captured Thistle. Monmouth was struck down and almost decapitated in the combat which also saw Matthew Aylmer shot and mortally wounded in his moment of victory.
 |
| Portsmouth has been repulsed but Mary captures Thistle - Monmouth and Aylmer both perish. |
Covenant, the sole surviving Whig ship had almost reached St Ann's Head when Advice, the main architect of Argyll's fate, attempted to grapple her. Alas, the Scots vessel was able to repluse the attempt and sail away to an uncertain future with both leaders of the Whig revolt killed in the action at Milford Haven. King James was secure on the throne... for now.