 |
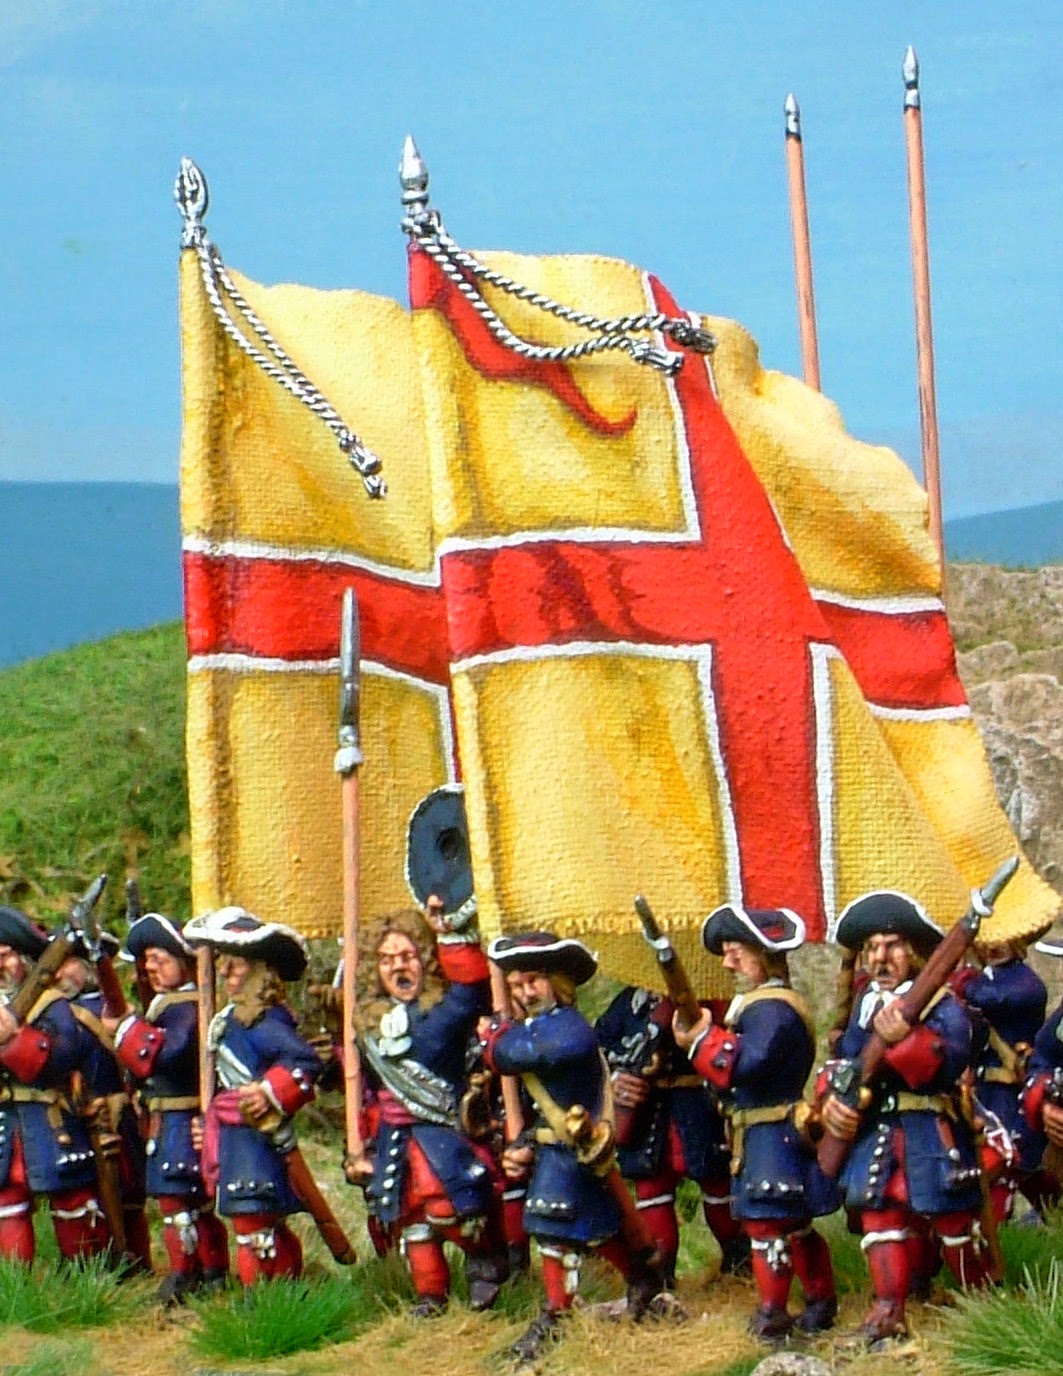
| Earl of Bath's Regiment 1690 |
In part 1 I explained the background about how i arrived at this strangely labour intensive by-water of wargaming. This part gives the detail of How to....
Raw materials
You will need
1. Linen material which is commonly
used for lining curtains (drapes to my American friends). Make sure it is
reasonably thin. I’ve never spent a penny on this stuff in my whole life as all
of it has come from domestic off-cuts when Mrs H has been making something new
for the house. This is used for the flag itself.
2. For the staff/pole use piano wire
cut with pliers. Available in most art/craft/model shops and pretty cheap.
3. Bostik or similar viscous slow curing glue.
This is used to secure the flag material to the staff. Do not use any type of
superglue as this reacts with the cloth instantly makes it brittle and with
prevent proper joining with the pole and possible cracking of the material.
 |
| Swedish veterans 1709 |
Craft Tool: I use a Minicraft
modelling tool with drill and grinder attachments. A grinding attachment can be
used to achieve a very passable Finial on the pole in less than 20 seconds. Use
the flat of the tool to make the point and the edge to ‘groove’ the reduced
neck of the Finial. Watch out, the metal will get very hot when you grind it.
The drill can also be used to `drill
out’ or enlarge holes in hands which
take the flag pole.
If you wish to add cords or ribbons
you may use twisted fuse wire, thin paper strips, thin cords or thick thread or
etched brass pieces such as oak leaves etc. Secure these with superglue (crazy
glue) not Bostik.
 |
| Schlammersdorff's Green Germans |
- Cut a suitable length of piano wire with pliers and make it much longer than you need to have in the figure’s hands when finished. It is better to find you flag pole is too long (you can cut it) than too short.
- If you wish to, fashion the Finial using either manual or electric modelling tools.
- Coat the upper length of the pole (between the Finial and the length of the flag in the hoist) with the slow curing glue. Lay the flag material flat and place the pole on the material and 3-5mm from the edge (in the fly).
- Gently roll the pole so than the edge of the material is caught underneath the main body of the flag thus sealing it to the pole. Use the flat edge of your scalpel to run along the new join and seal it. Place aside to dry for at least two hours.
- The flag is now ready to take paint. I usually saturate the whole flag in a coat of the base colour and let it dry. This will add some rigidity.
- I like to paint the designs free hand and I know this is not everyone’s cup of tea. I usually paint the design in flat basic colours at this stage which, depending on the complexity of the design can take between 30 minutes and two hours. Once completed you can begin the shaping and shading.
- Apply some controlled heat to the flag. I have a metal tray placed permanently over an oil radiator which runs on full power. This gives off considerable heat which will soften the flag at critical moments during production. After the flag has absorbed some heat fold it and pull it gently into the shape you desire. This is trial and error. As you do this the areas which require highlighting become very obvious.
- In applying the highlights I will often go up to six or seven shades above the base colour but be careful of overdramatic changes in shade which look odd.
- Be patient, if you make a mistake go back over it. The material is very forgiving.
- Continue to reapply the heat when necessary to restore the shape you want. If the shape is not `taking’ or springing back, quickly blow on it to cool and thus fix.
- If you need to put a fringed border on the flag paint a thin dark brown line around the edge and then speckle with a fine brush in your chosen colour. Yellows, Whites and metallic colours are best for this.
- At this stage add the cords by twisting `ropes’ of fuse wire to the required thickness. If you are really ambitious you may even attempt the knots! Secure these with Superglue and over paint any spoil it creates at it is very runny.
 |
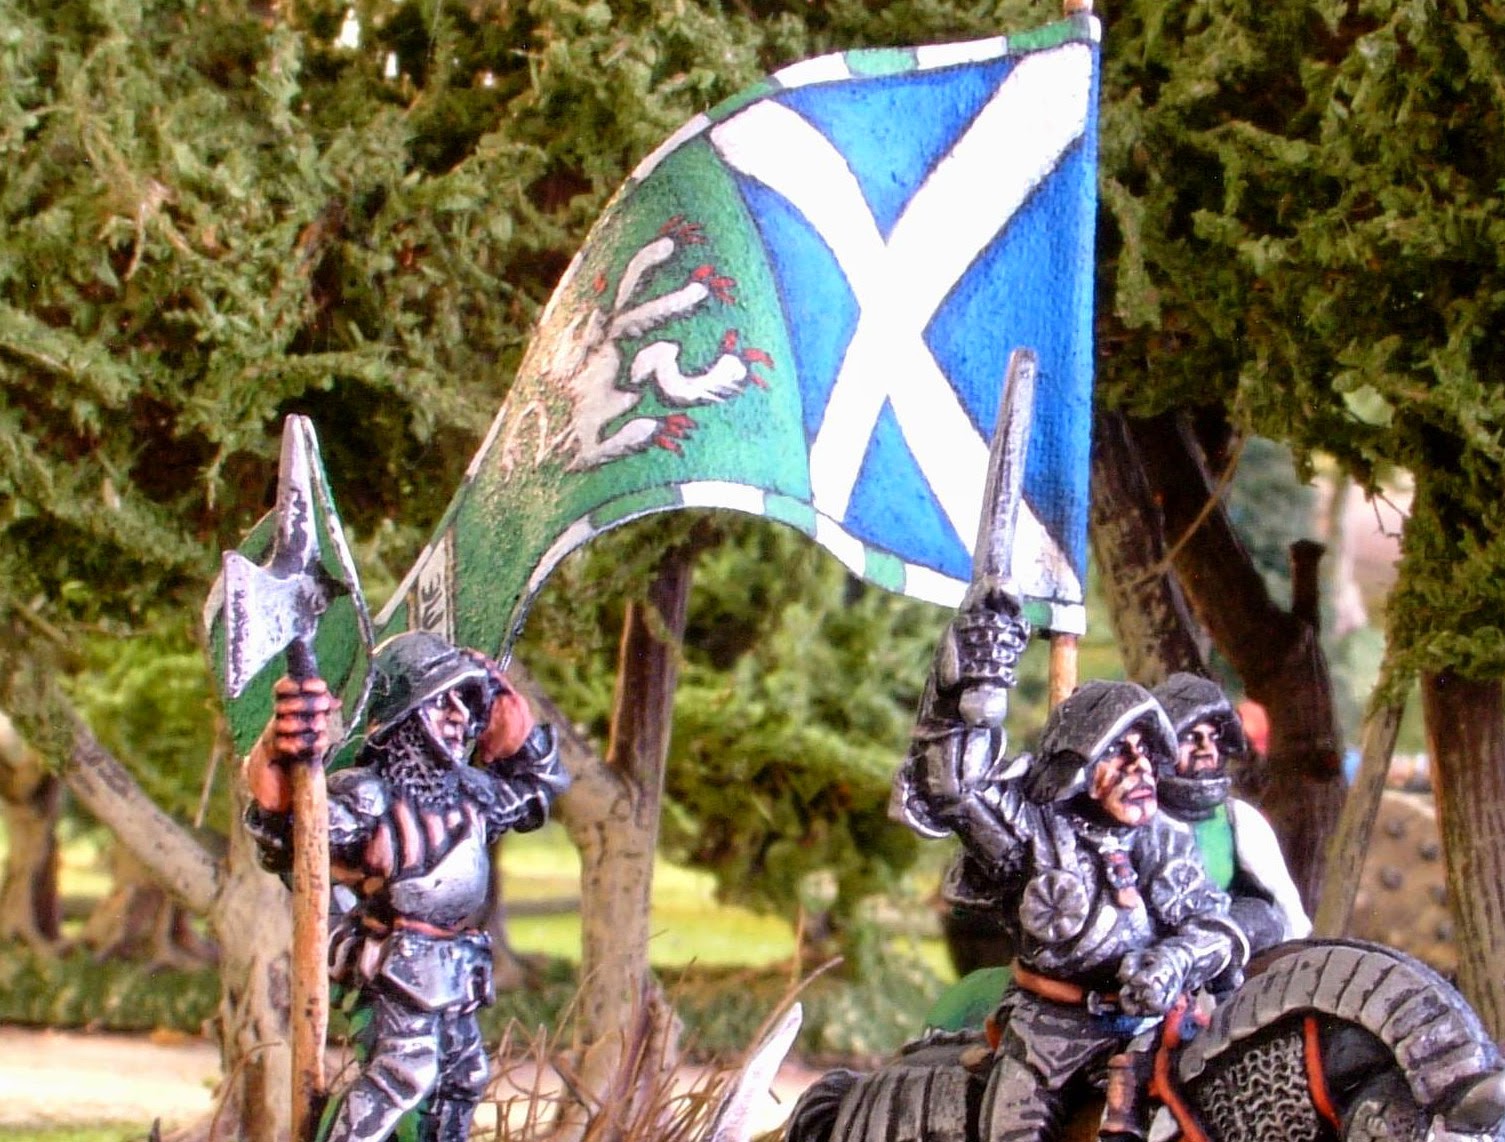
| King James IV of Scotland |
- Cut the pole to the correct size for the figure. Try and resist painting the pole till you have done this. If you paint it before glue-ing then the join will be a fragile paint to paint or paint to metal one and easily broken. Ideally I leave painting the figure’s hand until this stage also. A little awkward I know but it means a metal-metal join with superglue which is usually pretty strong. You then just have a fiddly little paint job to finish.
- I have never found it necessary to varnish the flags when finished as the paint is so ingrained into the fabrics that it cannot be scratched or chipped off. A light spray of varnish may however act in the same manner as hairspray and hold the shape.
 |
| Earl Home |
Now, doesn’t that look nice?
 |
| Swedish Cavalry |