Friend of the Blog Peter A takes us with him on part one of his three part odyssey following the Williamite Wars in Ireland - The Walls, the River and the Fort – wanderings in ancient Ireland
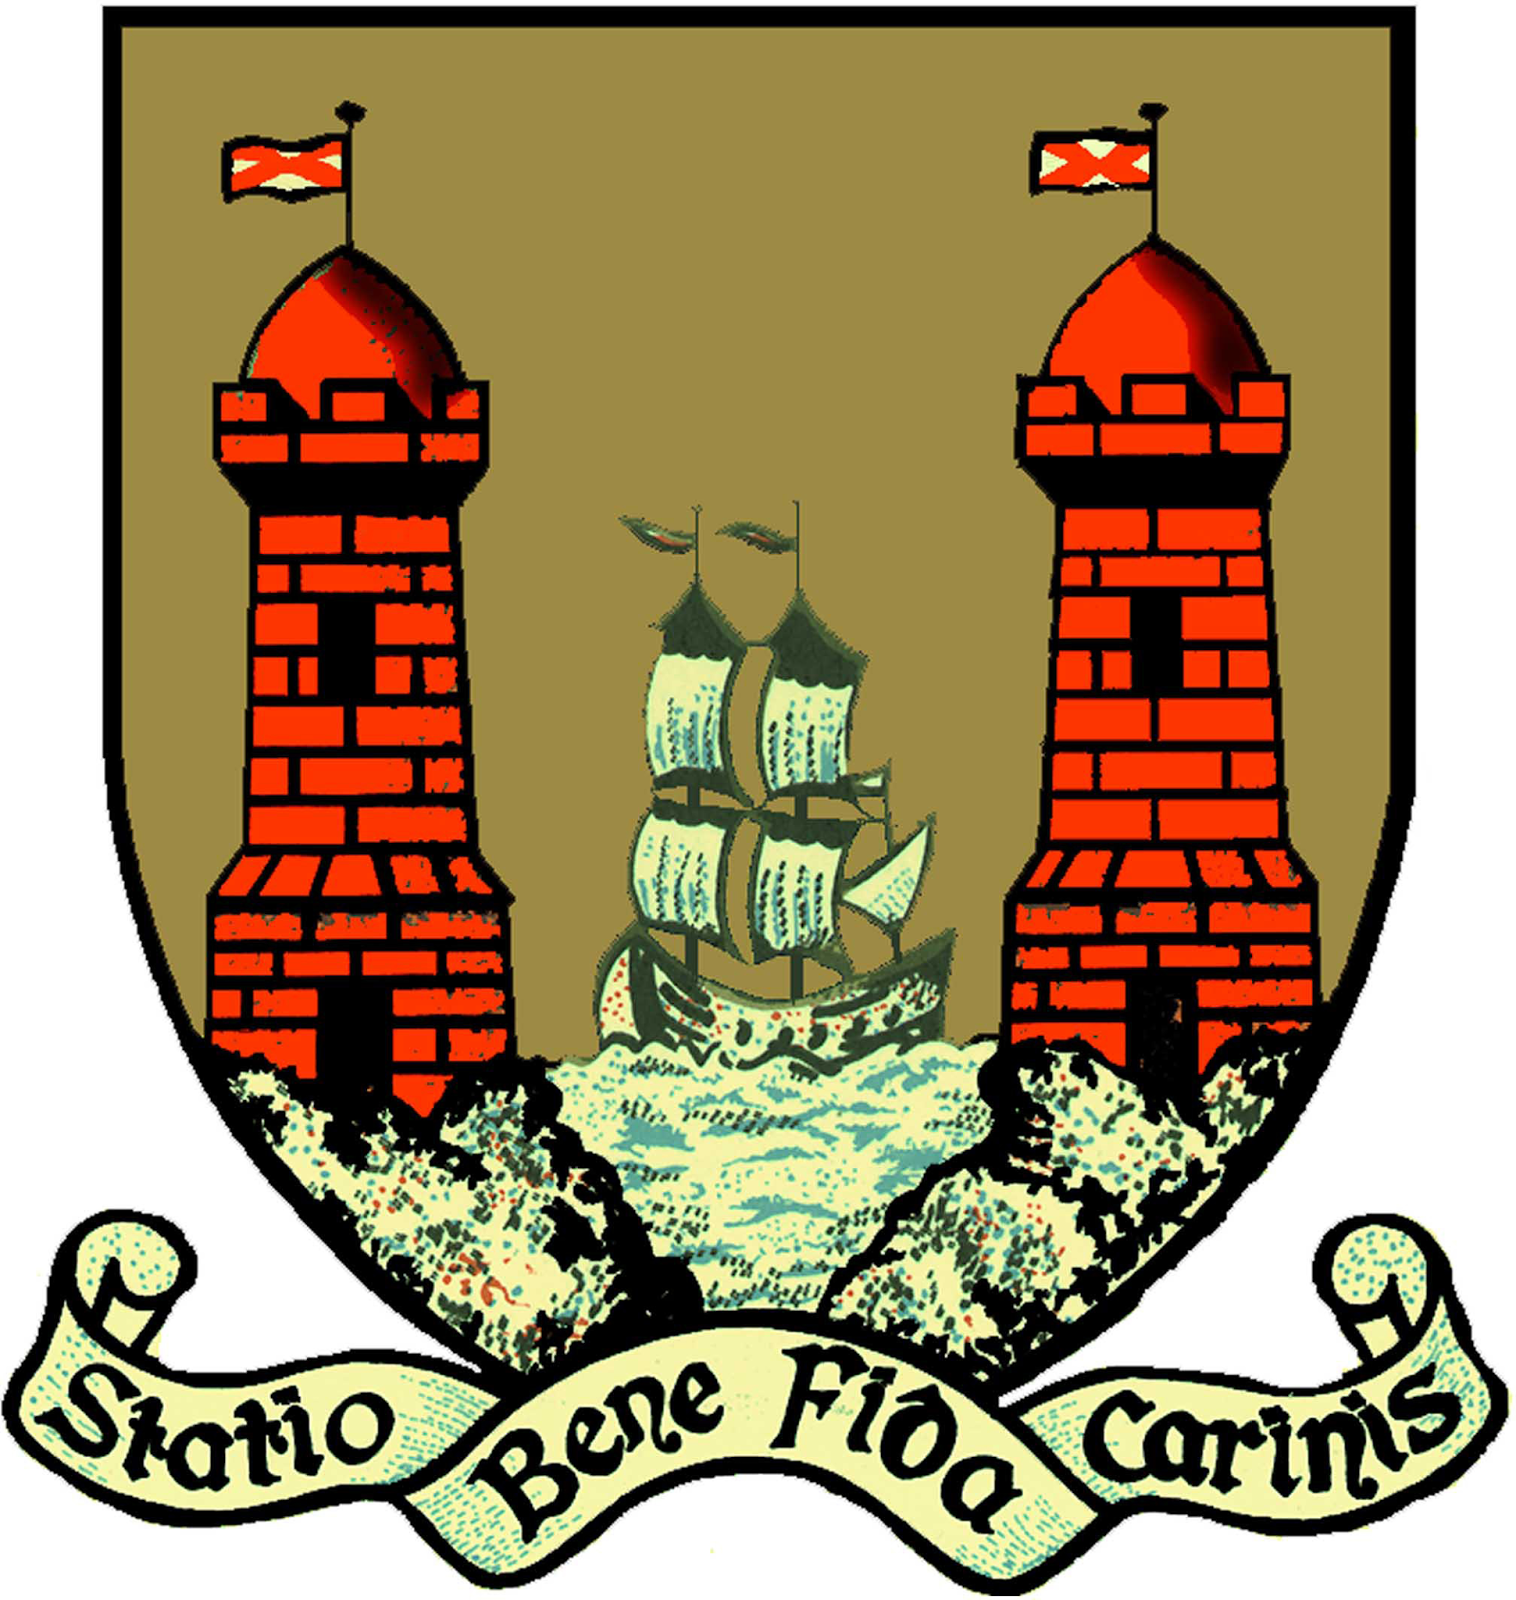 |
| Arms of Cork - a safe harbour for ships |
1. This report is in 3 parts. First, the siege and taking of Cork – the breach and destruction of its medieval walls - which were unfit to resist determined late 17th century artillery. Second, the siege and capture of Limerick – a city girdled by the wide, fast-flowing and fabulous river Shannon that flows round the city and then on to the sea.
The city of Cork in southern Ireland. Scene of the Earl of Marlborough’s first independent command. The city is made of red sandstone and white limestone. And from these two materials come the colours of Cork. Marlborough attacked from the South and East – whilst his colleague the Prince of Württemberg camped on the hills to the north facing the North Gate. Cork, the walled medieval town was virtually an island. It was surrounded by marshy and swampy ground. Almost impossible to manoeuvre on.
Finally the siege and capitulation of Fort Charles in Kinsale – the strongest and best defended starfort in Ireland. State of the art in 1690 but no match for Milord Duke and his allies…
The city of Cork in southern Ireland. Scene of the Earl of Marlborough’s first independent command. The city is made of red sandstone and white limestone. And from these two materials come the colours of Cork. Marlborough attacked from the South and East – whilst his colleague the Prince of Württemberg camped on the hills to the north facing the North Gate. Cork, the walled medieval town was virtually an island. It was surrounded by marshy and swampy ground. Almost impossible to manoeuvre on.

2. The‘map’ taken from Marlborough’s
papers showing the dispositions of the troops and the artillery for the siege
Marlborough’s forces first took possession of a small
redoubt called ‘The Catt’. This was in an elevated position overlooking
Elizabeth fort – a key feature and strong point that lay outside the city
 |
|
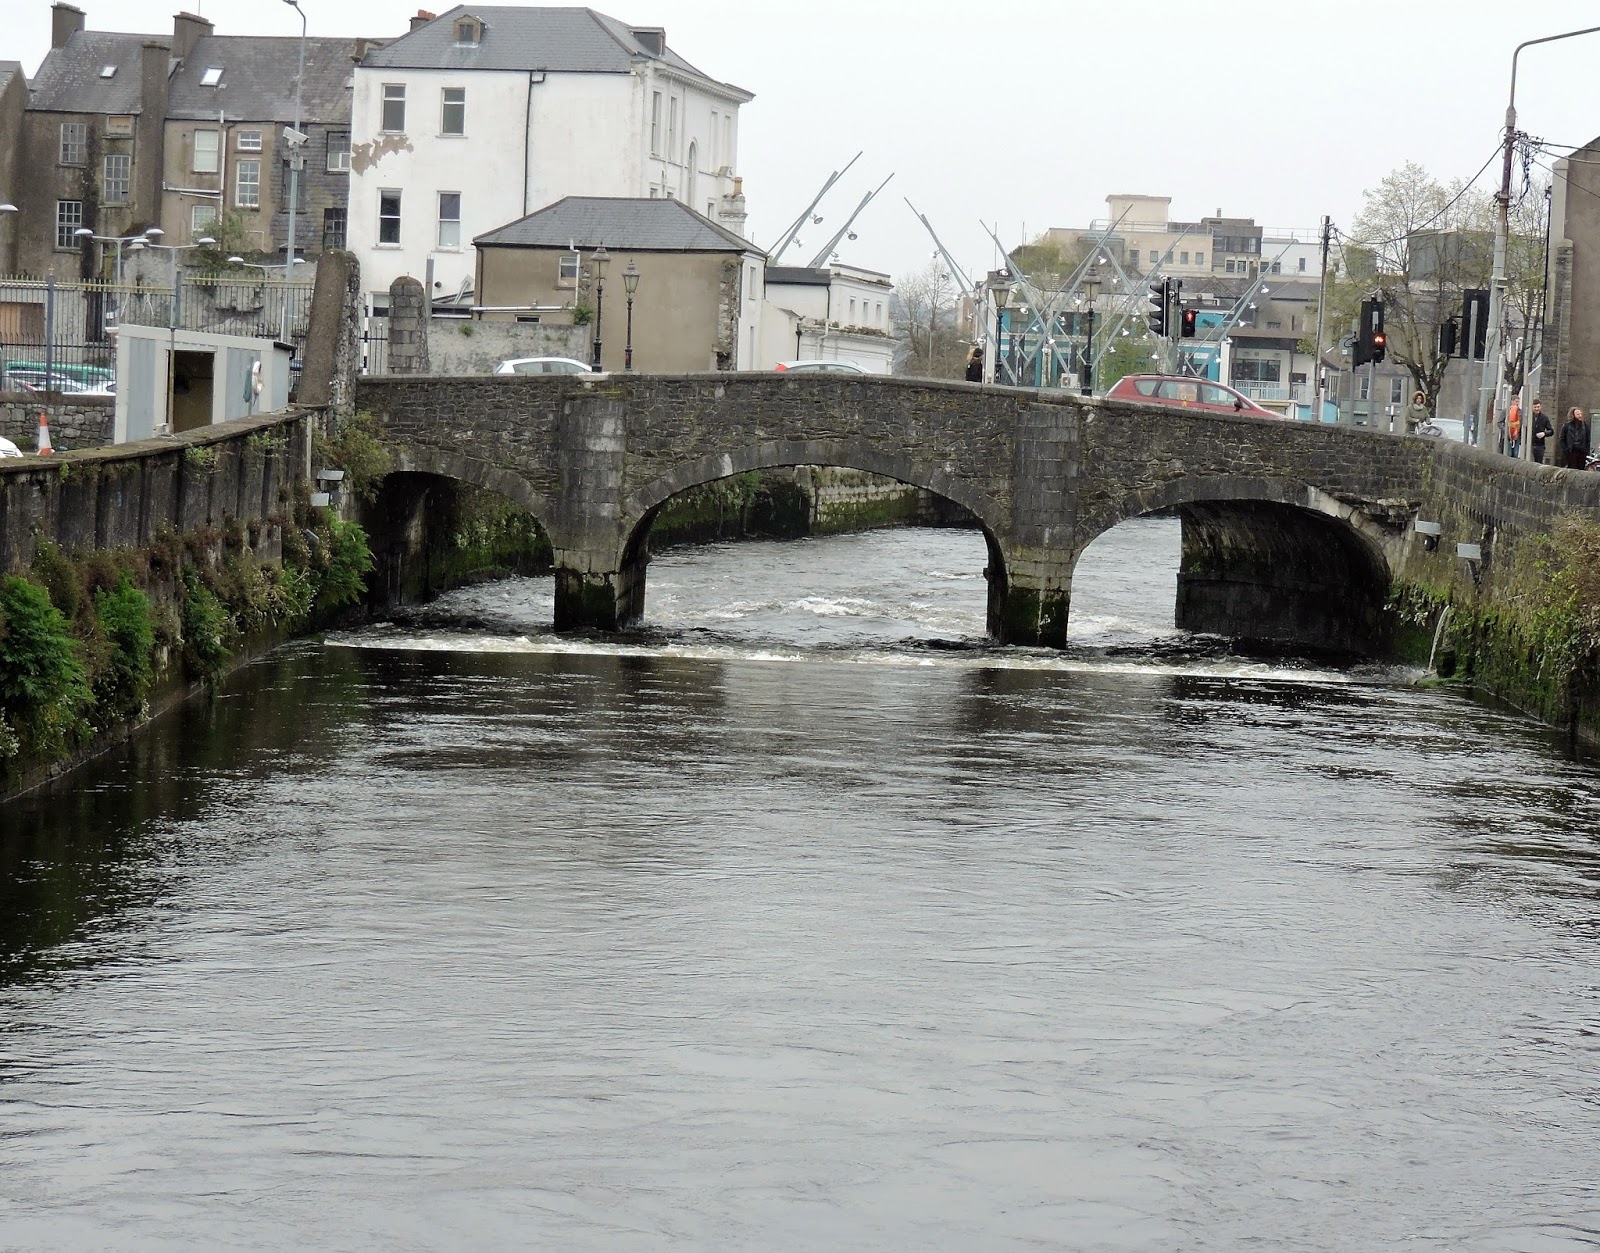
The south gate bridge today
|
 |
| Elizabeth Fort |
From the Catt, allied
forces rained down artillery fire on Elizabeth fort and the city walls. Further
East by The Red Abbey (built of red sandstone), an old Augustinian monastery,
Marlborough set up another battery to pour cannon-fire on the walls of East
Cork. As was his wont, John Churchill also used the tower of the Abbey as a
vantage point to view the prospects and progress of the siege.
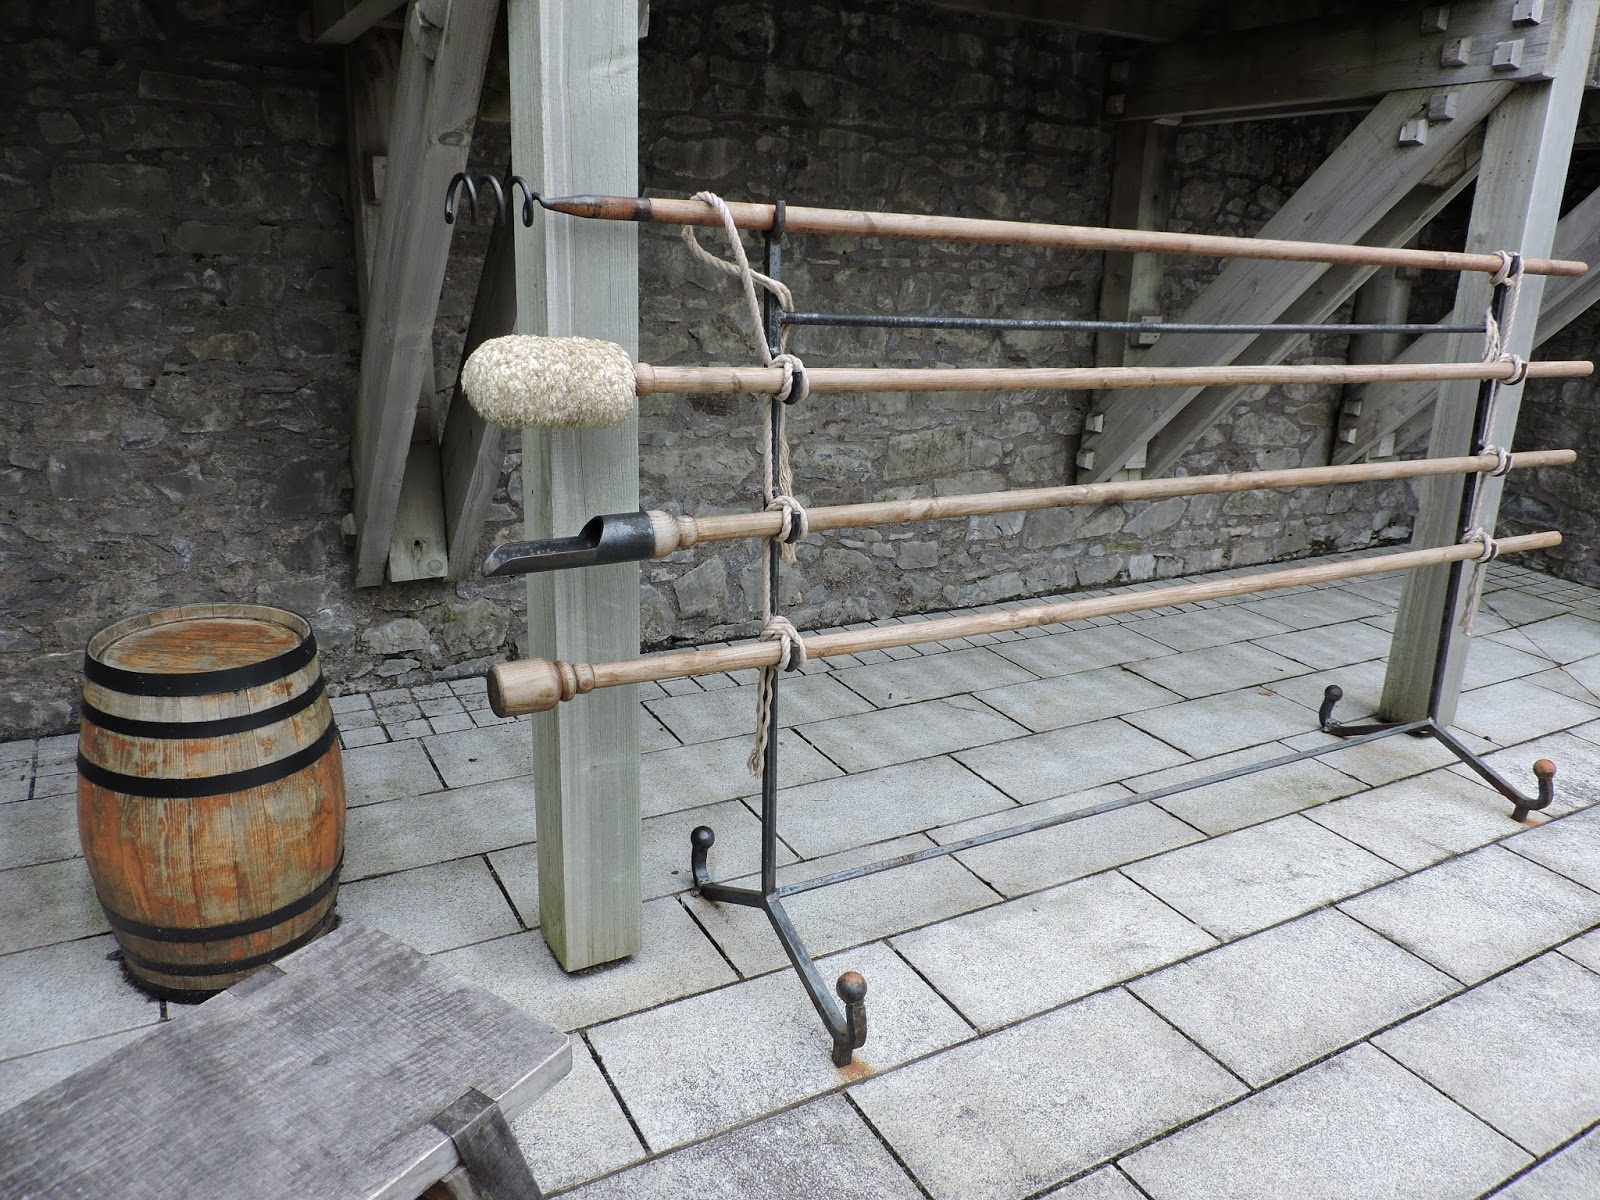 |
| The accoutrements of siege artillery – the hook to clear the barrel; the swab to wash out; the powder server and the ball rammer |
Elizabeth Fort is still today an intimidating presence
overlooking the city to the south. It stands next to St Finbarre’s cathedral.
5.
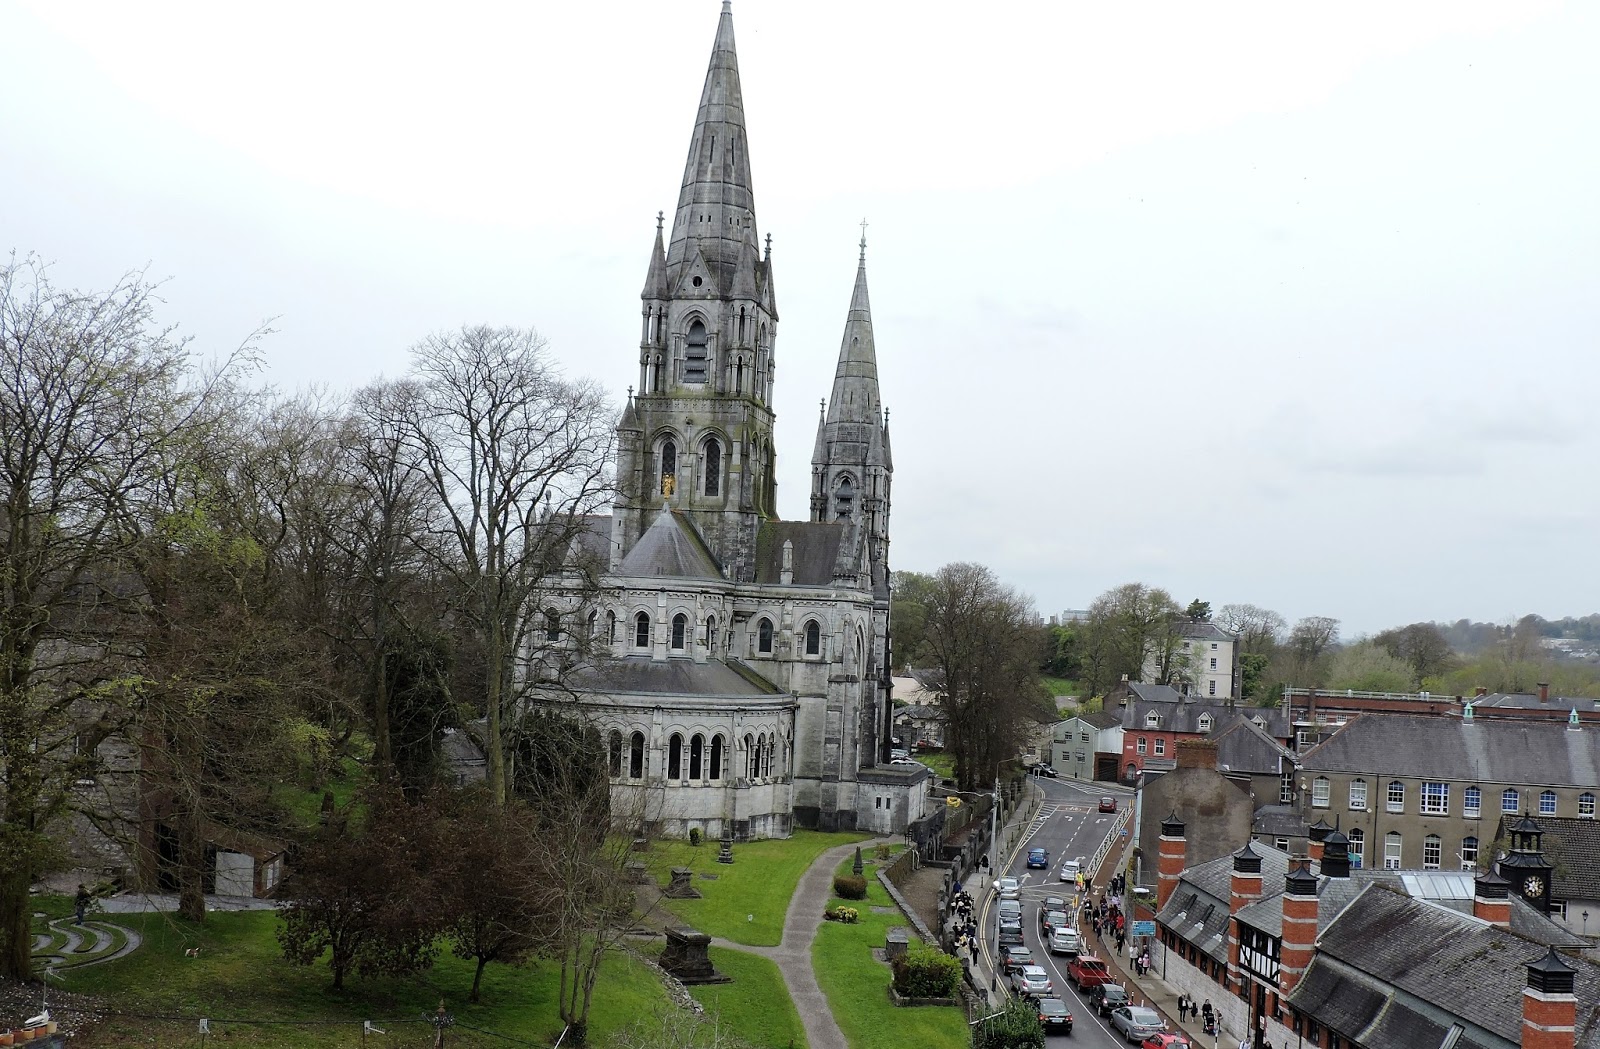 |
| St Finbarre's Cathedral |
Marlborough determined to capture that fort whilst his batteries established on the ring of low hills that surround the city, hammered away at the walls to create a breach. Marlborough attacked and took Elizabeth Fort promptly. Once in possession of it he had commanding views over the city.
 |
| Looking down across Cork to the South Gate bridge from Elizabeth fort |
6.
He could look down on the South Gate bridge and further
round to where the Grenadiers and Forlorn Hope were now making progress towards
the breach - which had been swiftly made in the weak south-east wall.
 |
| Grenadier making a grenade |
7.
The final assault on the city of Cork was an episode of
famous bravery and derring-do that would repay representation on the wargames
table. From the North a group of Württemberg’s Danish grenadiers mounted an
attack. They were joined by 4 companies of Grenadiers under the command of
Marlborough’s brother Brigadier Churchill and the Lord Colchester who started
off from the Red Abbey. Both groups made progress through the East marsh but
the final assault required them to cross the river Lee up to their necks in
water. This they did until they hit a deeper channel close to the City walls
which had been dug to allow ships to access - and was too much for even these
brave men. They broke off.
Two allied ships moored off the city shelled the town as the
Grenadiers retreated. As the barrage was kept up the breach in the wall just
south of the Ormond gate was already substantial. Lord Tyrone the Irish
commander and the city Governor by then knew the game was up. They beat parley
to surrender.


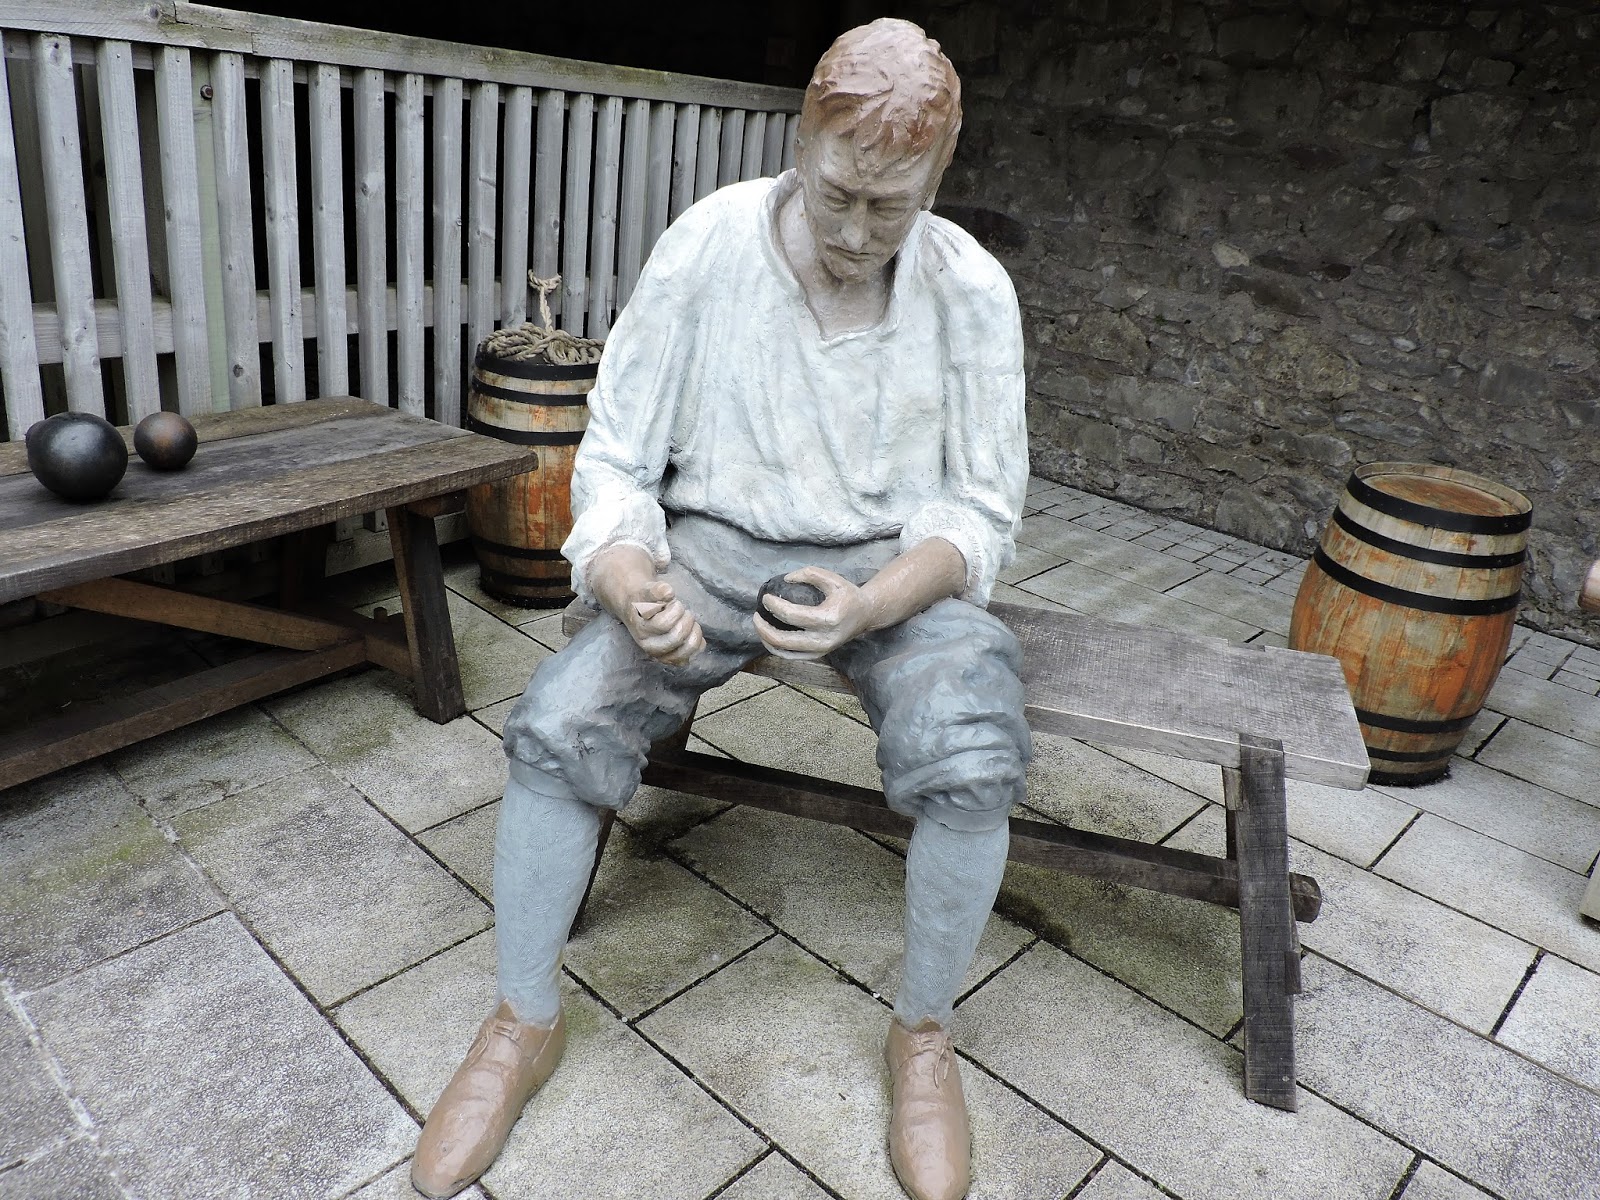
8. The fate of Irish rebels is seen here in
this image. A similar fate no doubt awaits the LoA member who goes rogue…


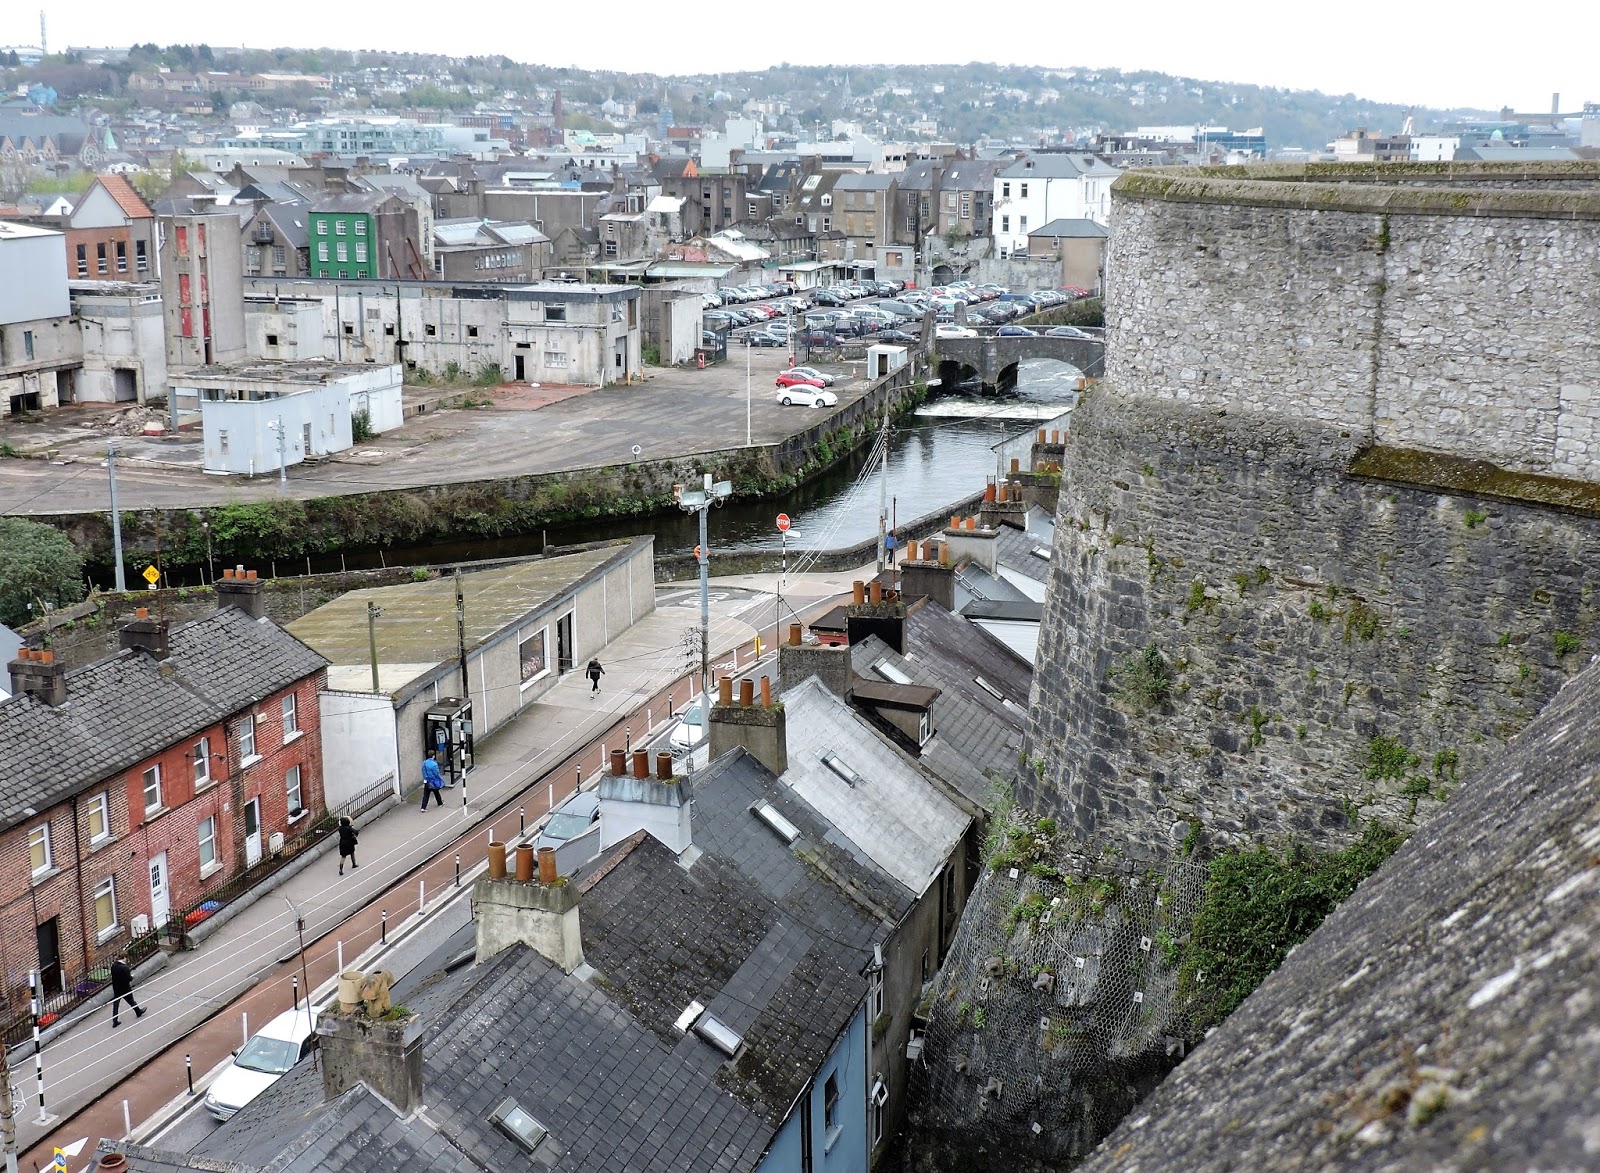
9. From the North this image shows the view
looking down on the city. This was the Danish position. Shandon church with its
tower, white one side, red the other is on the right. The river Lee is in the
middle ground. The two Tricorned gentlemen of the 1690’s survey the scene


1 The derivation of the phrase ‘as cold as
brass monkeys’ is shown here on this plaque. (Other explanations are also
available. This being Ireland never let the truth get in the way of a good
tale…)
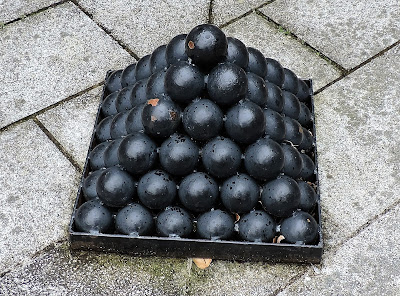
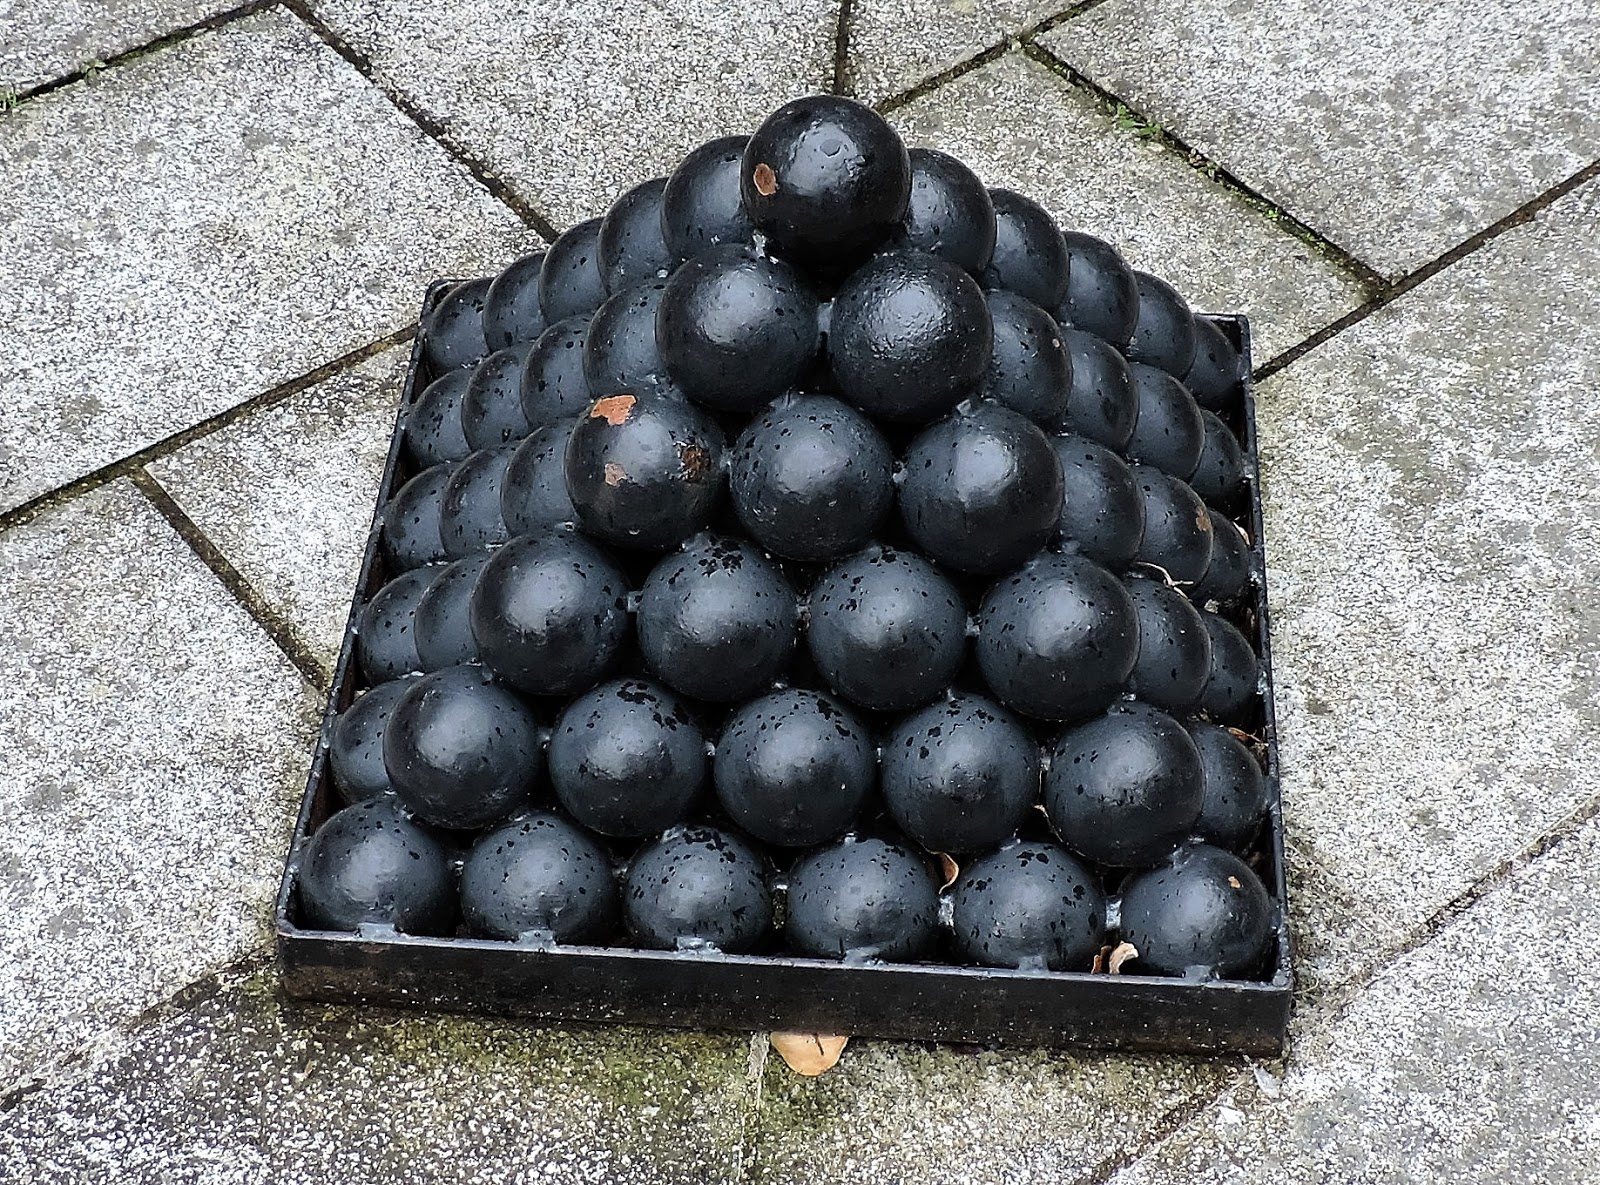
1 A stack of cannon balls formed into the
brass monkey stack is shown here in Elizabeth Fort.
t
t
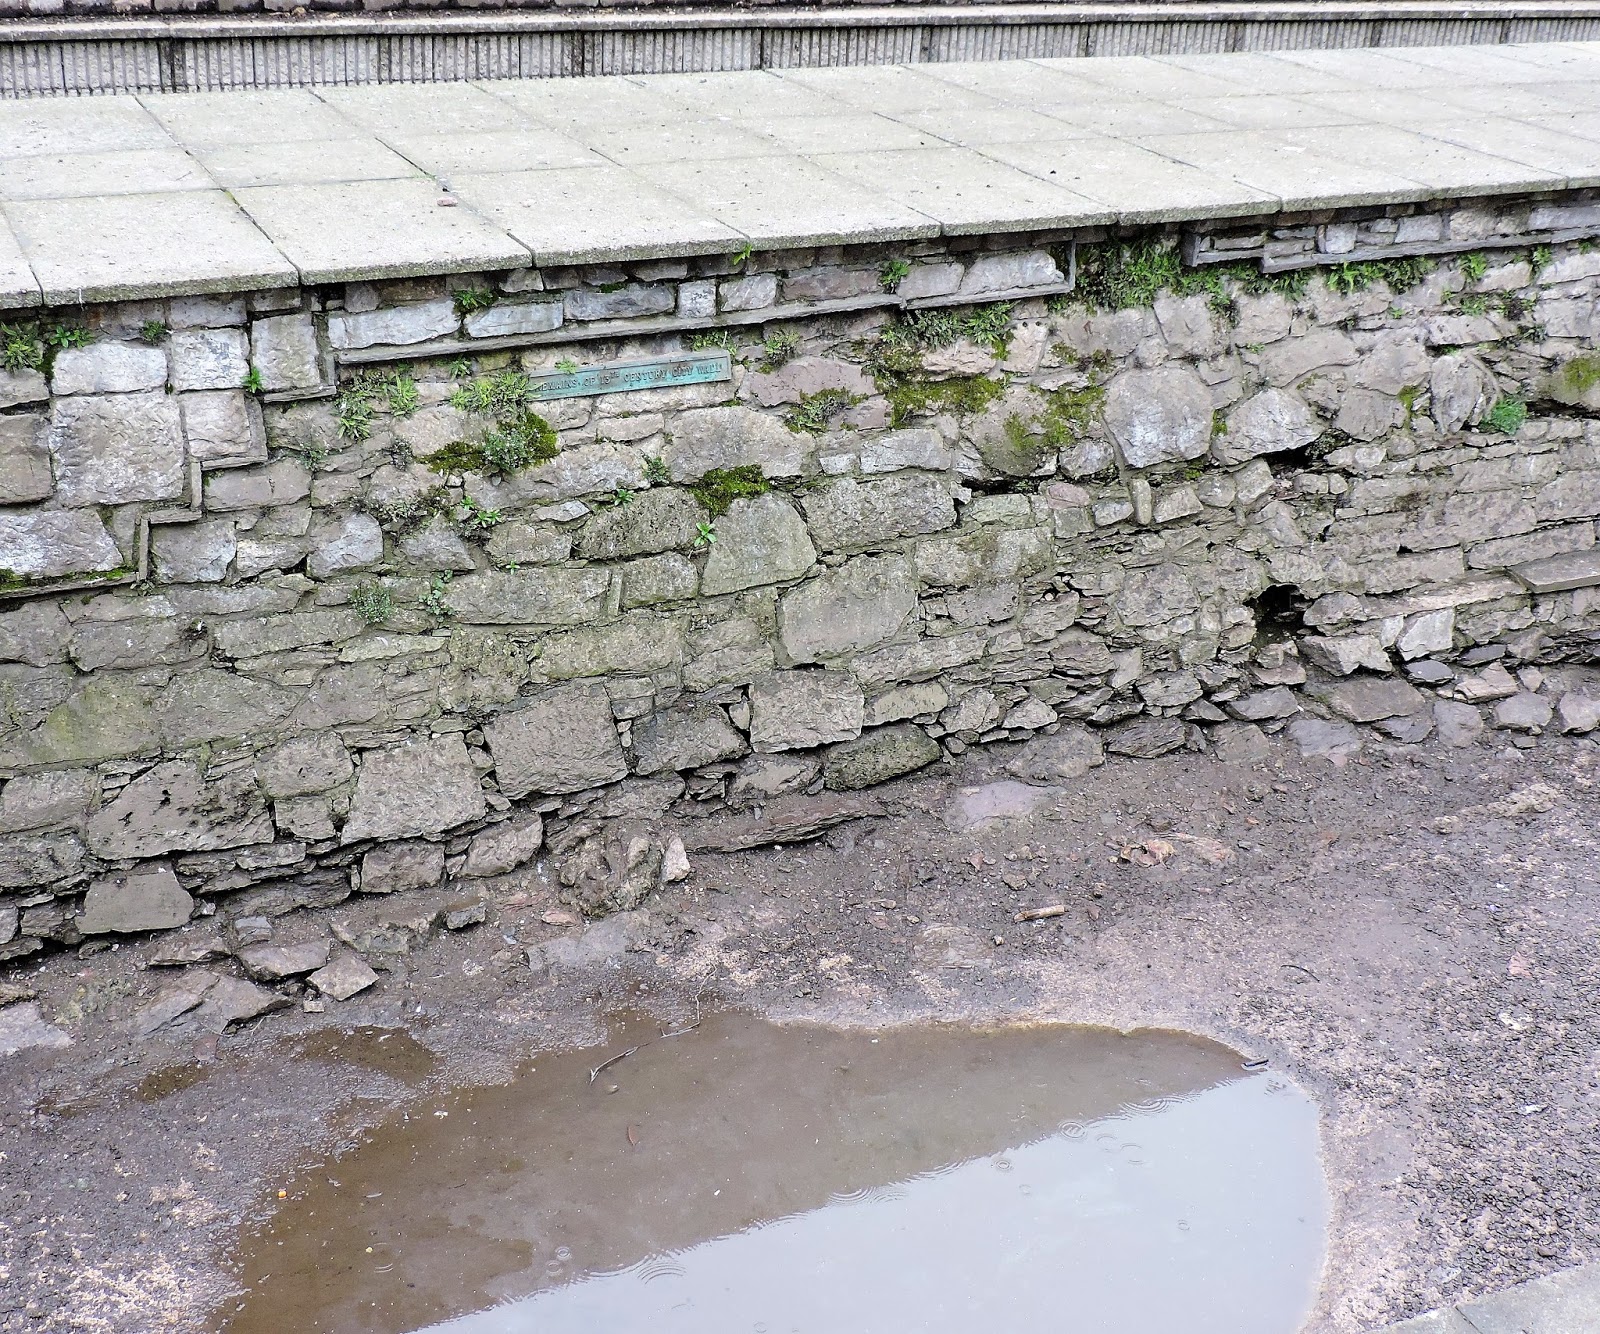
1This image shows the base of the Eastern
wall – now in the Bishop’s gardens. This was the wall that was breached and is
all that remains of those medieval walls…


1 This image shows the Shandon tower in close
up – you can see the red sandstone and white limestone