 |
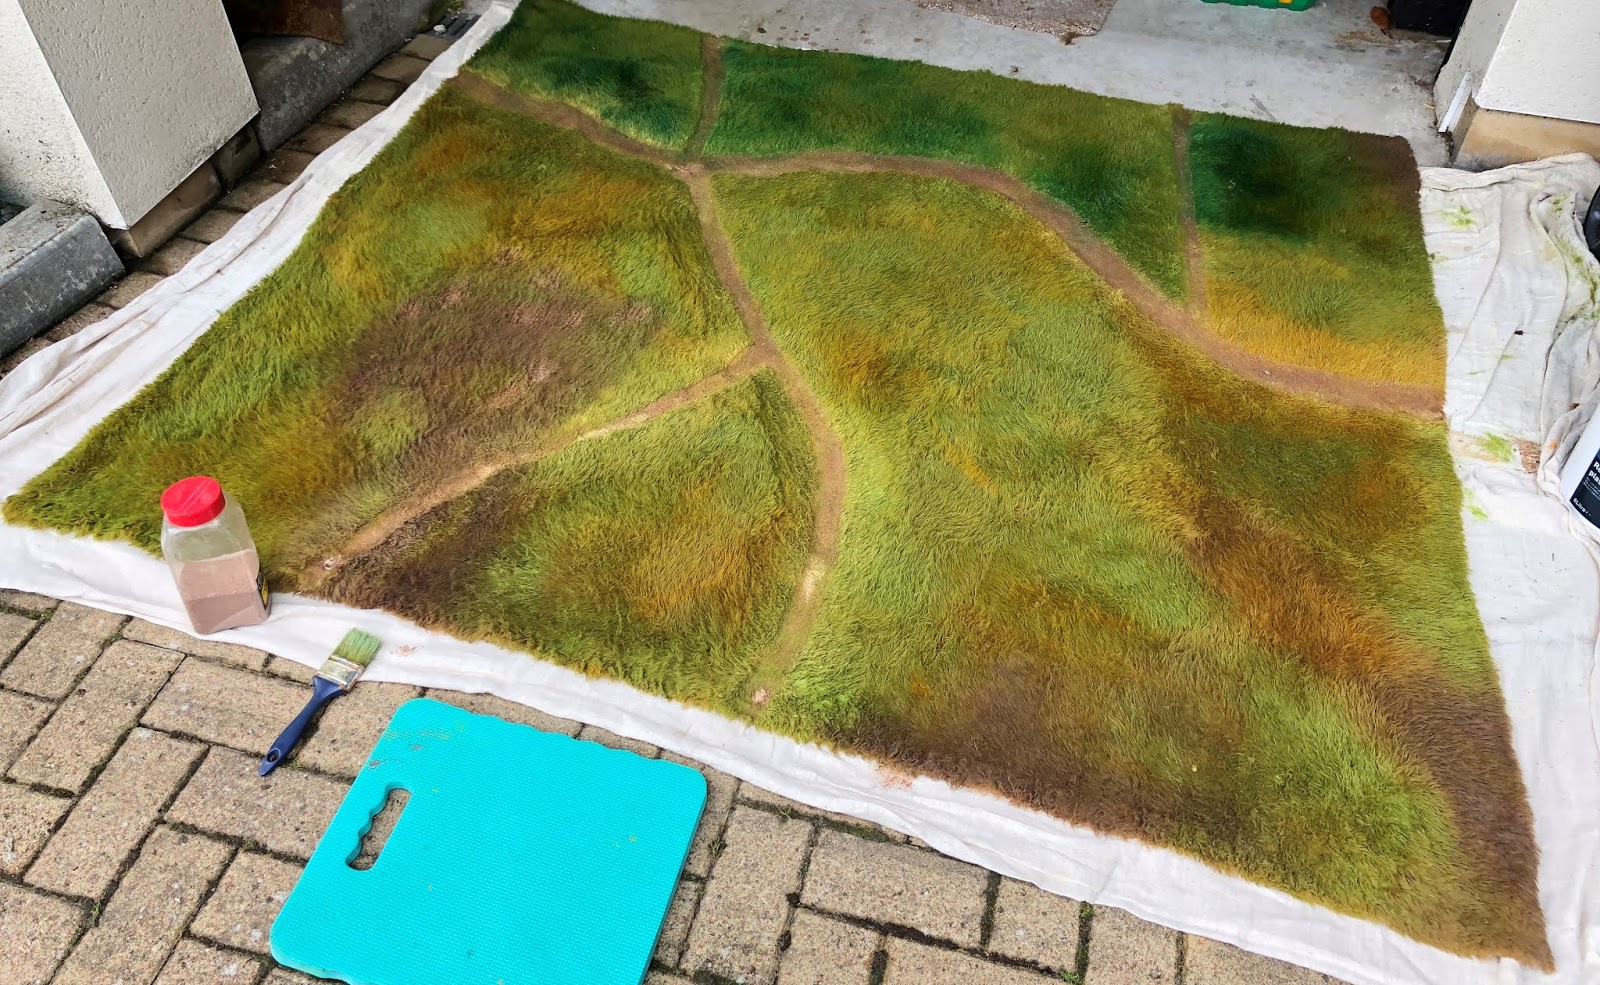
| Close up of road mix going on (top left). The bare hessian backing can be seen on the remainder of the road areas. |
Having slept on my idea (well not literally but I am sure the mat would have been soft and sort of comforting), Bank holiday Monday dawned with me getting my 'road building' materials together, to wit; a coarse hair brush, PVA glue, some fine sand and water.
 |
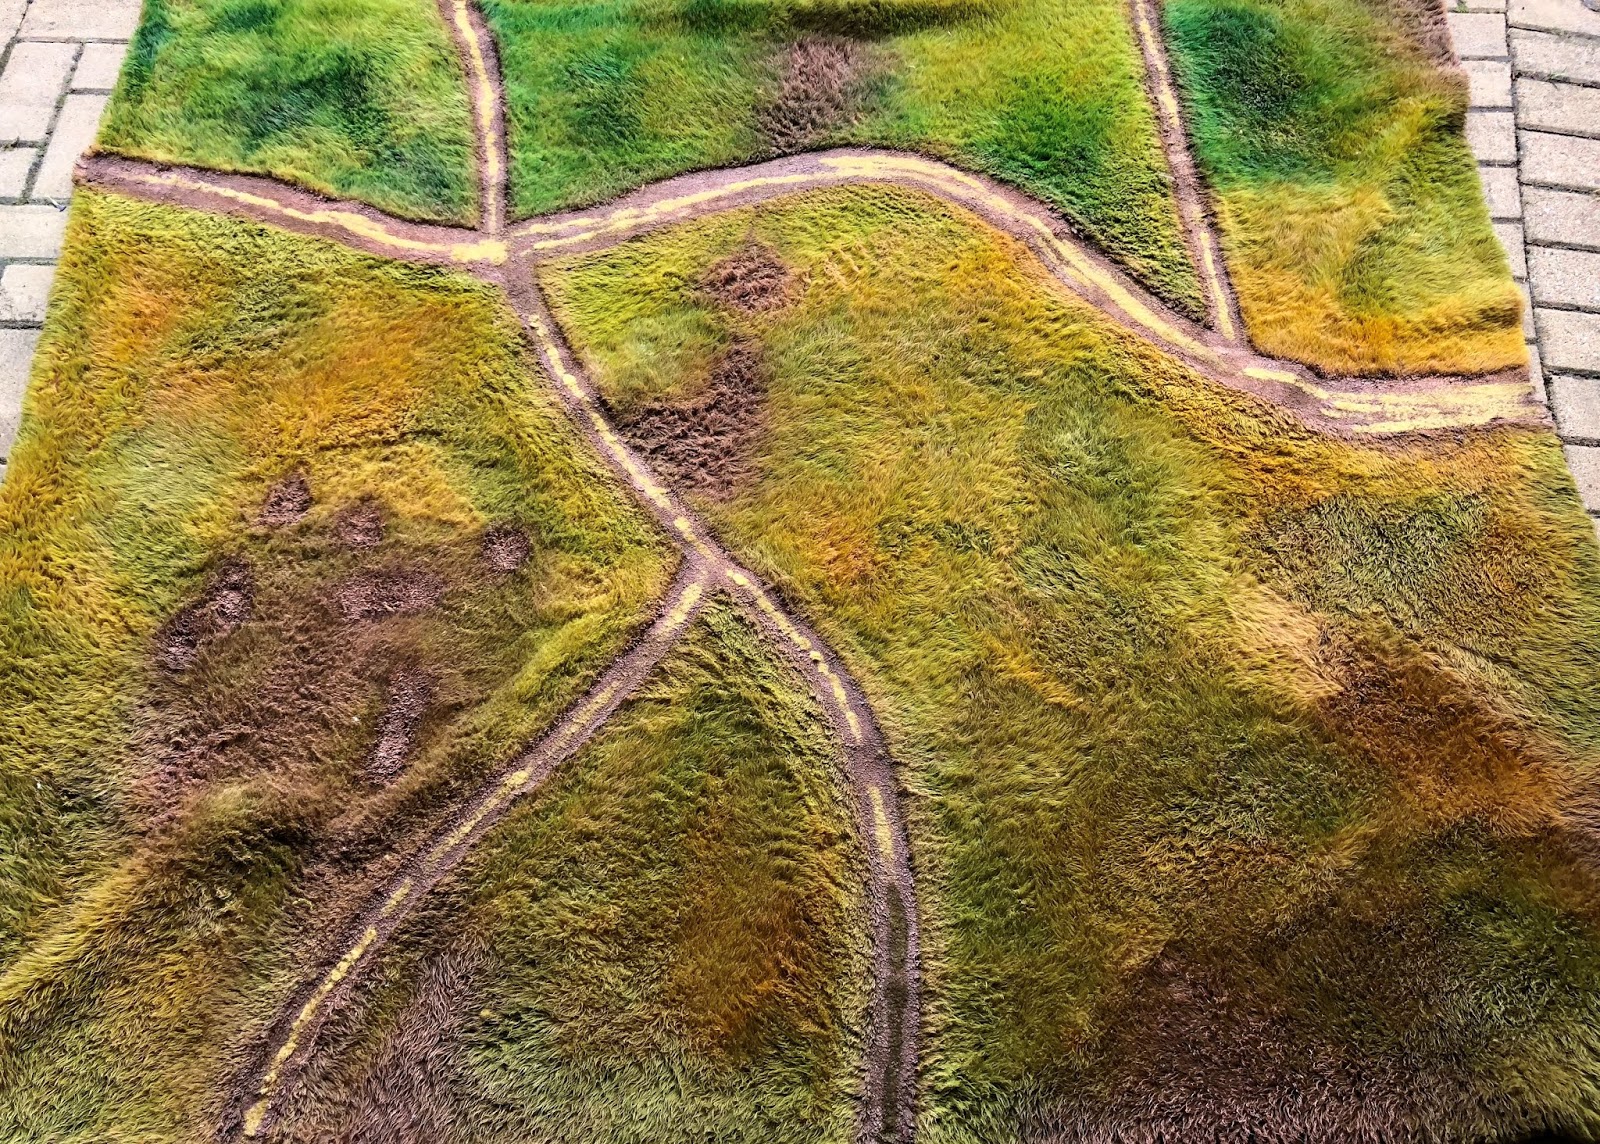
| Showing the roads painted and dry brushed but as yet - un inked |
Leaving the road as the hessian style backing mat is fine but looks a little bit of a cop out in my opinion. I therefore decided to come up with an effect that appeared a bit more textured. The main thing was to produce something which would not crack or fall to pieces when rolled or folded.
 |
| This works if the weather is dry p- a big IF in Scotland I hasten to add. |
I figured, a paste of fine sand mixed with flexible PVA glue might give me what I wanted. This gloop is what I use to coat adobe and stone walls and the quantity of water defines the spread-ability and final texture.
 |
| The mat pre-disaster (read about it later) |
Slapping it on took only about 35 minutes but of course the combination of porous material, water and wet glue allied with the damp Scots weather meant drying was going to be a problem. I had a thought to hang it on the washing line in a nice stiff south westerly (we are very used to them).
This worked to an extent but I had to stand guard in case the rain came on! I decided, in order to give me the opportunity to do something else, to take it down and drape it over various objects in the garage. A convection heater reduced the drying time to about five hours. I then painted the road base in a darkish emulsion and let that air dry outside for about 90 minutes. I dry brushed the road in a tester pot shade called Tuscan Roof (do people get paid for dreaming up that kind on mince?).
 |
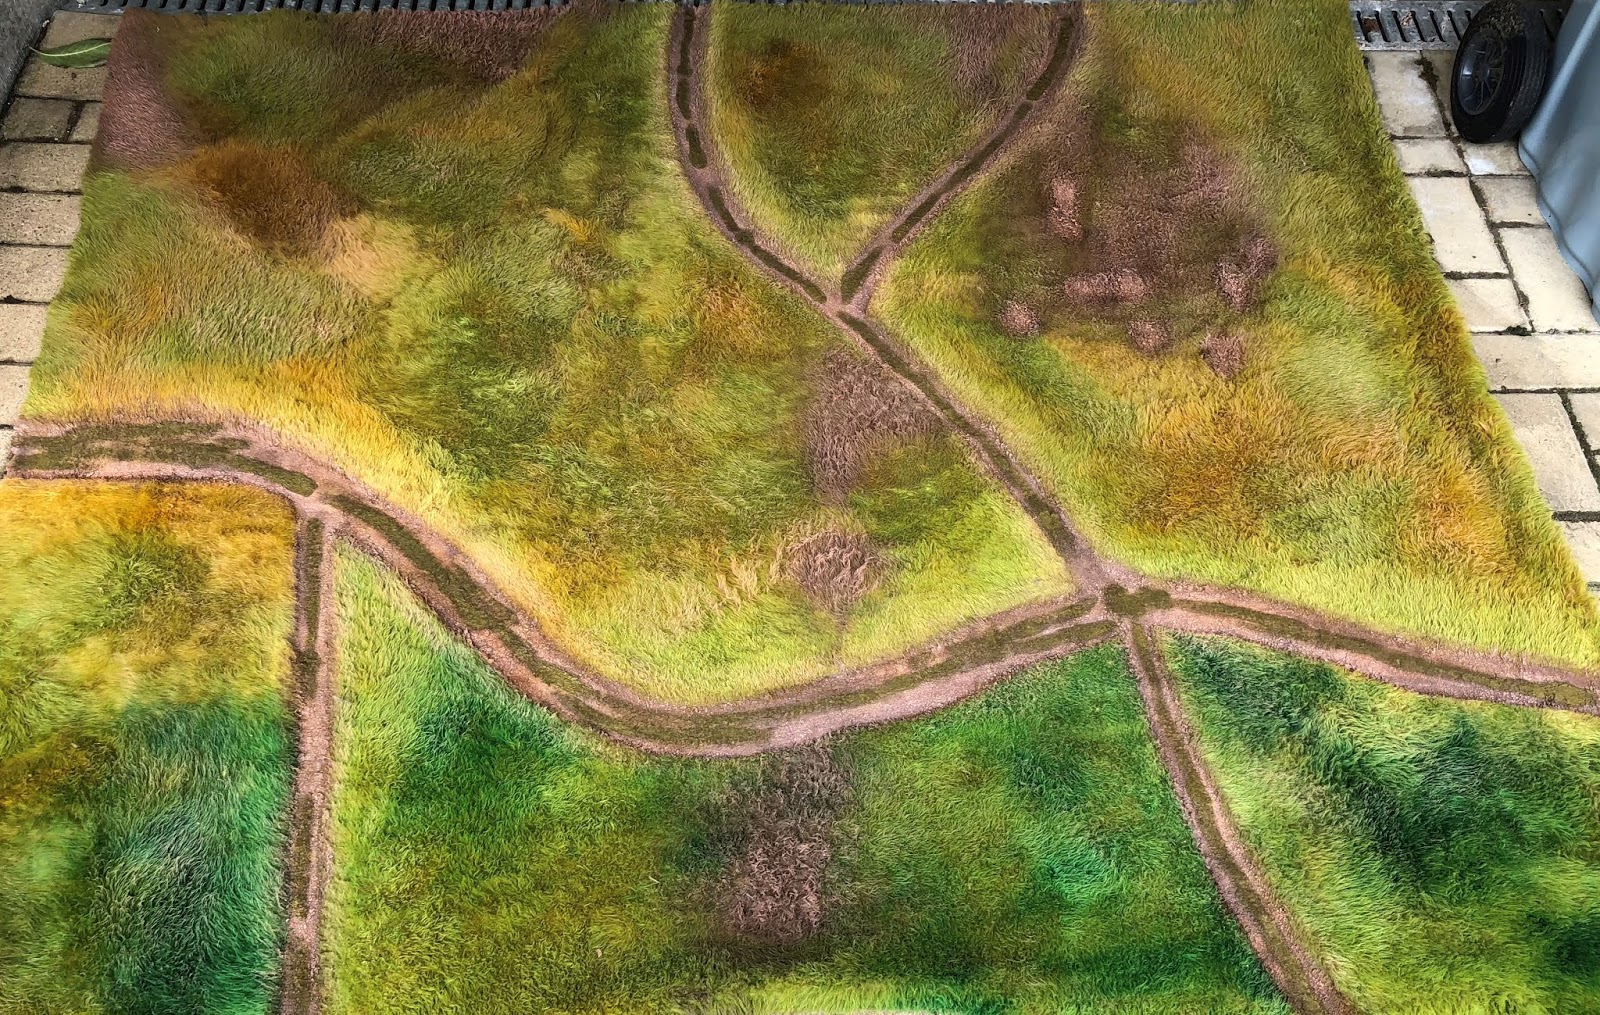
| The brown patches in the upper centre of shot are worked in after a major paint spillage |
By now it looked made but not yet, created. It was at this point that my major disaster occurred. As an angry Scottish wasp attempted to lance me, I kicked out at it, caught the emulsion can with a swift leftie and paint slatted all over the place!! aaaghhhh.
It splashed massive dollops of thick brown emulsion all over my beautiful green fields. Without panicking (too much) I reached for my combs and worked it in! It produced the distinctive dry grass areas highlighted in the attached photos. Overall, these really added to the look and so I realized, even when you cock up with this method it still looks good!
 |
| The roads have been weathered with burnt umber ink and cold coffee mixed. |
Minor repairs were effected during the road construction after my trimmer went through the hessian backing and made holes. Lucky I am no one's barber. I used small pieces of cotton fabric (the type I normally make the hand-painted flags from) and patched the holes by covering the cotton in bostik and letting it air dry before treating with the sand gloop and painting over. I could get a job road patching the pot holes all over Britain!
 |
| Brits drive on the left! I put grass centres down each road. You can see the chocolate undercoat on the lower- centre of shot |
My road 'toning' came from running a Burnt Umber ink and cold coffee (yup you read that right) wash over the entire road area.
Having let that dry on the washing line in the evening sun, my final acts were to put grass centres down the roads using static grass glued with PVA, emulsioned and dry brushed (paint job circa 10 minutes) and doing and overall dry brush of the entire mat with the Tuscan Roof paying particular attention to road verges to lighten them up.
 |
| The road centres were dry brushed up over the undercoat - easy job - 10 minutes |
What I now have is a 5 x 6 mat of which I am extremely proud. I looked around at the circa 60 terrain tiles and numerous boards in my Man-Cave and working out how much I can sell 'em off for.
 |
| Now then! Howd'ya like them apples? I was really chuffed with this - It's a game changer for me. |
This is no idle whim. If 12-14 hours work can get me a 5 x 6 which can be stored almost anywhere I can see myself working up several large, customized battlefield mats.
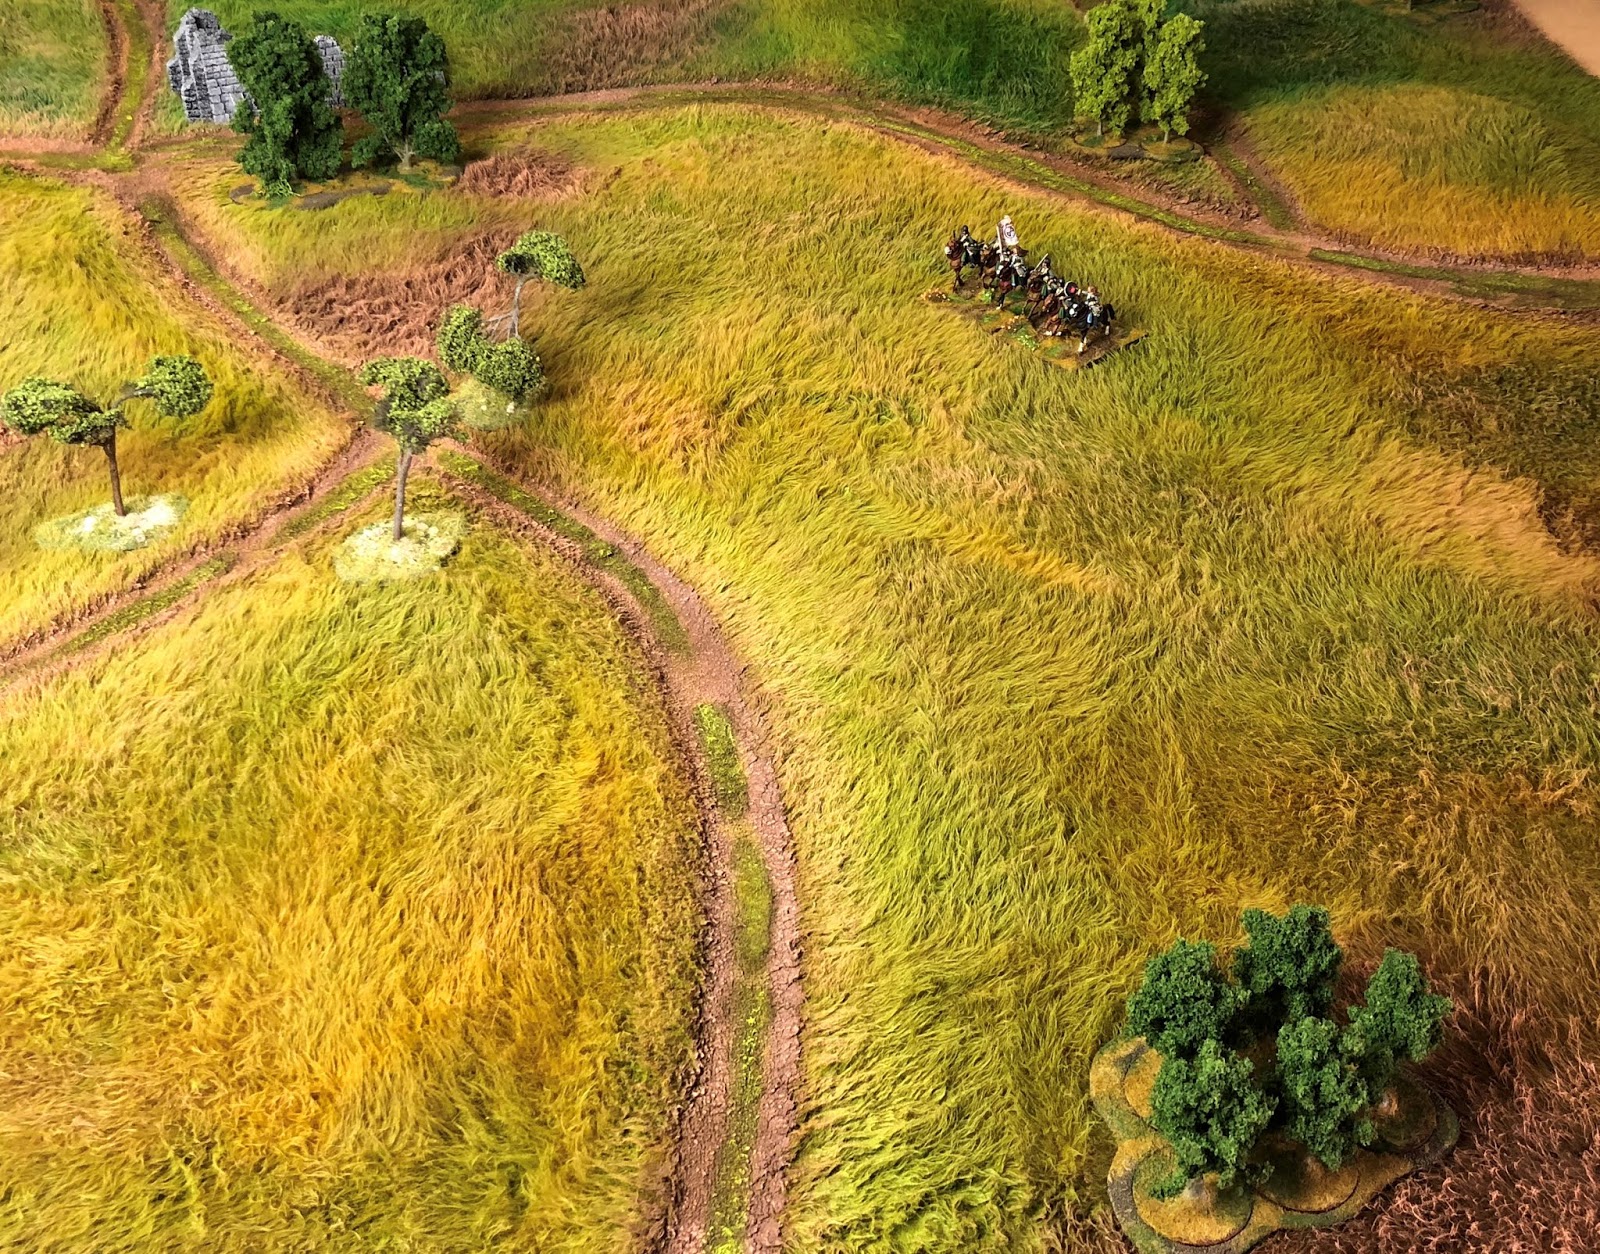 |
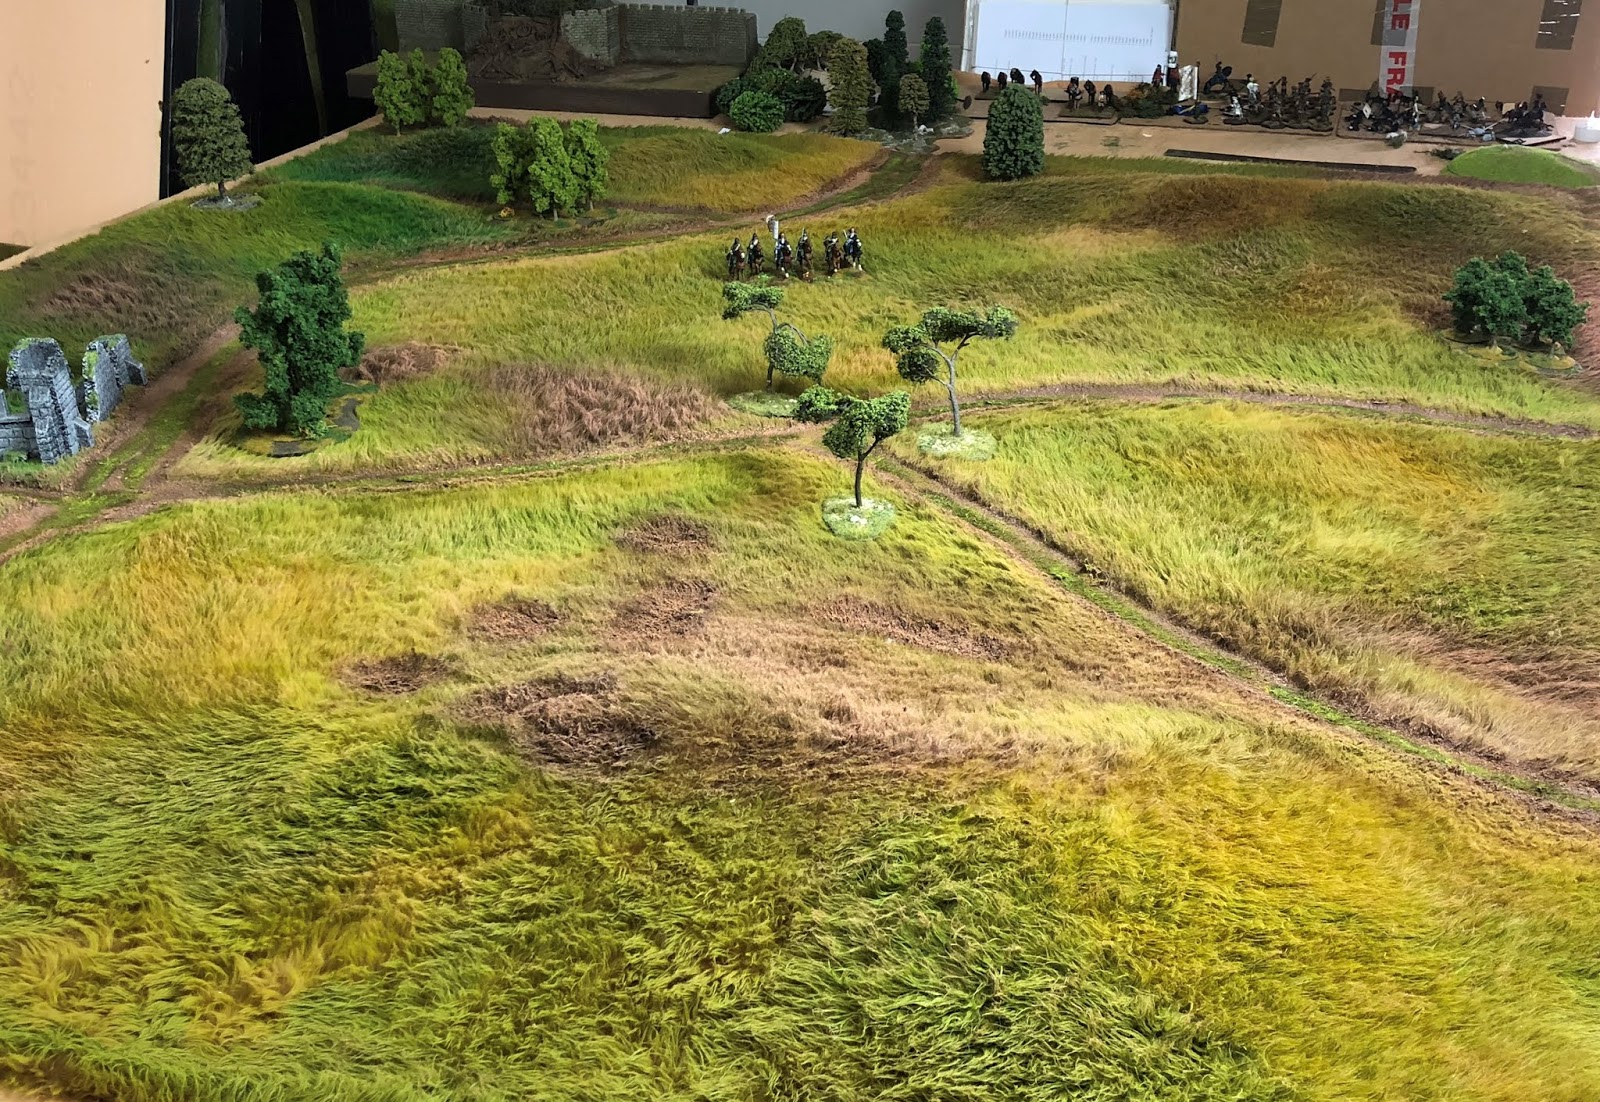
| Aerial shot with some 28mm cavalry on for effect |
Just wait till you see what Toggy and I are doing with our trees, rivers and hills on this mat!
More soon! I am going to get toys of various periods out for a photo shoot and post that as a discrete article.