 |
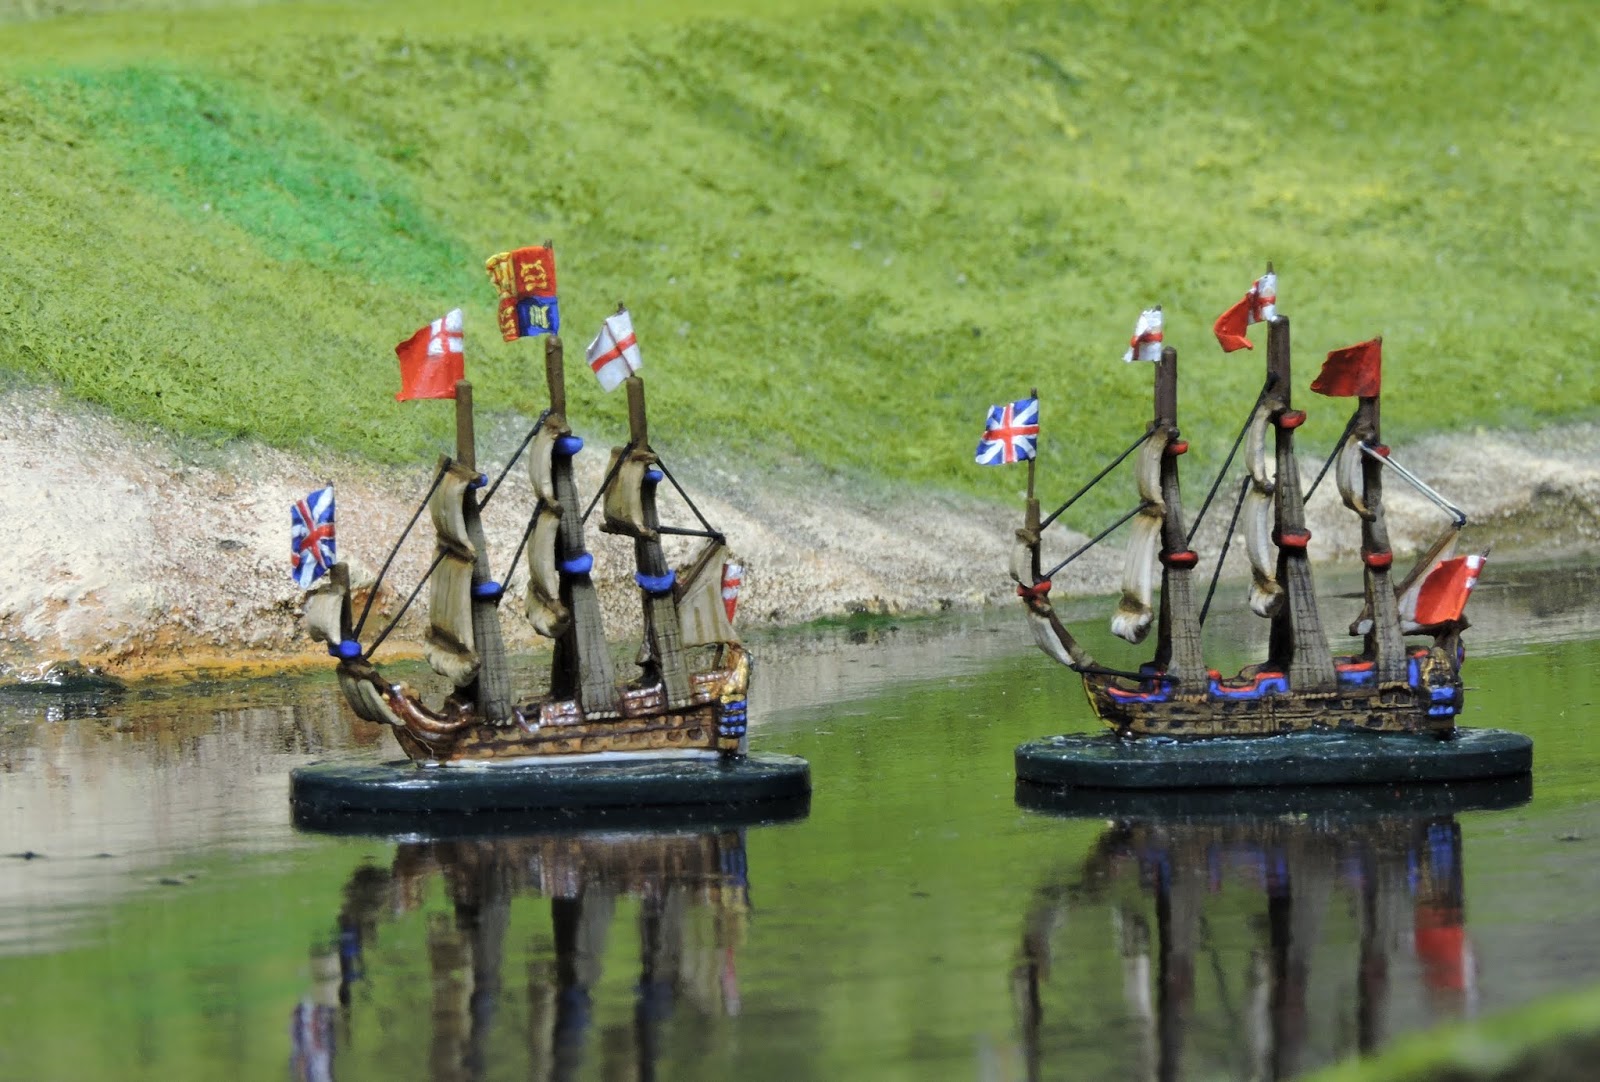
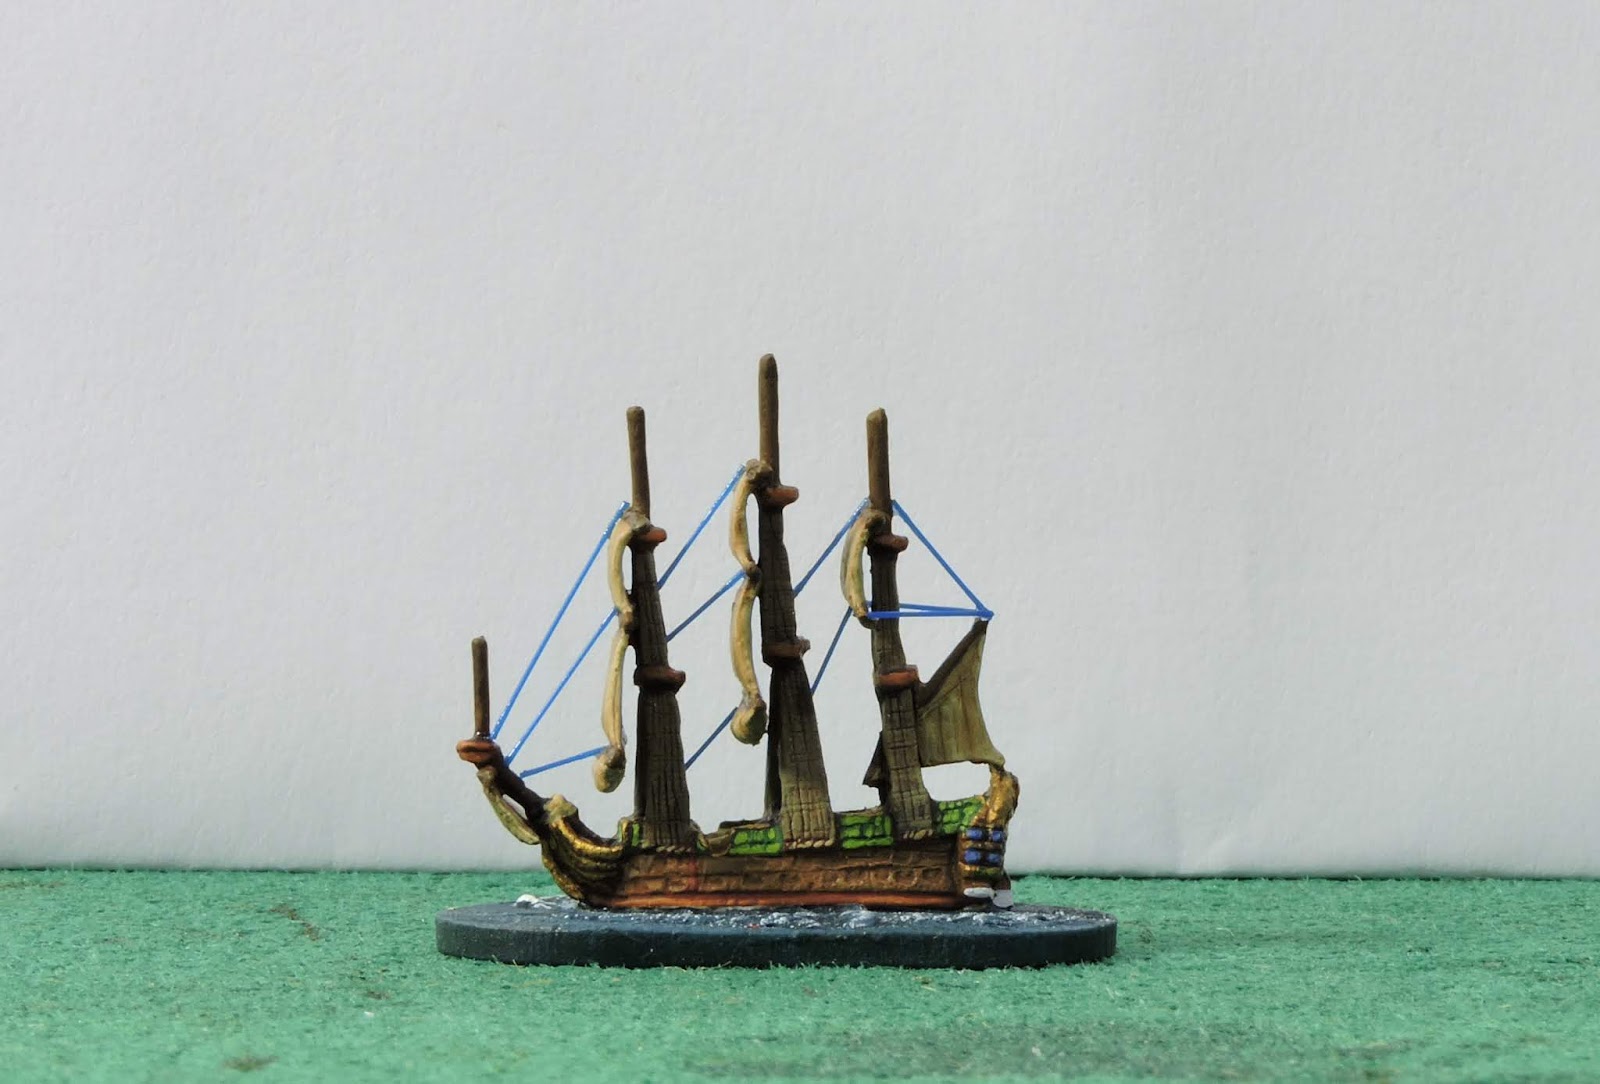
| Royal Charles 2nd Rate -the sixth attempt. 1st Rate on the right, my first attempt - many learns in between. |
Taking the title from Gunter Heim's description of the models featured on the 'Sink the Dreadnought' piece, I can do nothing but agree. The 1/2400 scale models from Tumbling Dice representing ships of the Anglo Dutch War period are good for circa 1640 - 1720 I would say. Many were built in the 1650s and lasted well into the next century.
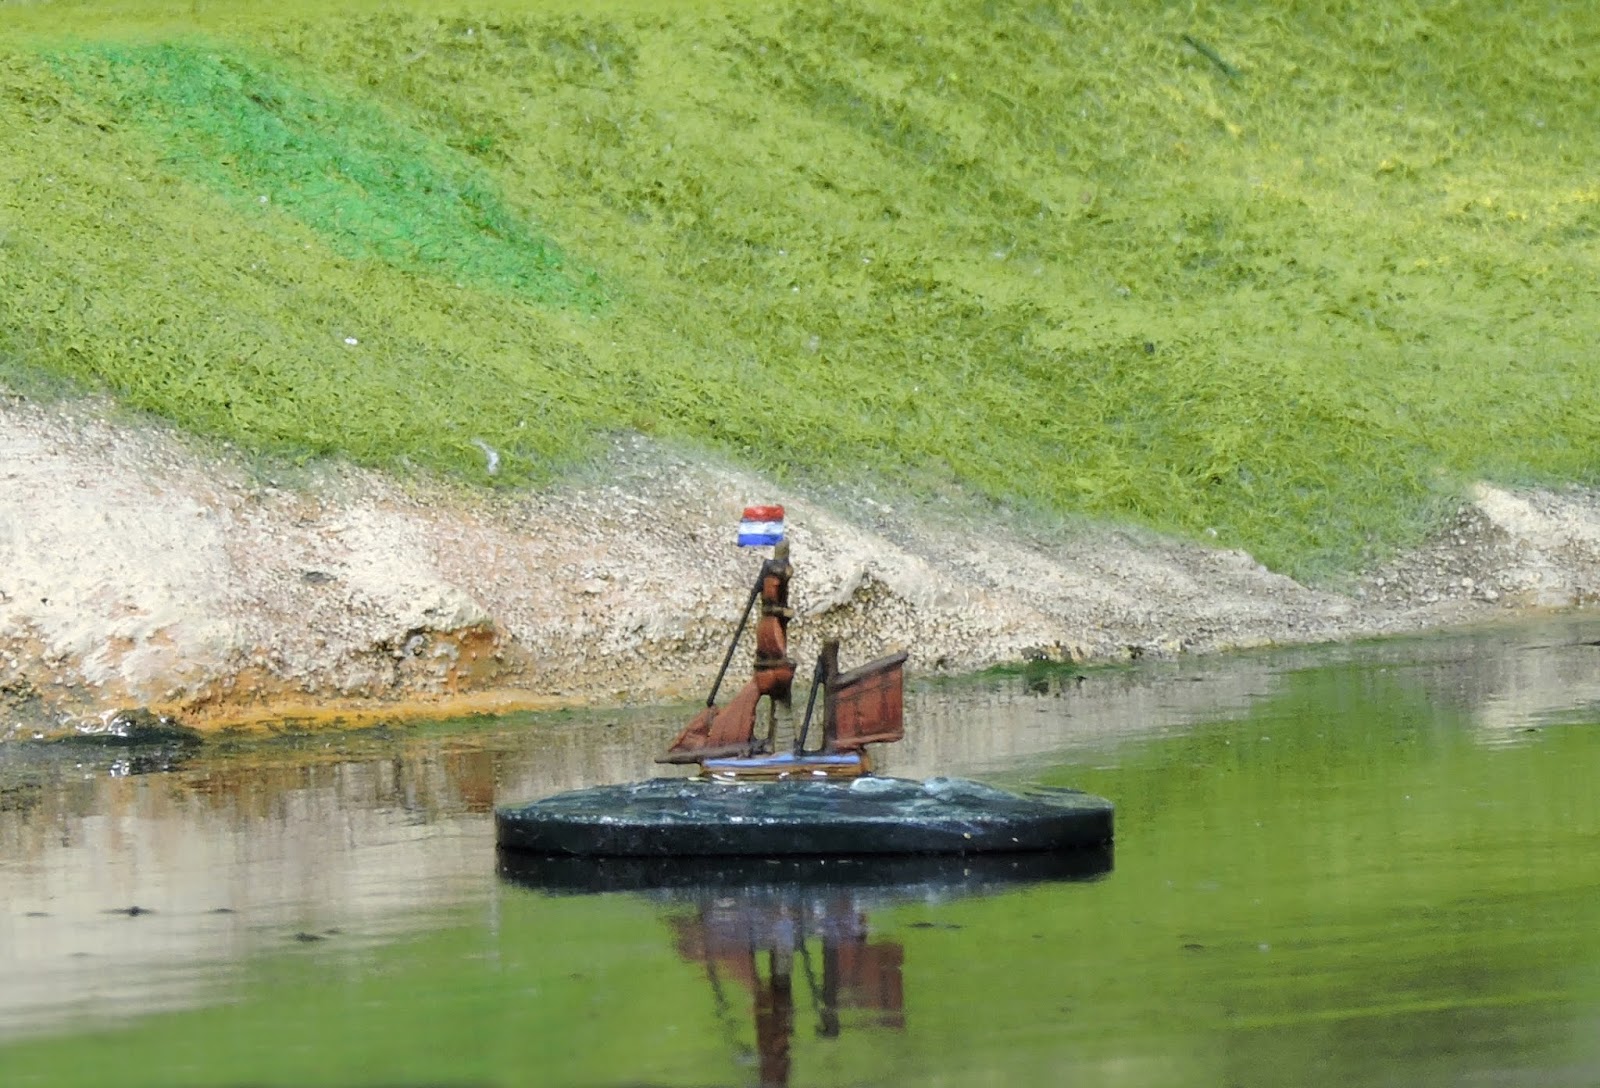 |
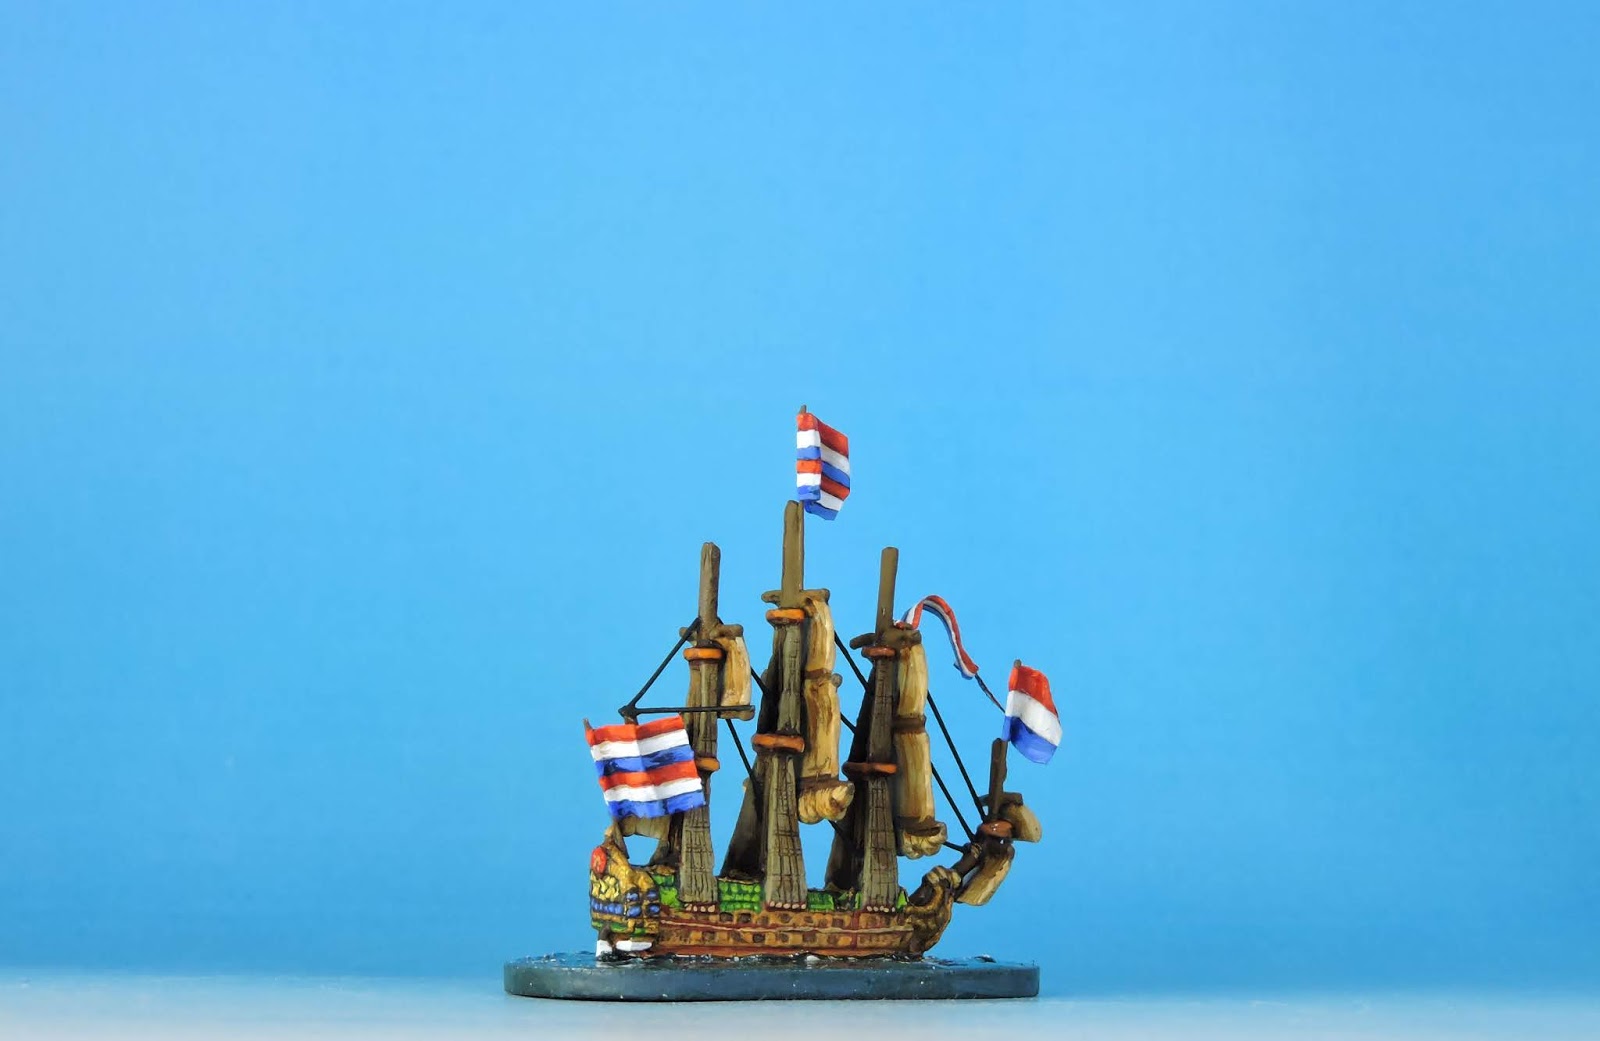
| A Dutch Heoker |
The conflicts they fought in are perfect for my interest and therefore that of many followers of this blog. The English Commonwealth, The Restoration, The Anglo Dutch Wars, The Sedgemoor Rebellion, The Glorious Revolution, The Nine Years War, Ireland 1688-1692, The American Colonies, The Caribbean, Darien, African and Asian Trade Wars, The Scanian War, The Great Northern War, The War of the Spanish Succession and of course Hollywood history such as Pirates of the Caribbean.
The models are deceptively simple castings however, when you come to paint them, the level of detail which can be picked out is layered and impressive. The difference between the approach I adopted with the first vessel and that of my twelfth attempt was significant. I got to know them and how to bring out the wonderful little details. It does take some skills but only what I would class as moderate to get the best out of these little gems.
The range is reasonably extensive and at the 1/2400 scale much can be achieved being creative with paint as opposed to physical conversion work.
 |
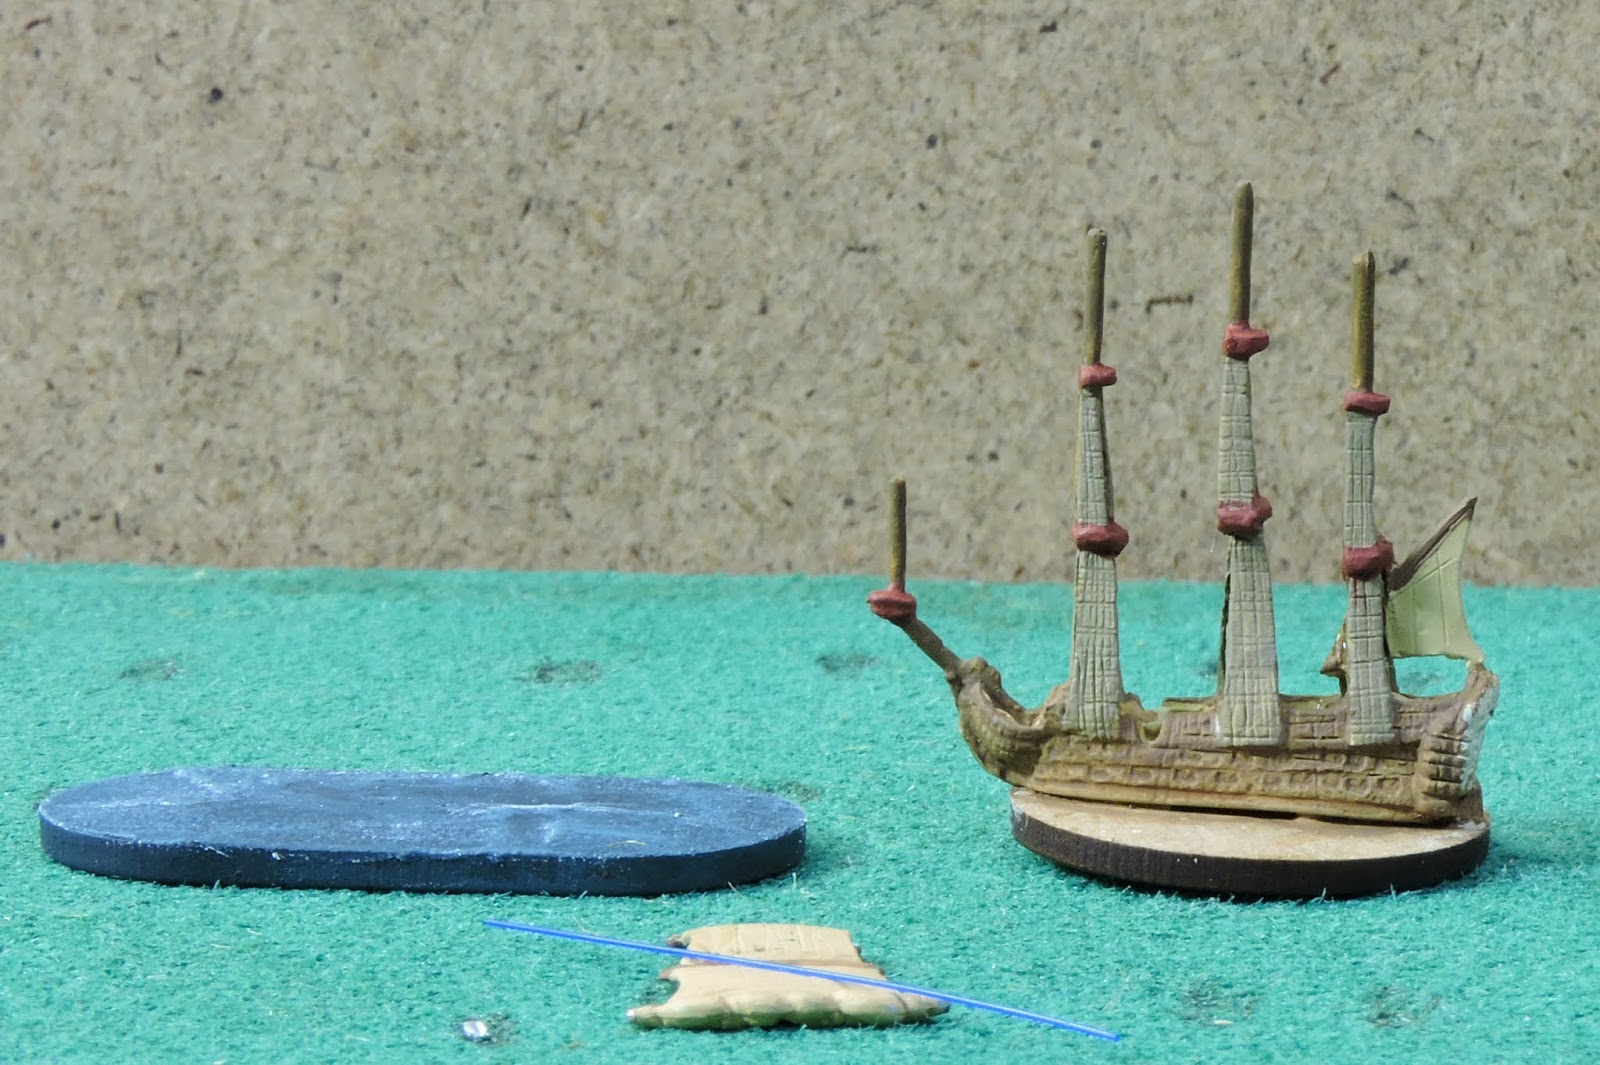
| Here is what you get. Base from Warbases. |
As this project was not planned I have made it up as I went along. I experimented with various hull colours and washing techniques and here is a summary of the necessaries for those interested in picking some up.
Average time to complete a 1st- 5th Rater: 2-3 hours.
Average time to complete a one piece yacht, Heoker etc - 30 - 40 minutes
 |
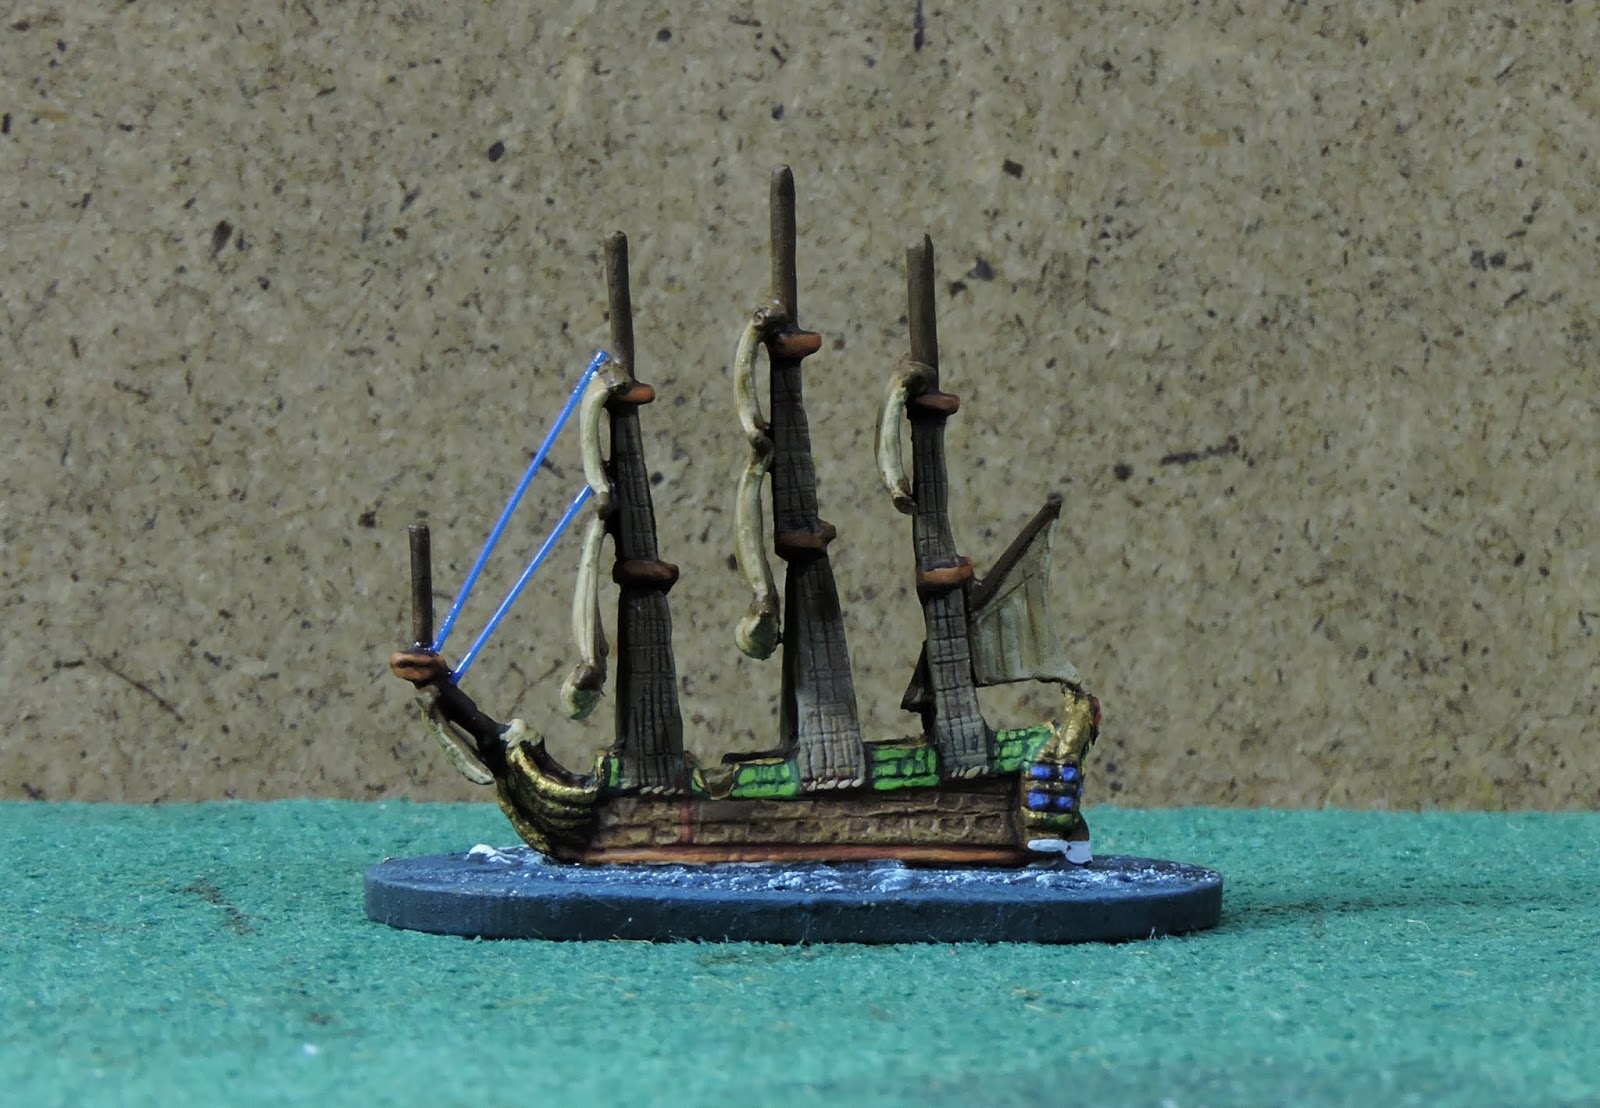
| Flat colour application, stern detail as yet not done. Note the rigging plastic strips I use. |
Tools - scalpel, tweezers, scissors,
Materials - super glue, paint, water based washes, MDF 2mm bases, filler, matt varnish, yacht varnish, plastic brush bristles, aluminium foil.
 |
| Plain painted base and washed hull - highlights are next. |
I chose to use an off-white undercoat which should be painted on pretty thinly. That is a key step to retaining detail that can subsequently be picked out. Assembly instruction suggest a black undercoat but I have not yet tried that on the models although am very familiar with the technique for figures.
 |
| working some wave shapes after gluing to the pre painted base |
I adopted a similar method to figure painting through trial and error -
0. Prep and cleaning flash etc - 10 minutes
1 .Apply white undercoat - 5 minutes.
2. Flat block in colours - could be up to 15 minutes depending on model size.
3. Wash in water based soft tone/dark tone for masts and ratlines - 5 minutes.
4. Pick out detail with original colours could be up to 30 minutes depending on complexity.
5. Add further highlights to taste - as per.
6. Glue on sails - 5 minutes.
7. Mount ship on base pre-paint or not - 2- 3 minutes
8. Matt varnish ship 5 minutes for large ships
9. Add rigging - fiddly could be 20 minutes
10. Touch up glue spots with paint - 5-10 minutes.
11. Make flags- fiddly but you could used bought paper flags.
12. Add flags - 5 minutes
13 .Touch up glue spots from flags - 5 minutes
14. Yacht varnish base - 5 minutes
 |
| Shot shows how the plastic bristles are attached as rigging |
 |
| Another shot of the rigging attachment |
This particular model is a 2nd Rate which I decided to put quite a lot of love into as it will end up as the famous Dutch flagship De Zeven Provincien. I put a little extra rigging in can be seen when compared to the English 1st and 2nd raters in the first shot if the post.
 |
| Fully rigged but not painted yet |
I use a three or four tone highlight for these. Paint the design on the flag when flat and when you are happy with the symmetry gently fold it and paint the highlights form there. Cut the fibre to length and them super glue the fibre sttip to the masthead. Repaint that area to mask any glue.
 |
| The completed De Zeven Provincien |
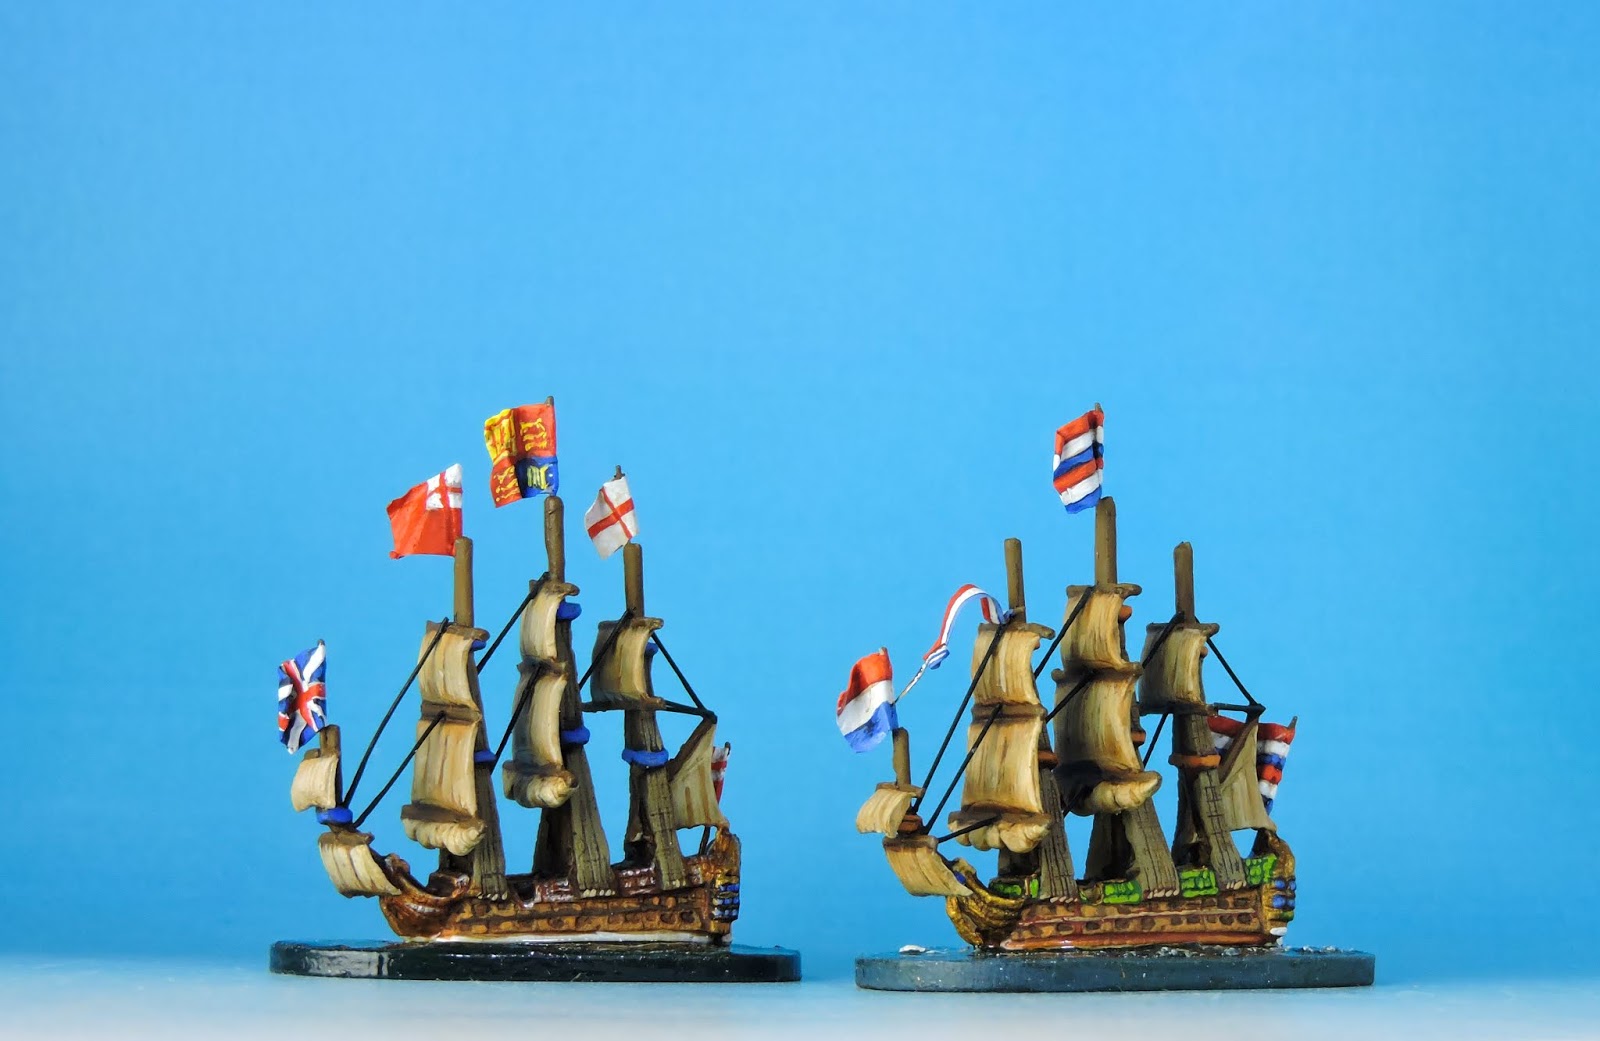 |
| Two Flagships - Royal Charles and De Zeven Provincien |