 |
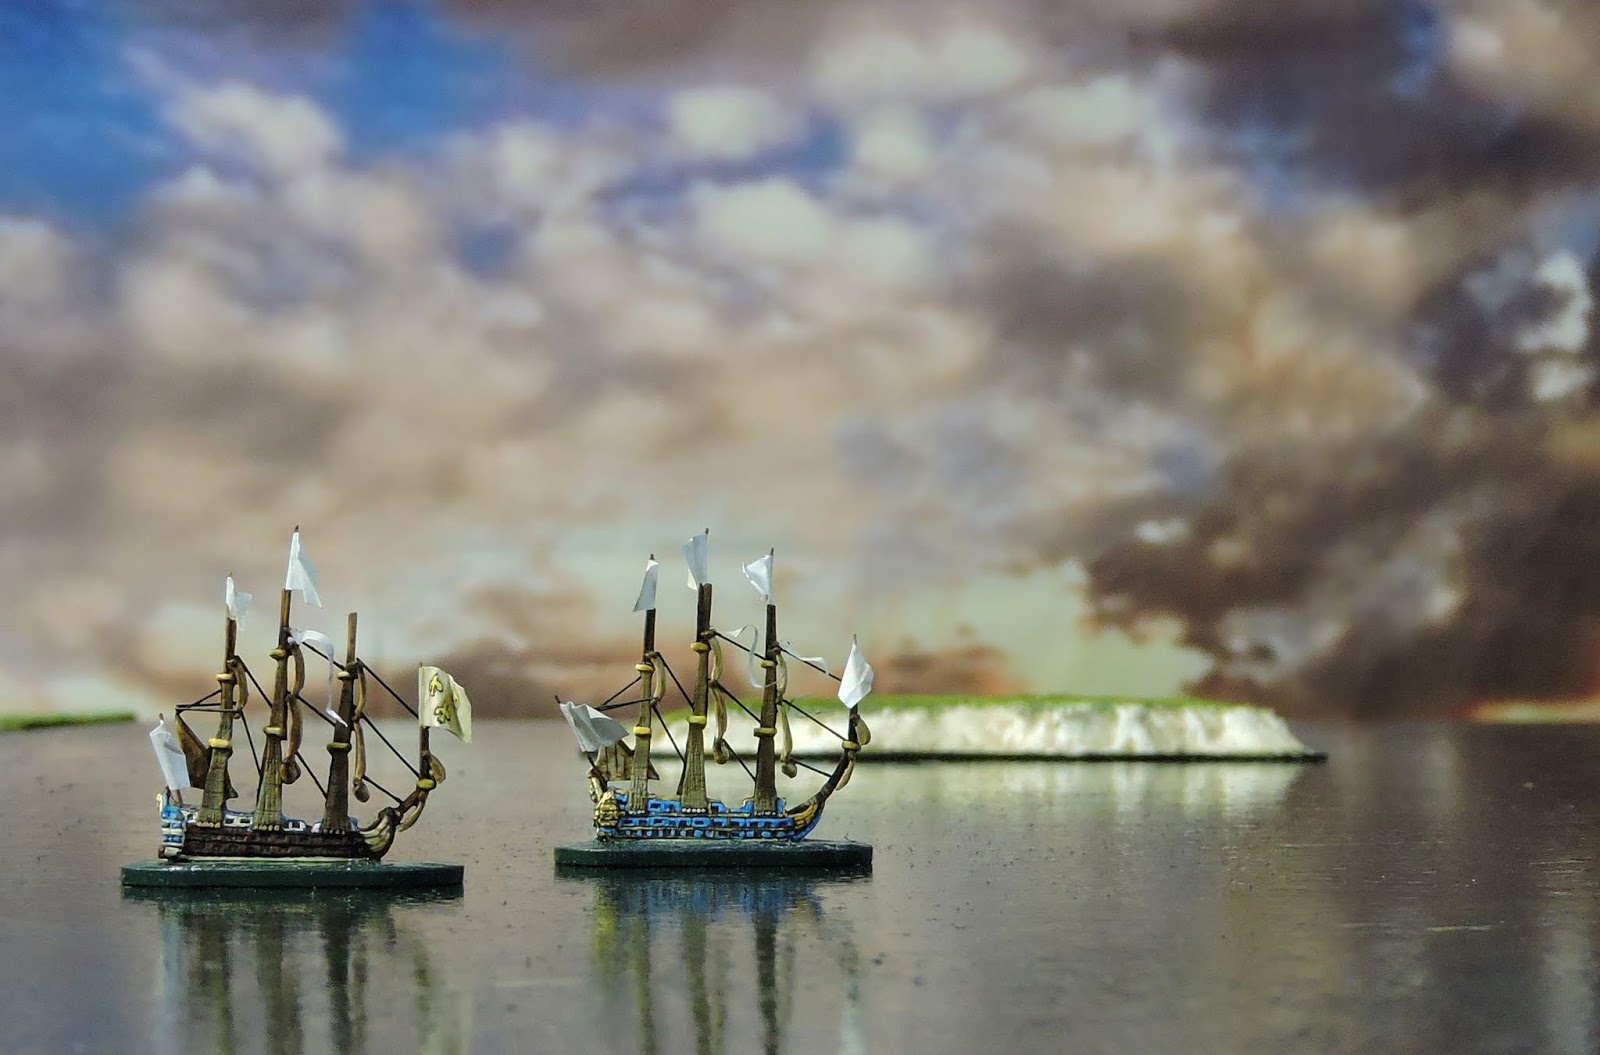
| Some 1/2400 scale ships on the finished boards |
Sea mats have been very useful so far in my naval adventures and some of them are actually pretty nice. I would however, feel a bit of a phoney if I used one in a demo game at a show. This piece is a short insight into an experiment in making sea boards as opposed to the river boards I am pretty comfortable in producing.
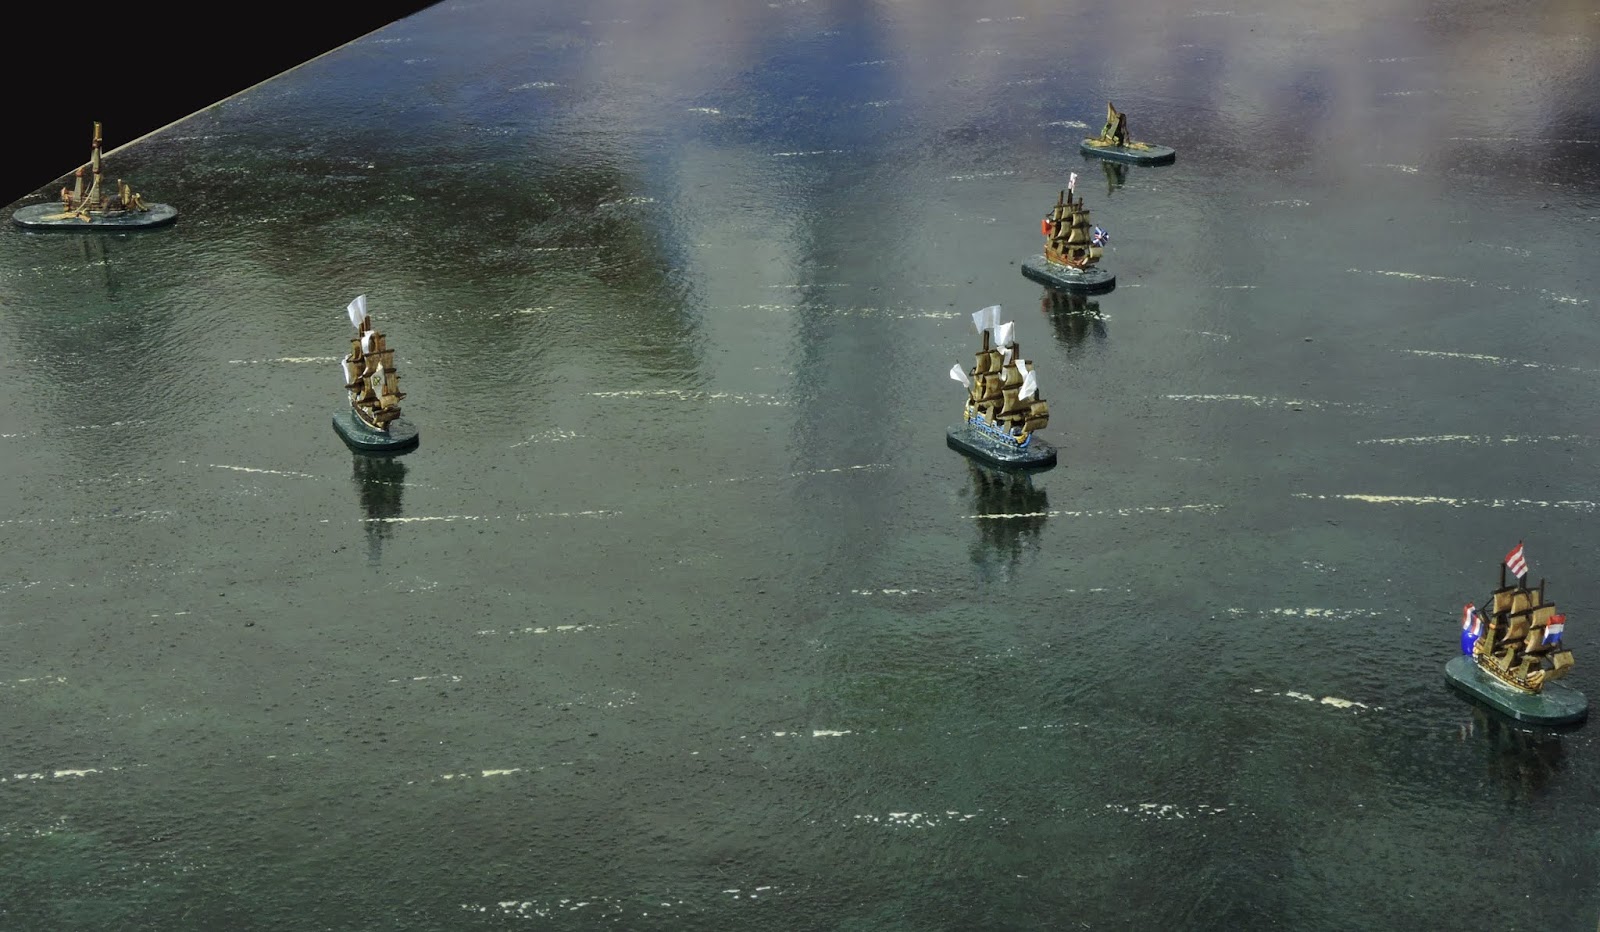 |
| A Nine Years War battle in progress |
The base material is 6mm mdf cut into 4 x 2 lengths. I gathered various shades of green and blue acrylic tubes at the local art store and basically, set to it. The tools are all the normal stuff a wargamer might find lying around their workspace. Starting with a 3 inch paint brush I used a pallet to mix a dark blue green mixed and slapped it on. Do the edges first. That is important unless you want your boards to look a little scrappy at the edges.
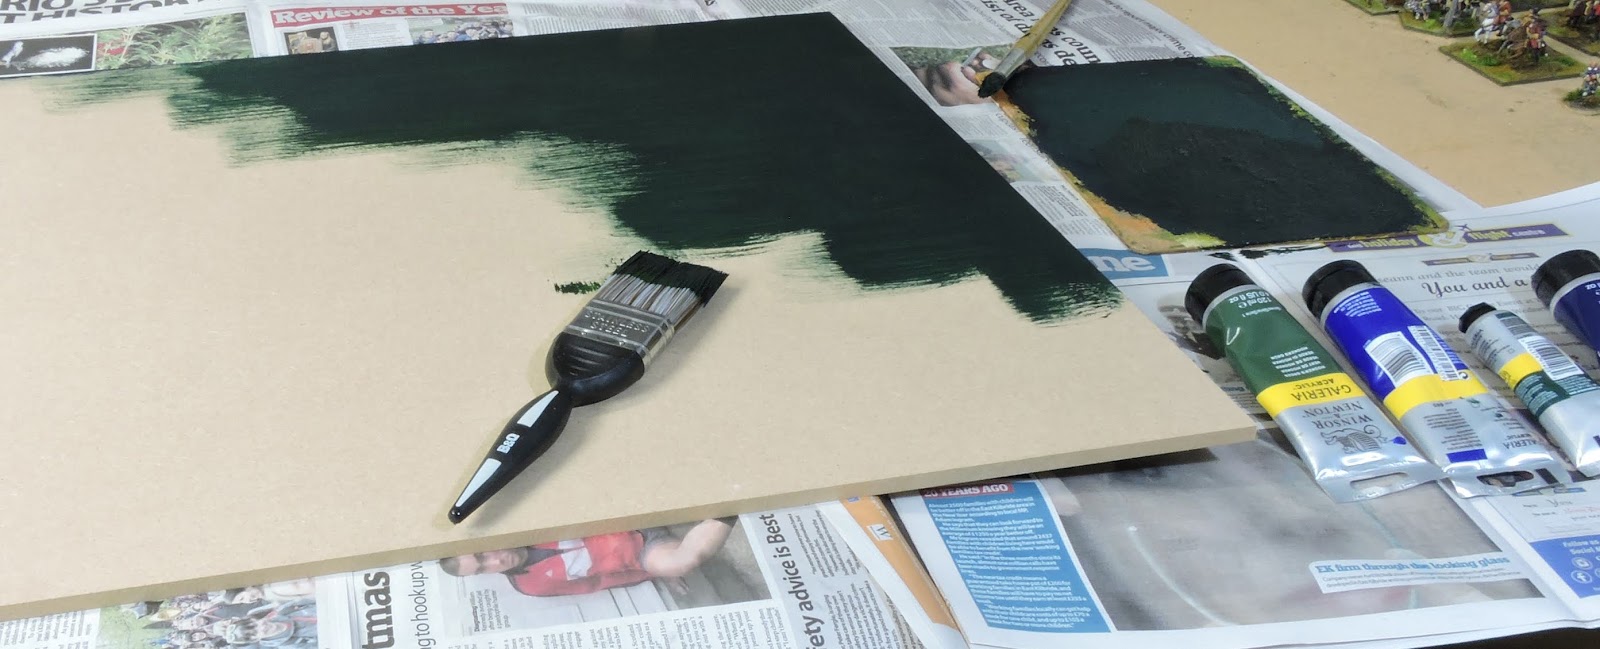 |
| Tools and paint including one of my old dinner mat pallets, in view. |
An important point I found was not to water down the acrylic paint. Slap it on straight from the tubes. This may seem a little expensive but remember, you are going to be playing on these boards a lot and you ant them to look good.
 |
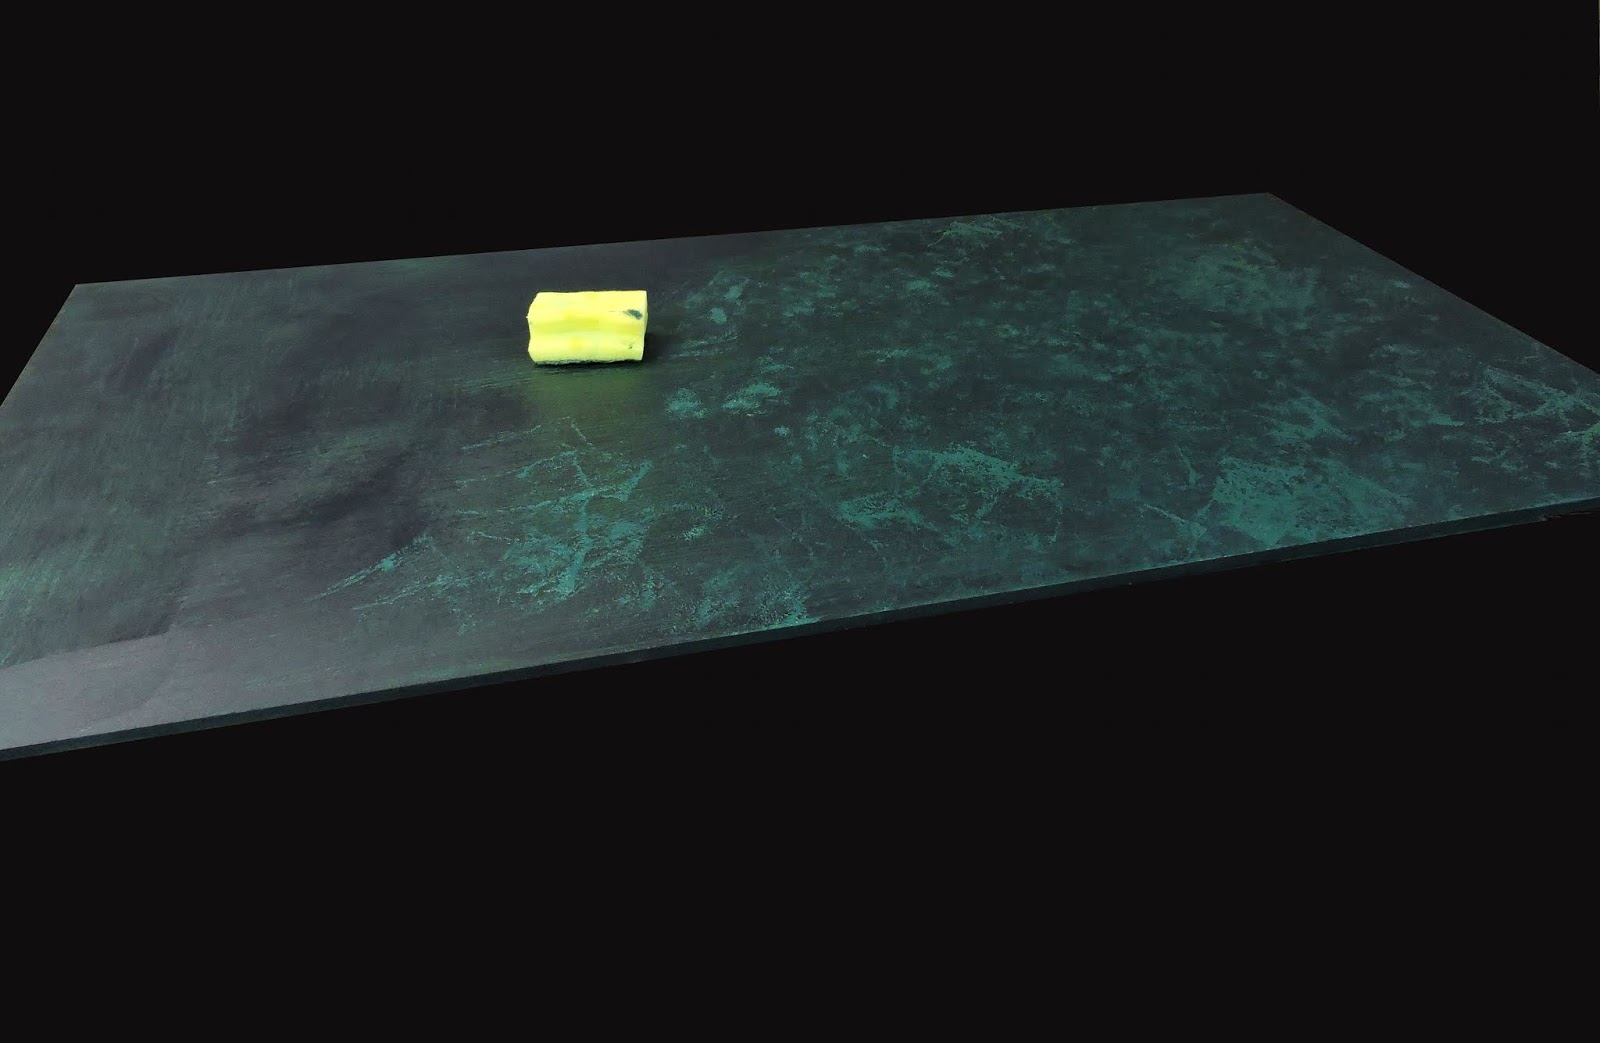
| Base coat finished. Notice the deliberate variation in shading. |
Painting a 4 x 2 board does not take very long. I would guess roughly twenty minutes to get the base coat on. The whole idea is to have a nice blended blue green and not a homogenous surface. This will add to the depth perception later when it is varnished.
 |
| Dabbing with the pot scourer and lighter shades |
The next step is a really important one. Get a pot scourer or, something with a rough surface. Mix significantly lighter shades of blue and green on your pallet and dab the scourer into the new paint mix. Now dab in a random pattern on the already dried board. Even if the base coat is a little damp it won't matter and it all blends together. Vary the angle of approach with your scourer. The effect may look somewhat dramatic but stay with it!
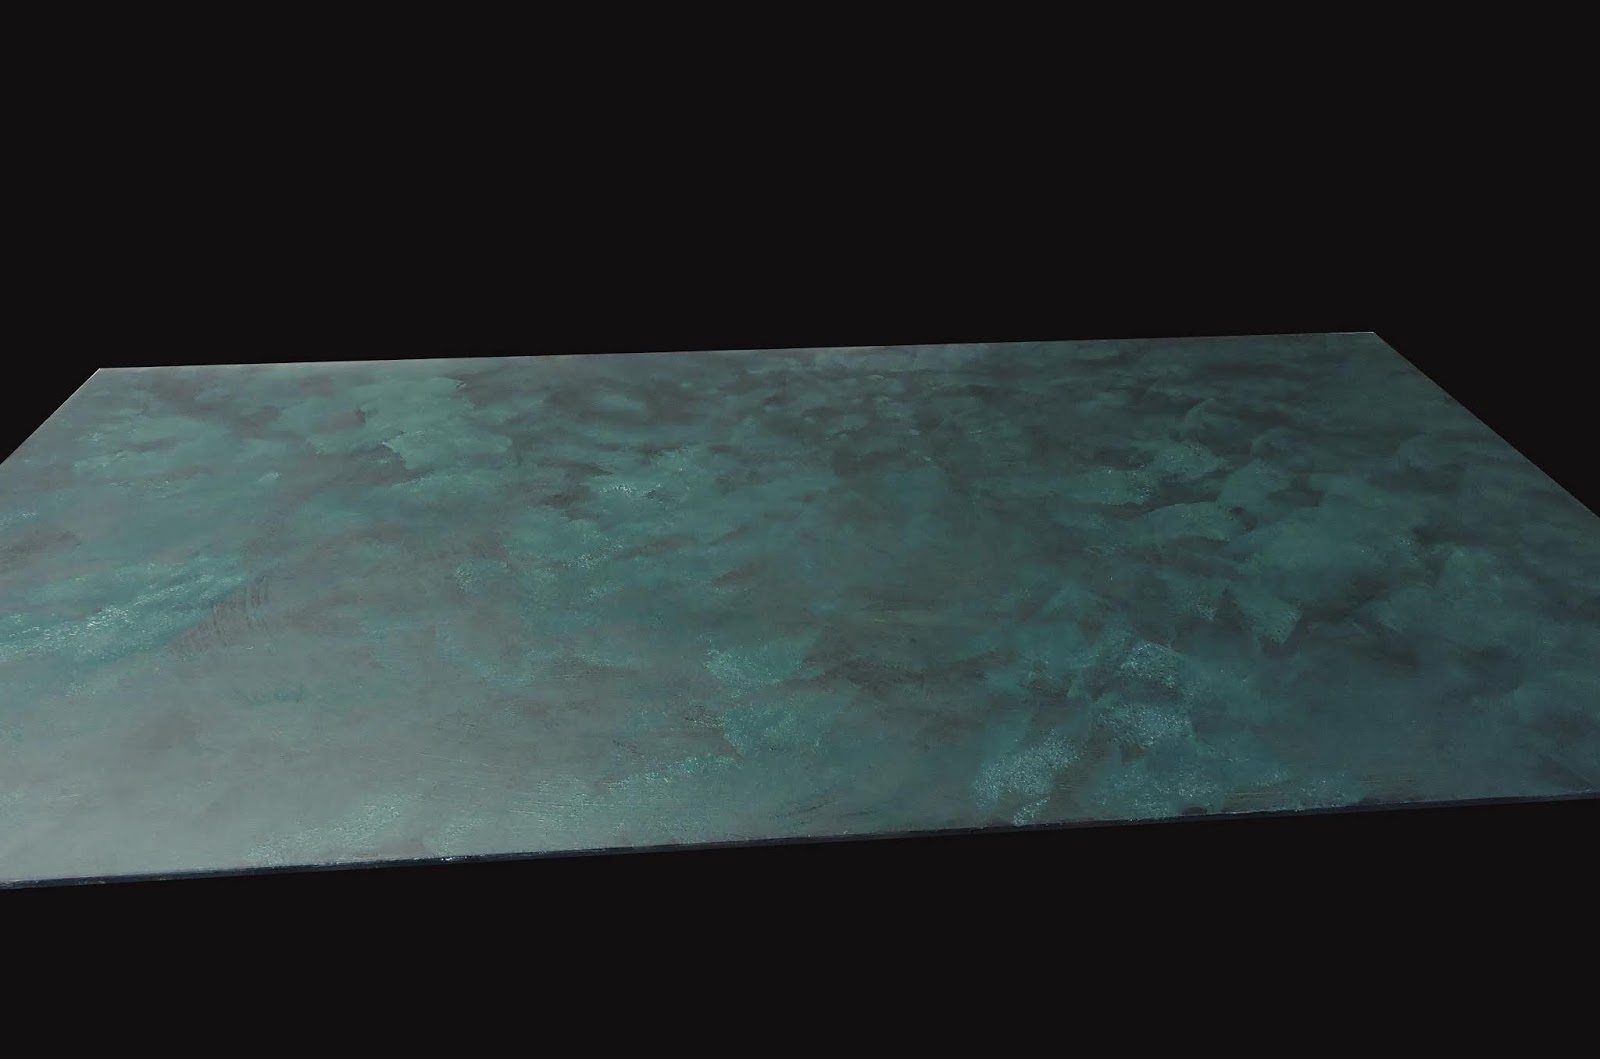 |
| Finished with the shading - now for the varnish. |
The last act is to add the waves - use a clean scourer and dip the edge in Flake White. Ensure you get the direction of the waves constant across the boards. It will dry quite quickly. Once finished, leave it to dry overnight will be sufficient but it is actually workable in 2-3 hours if you are in a hurry.
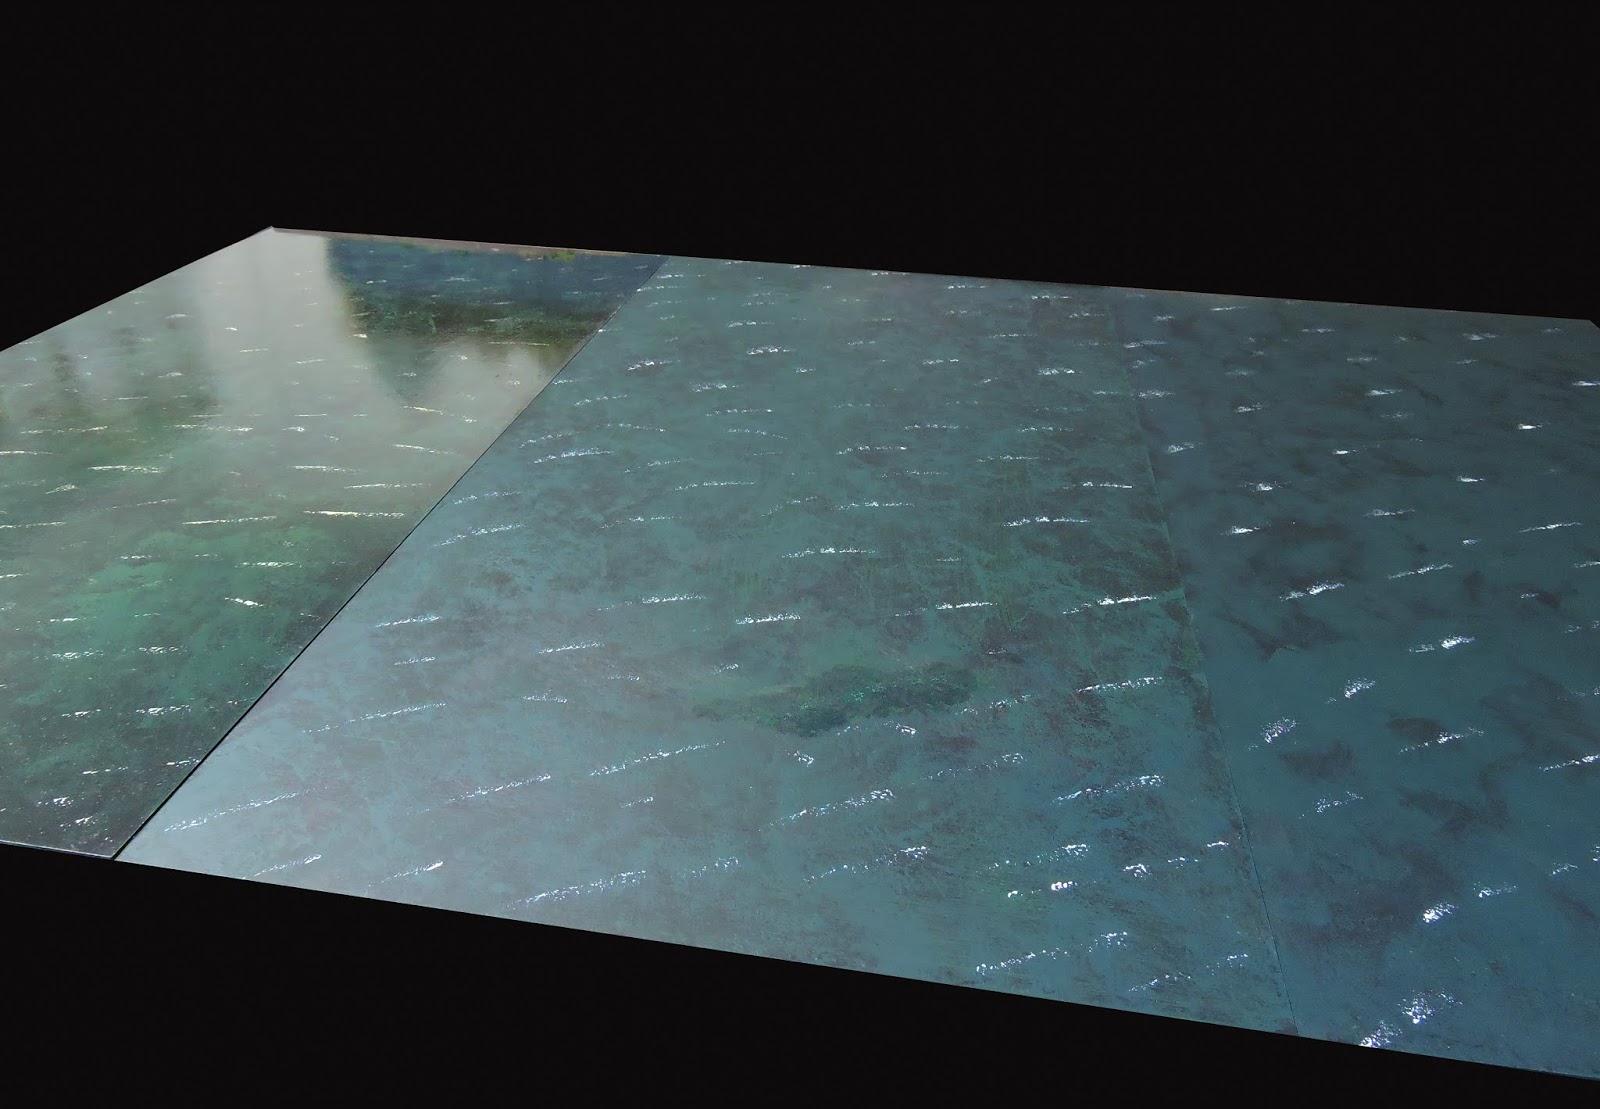 |
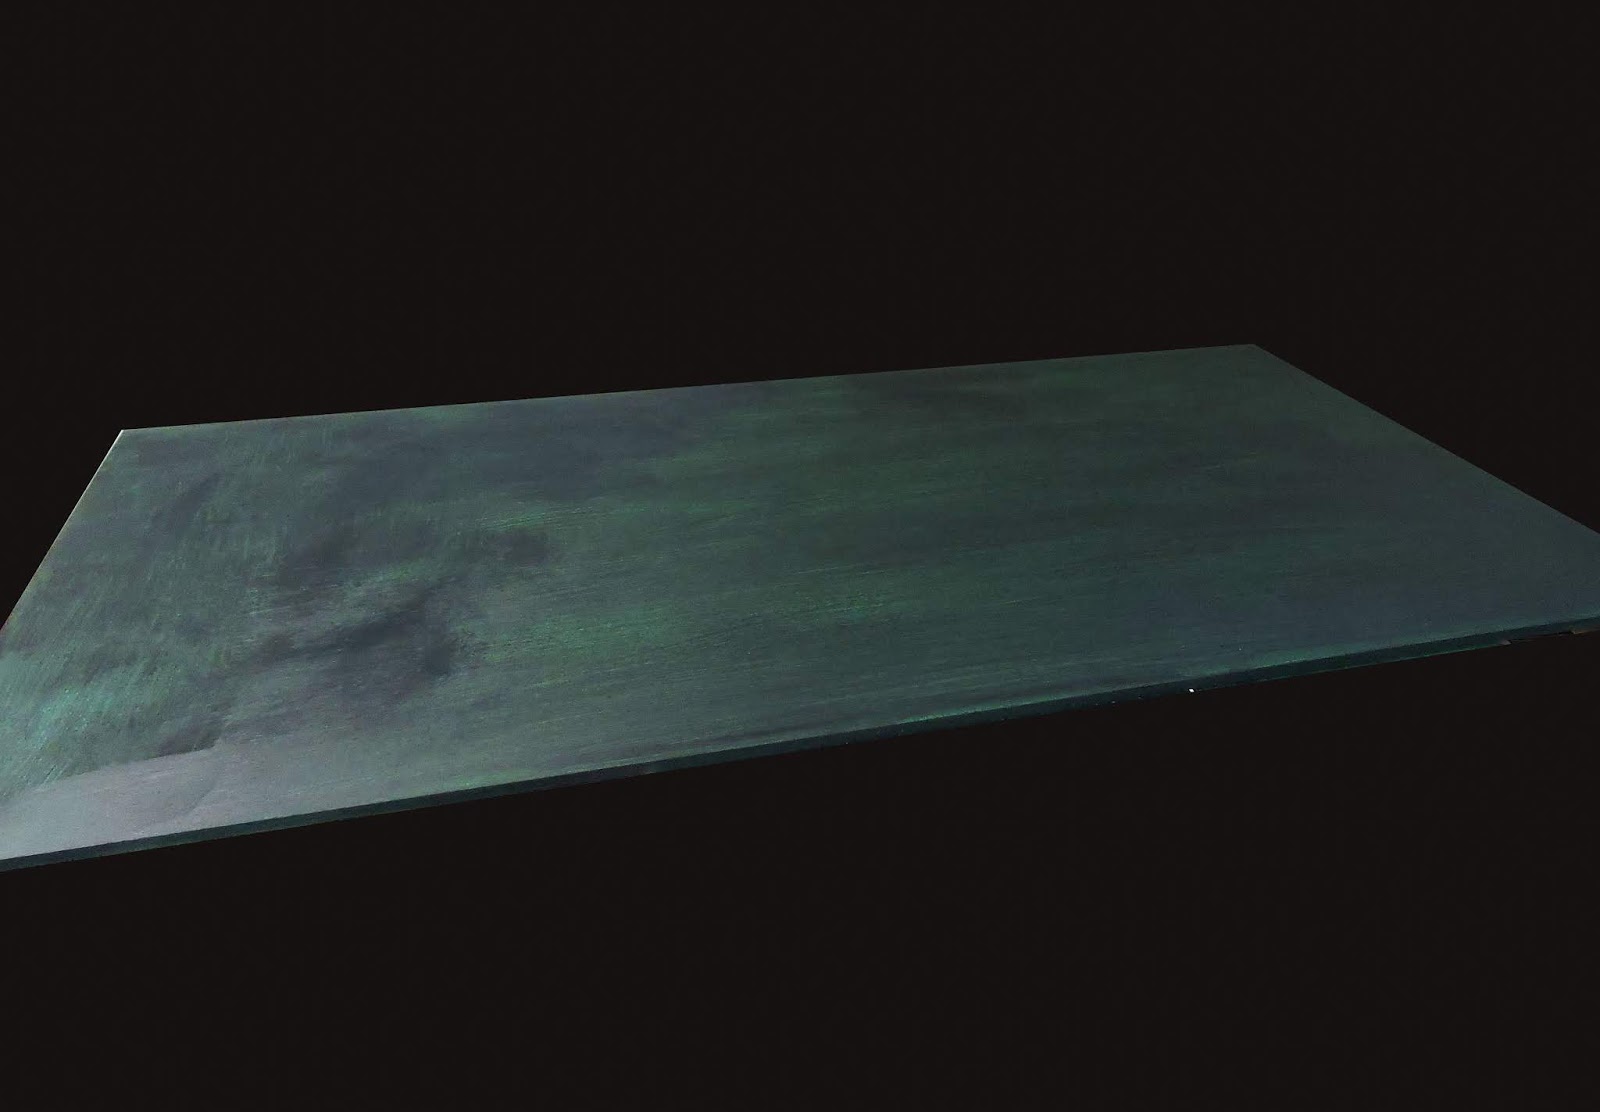
| Board on the left varnished. |
The final step is to varnish the boards. I use yacht varnish and apply it with the same type of brush used to paint the board in the first place. I recommend at least two coats and if you get a chance, three. A strange but extremely gratifying side effect of the technique that the painting technique coupled with the multiple varnish coats creates a stippled texture on the surface adding to the overall effect. I managed 6 x 4 feet in 3 sessions. I think total work time might have been about 5 - 6 hours.