 |
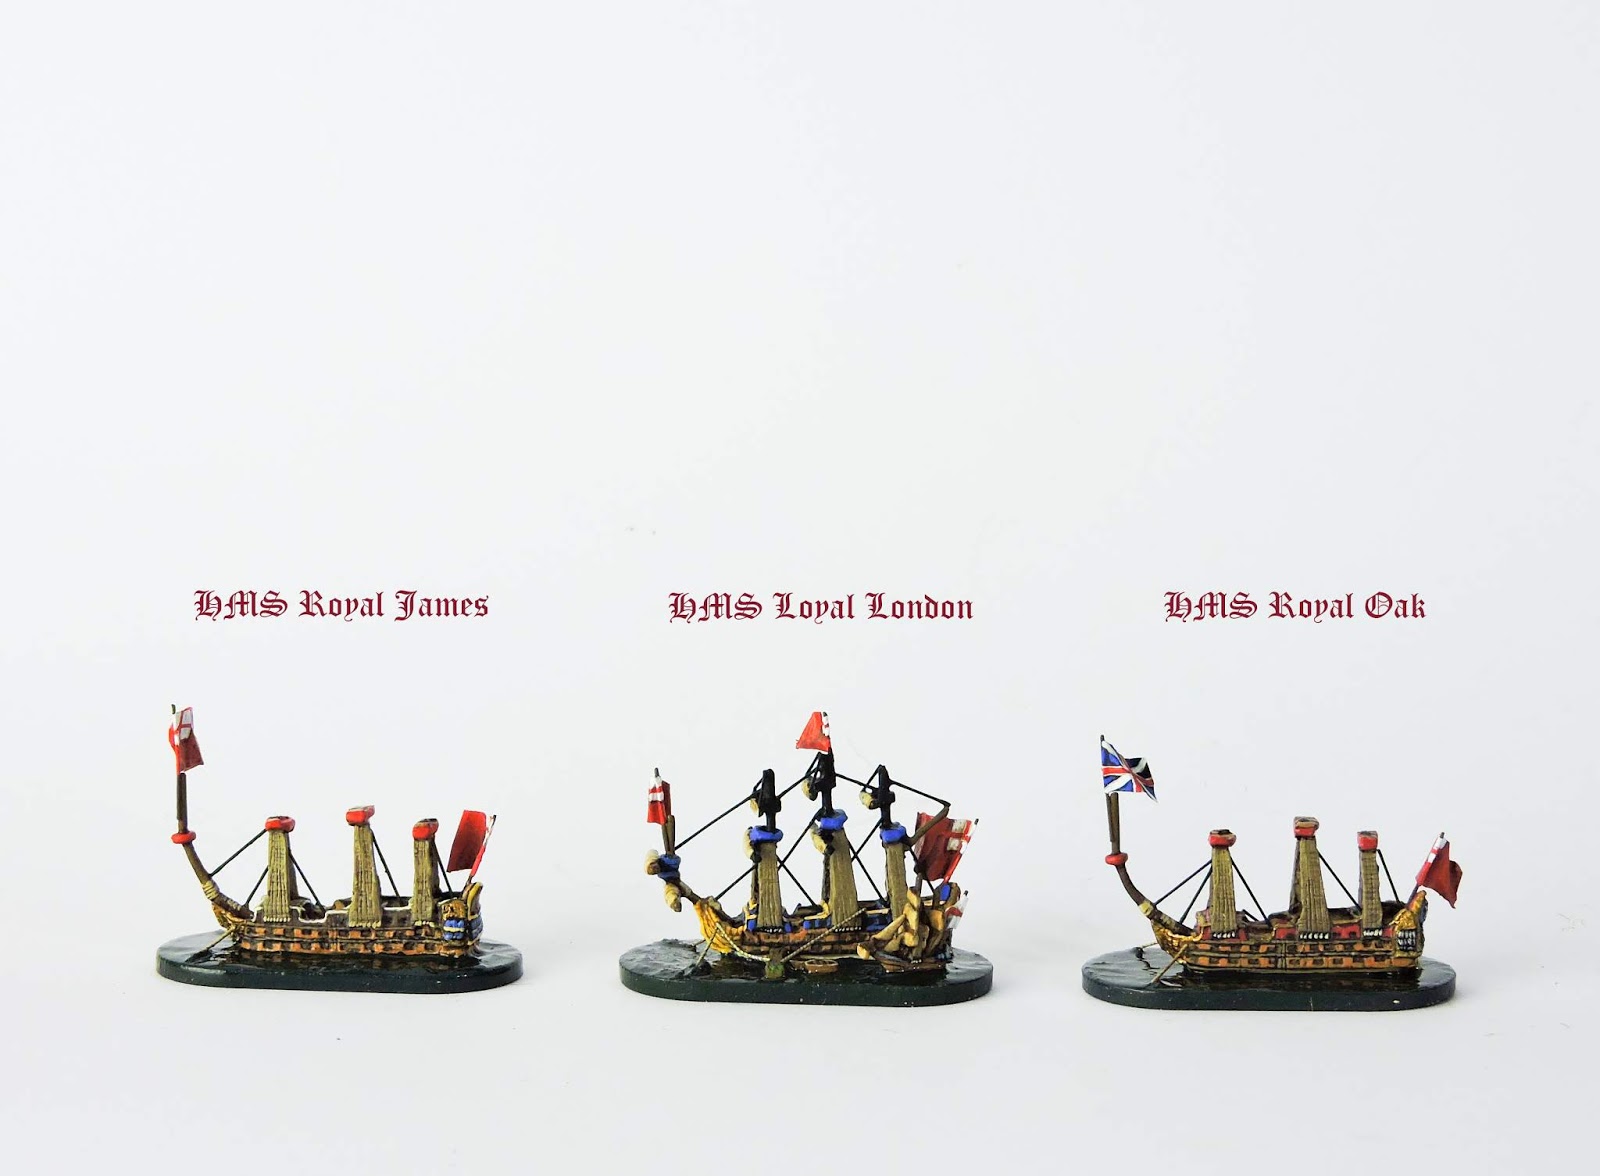
| Remember these? I moved to V2 for each |
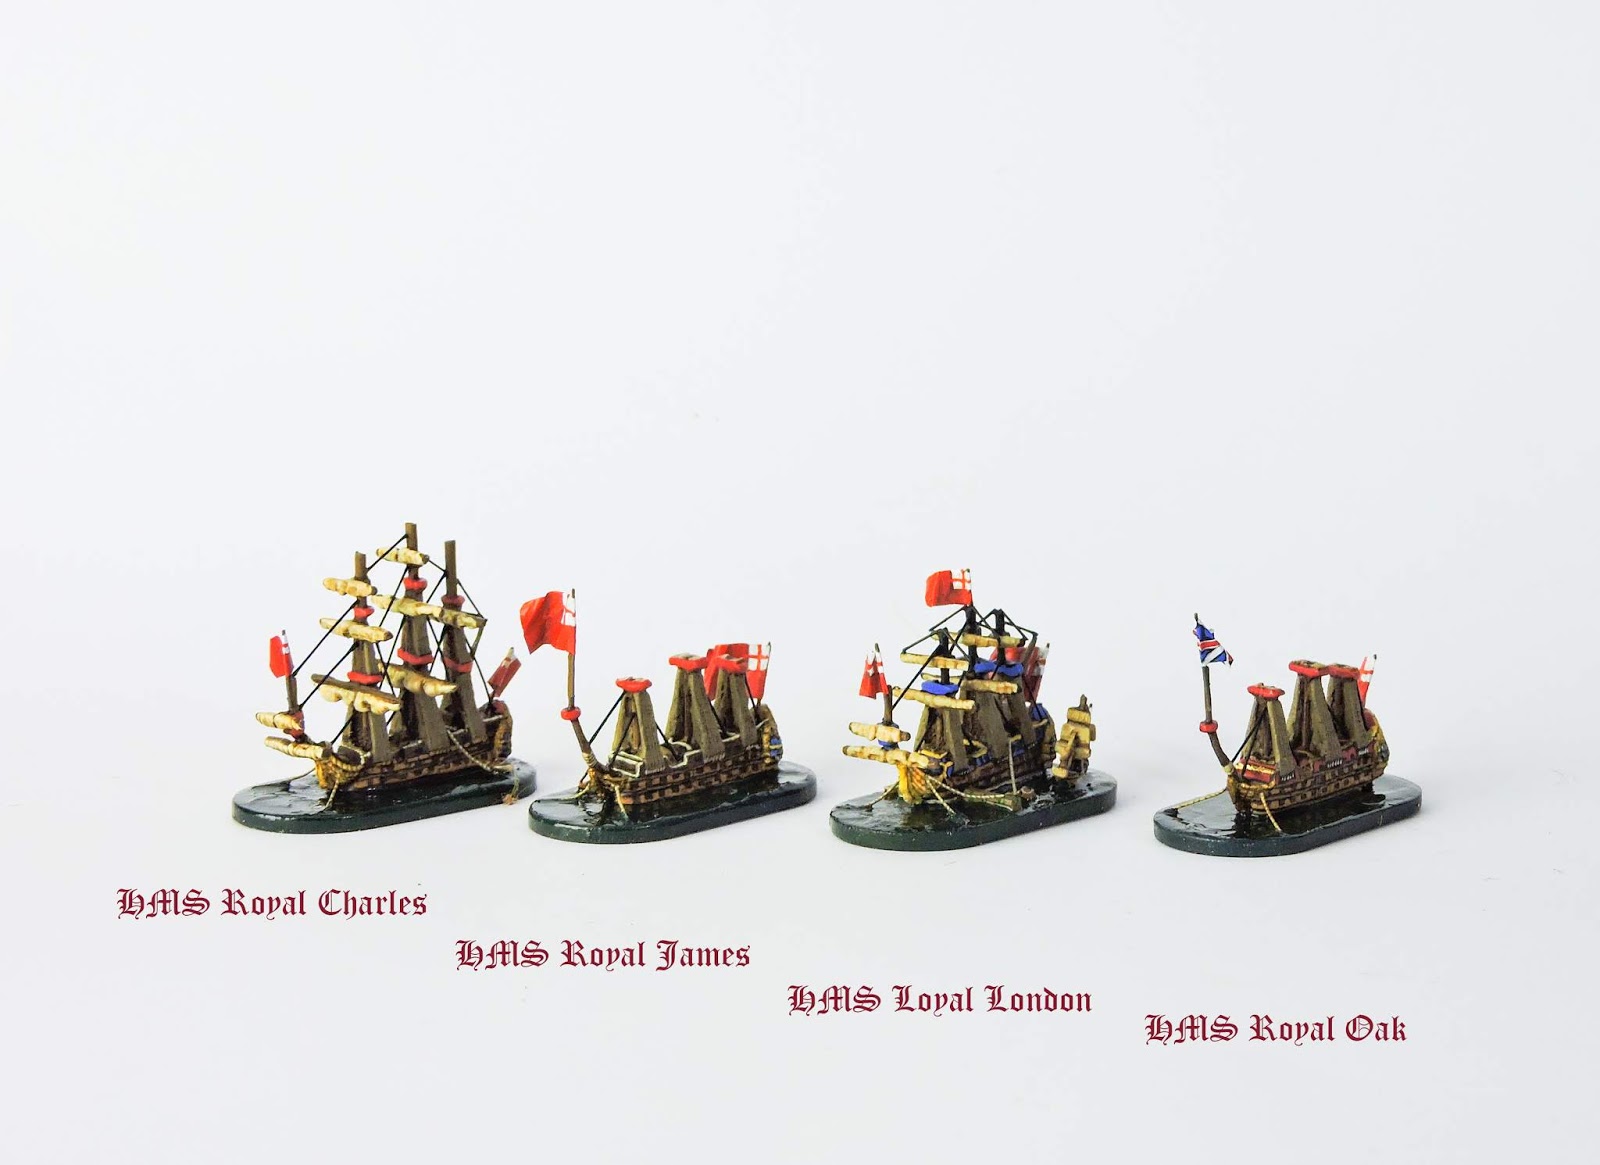
I very much enjoyed customizing the Tumbling Dice models for the large English men o'war 'in ordinary' which I have shown previously in some posts. The more work I do with these 1/2400 models the more confident I get in the scope of conversions.
 |
| V2s in the rear V1s to the fore |
I was very happy with the versions I did until I thought about simulating their partial sinking. The Navy Board decided to flood the lower decks of the ships and bottom them on the river which was about 15 -20 feet deep at their location of the tidal reach. The reason was to make it more difficult for the Dutch to board, capture and tow away such valuable assets.
 |
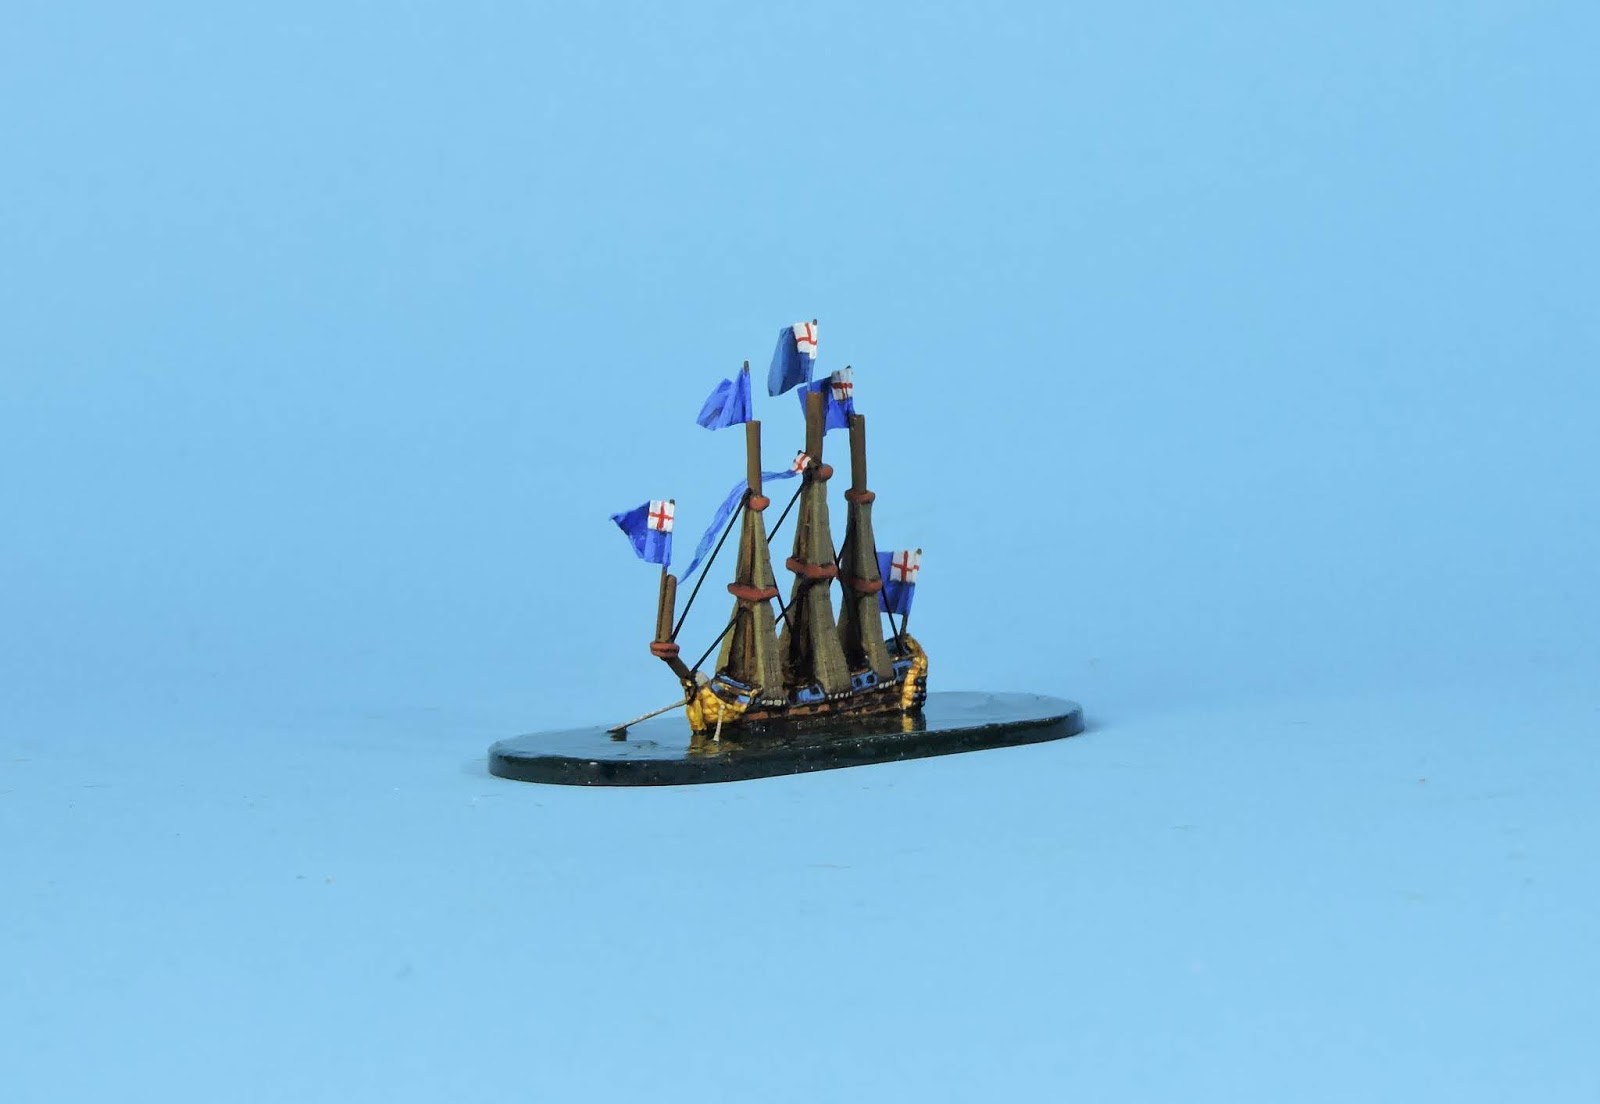
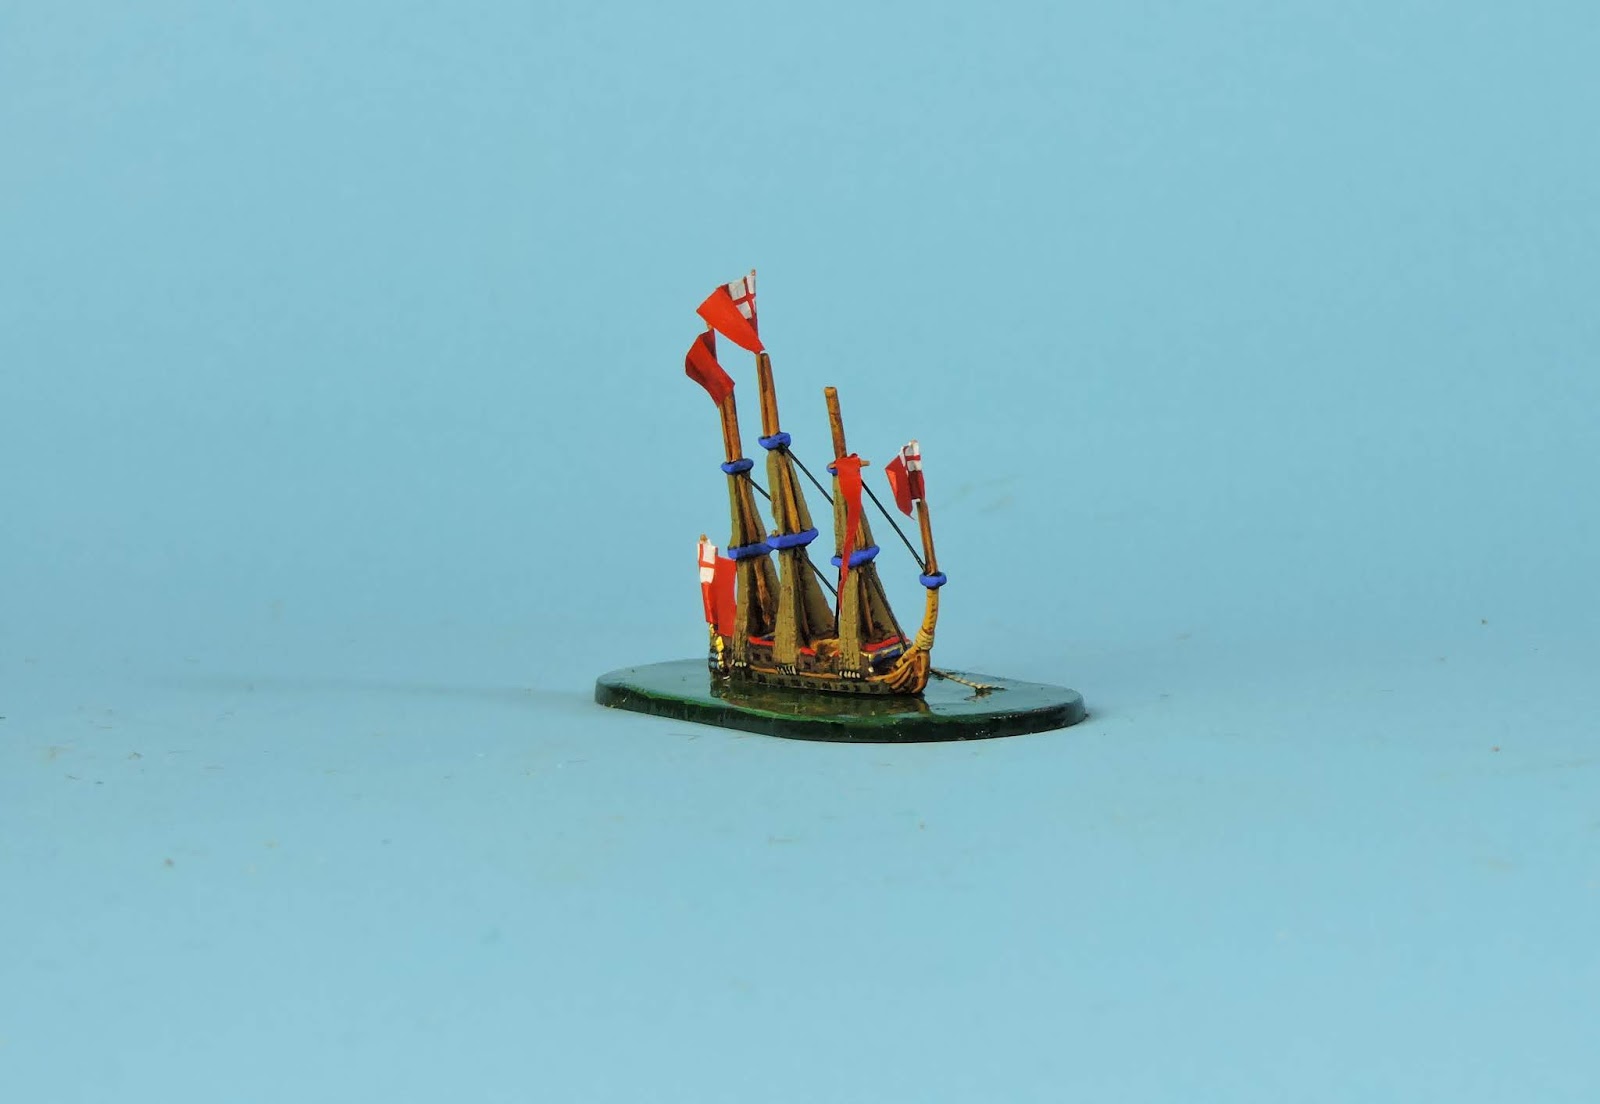
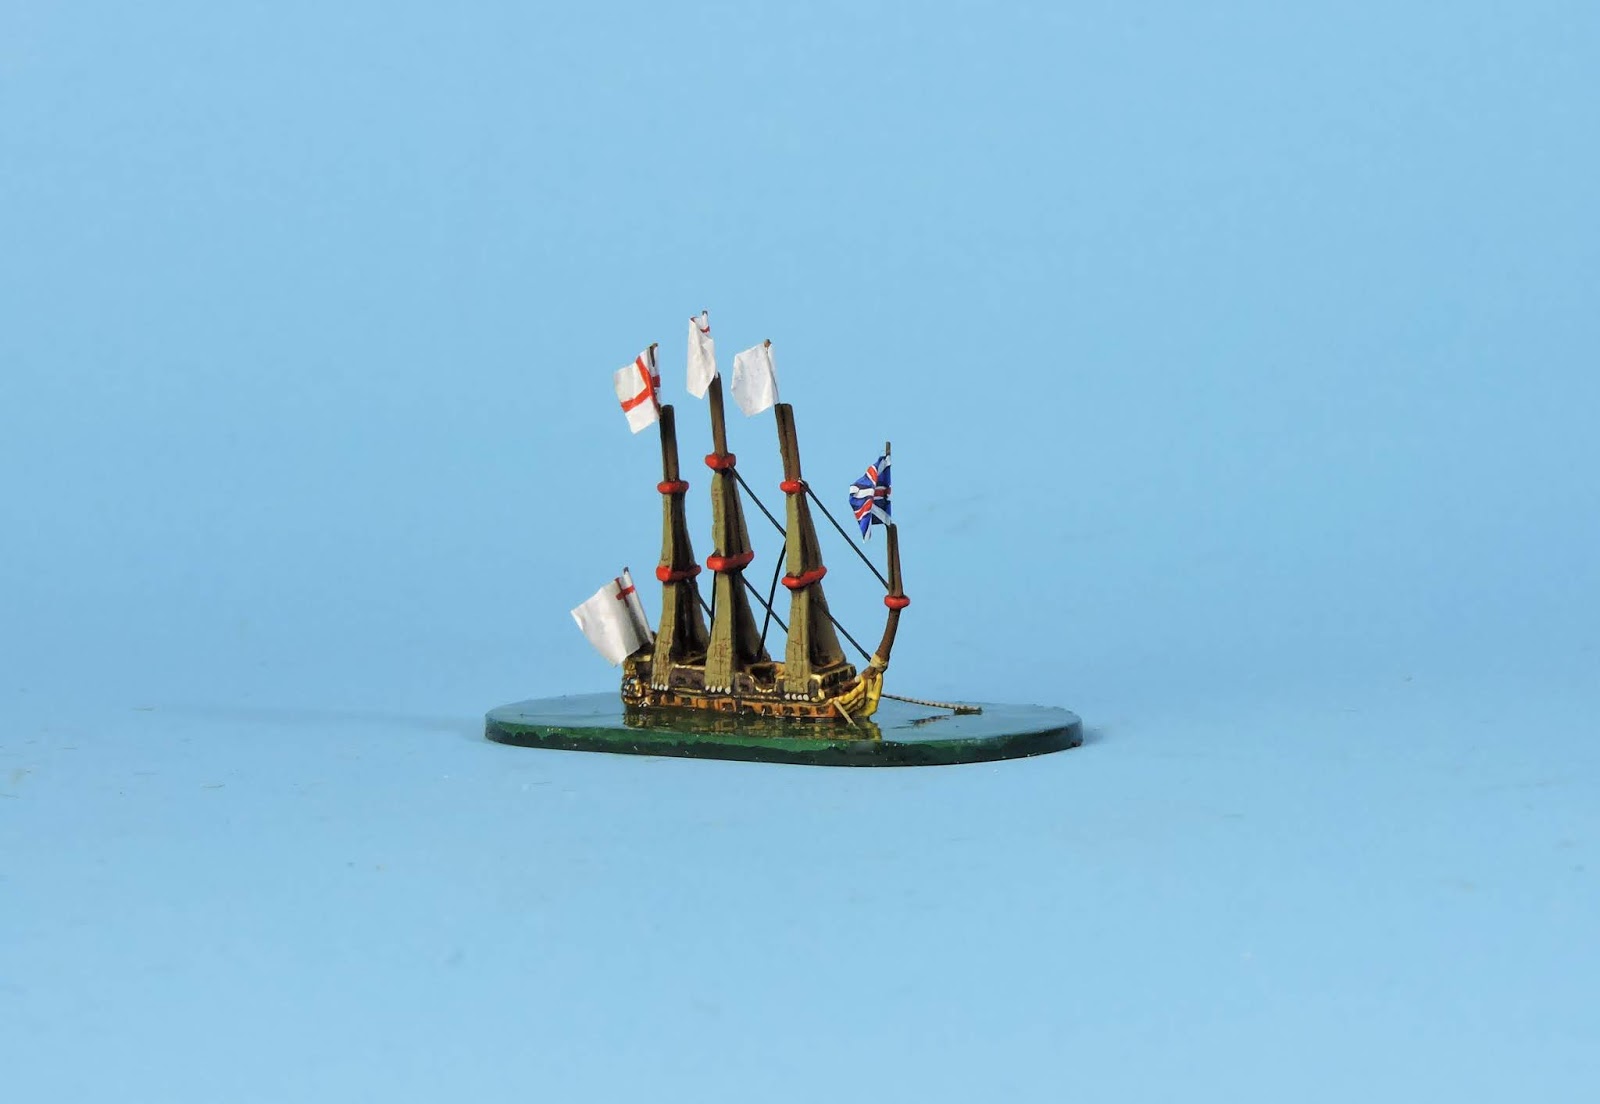
| Royal Charles V2 Royal James and V1 Royal James which will now be used as another 2nd rate in ordinary |
Angling them and removing some of the lower portions of the ships would I thought, provide an even more powerful visual perspective and be fun to simulate.
 |
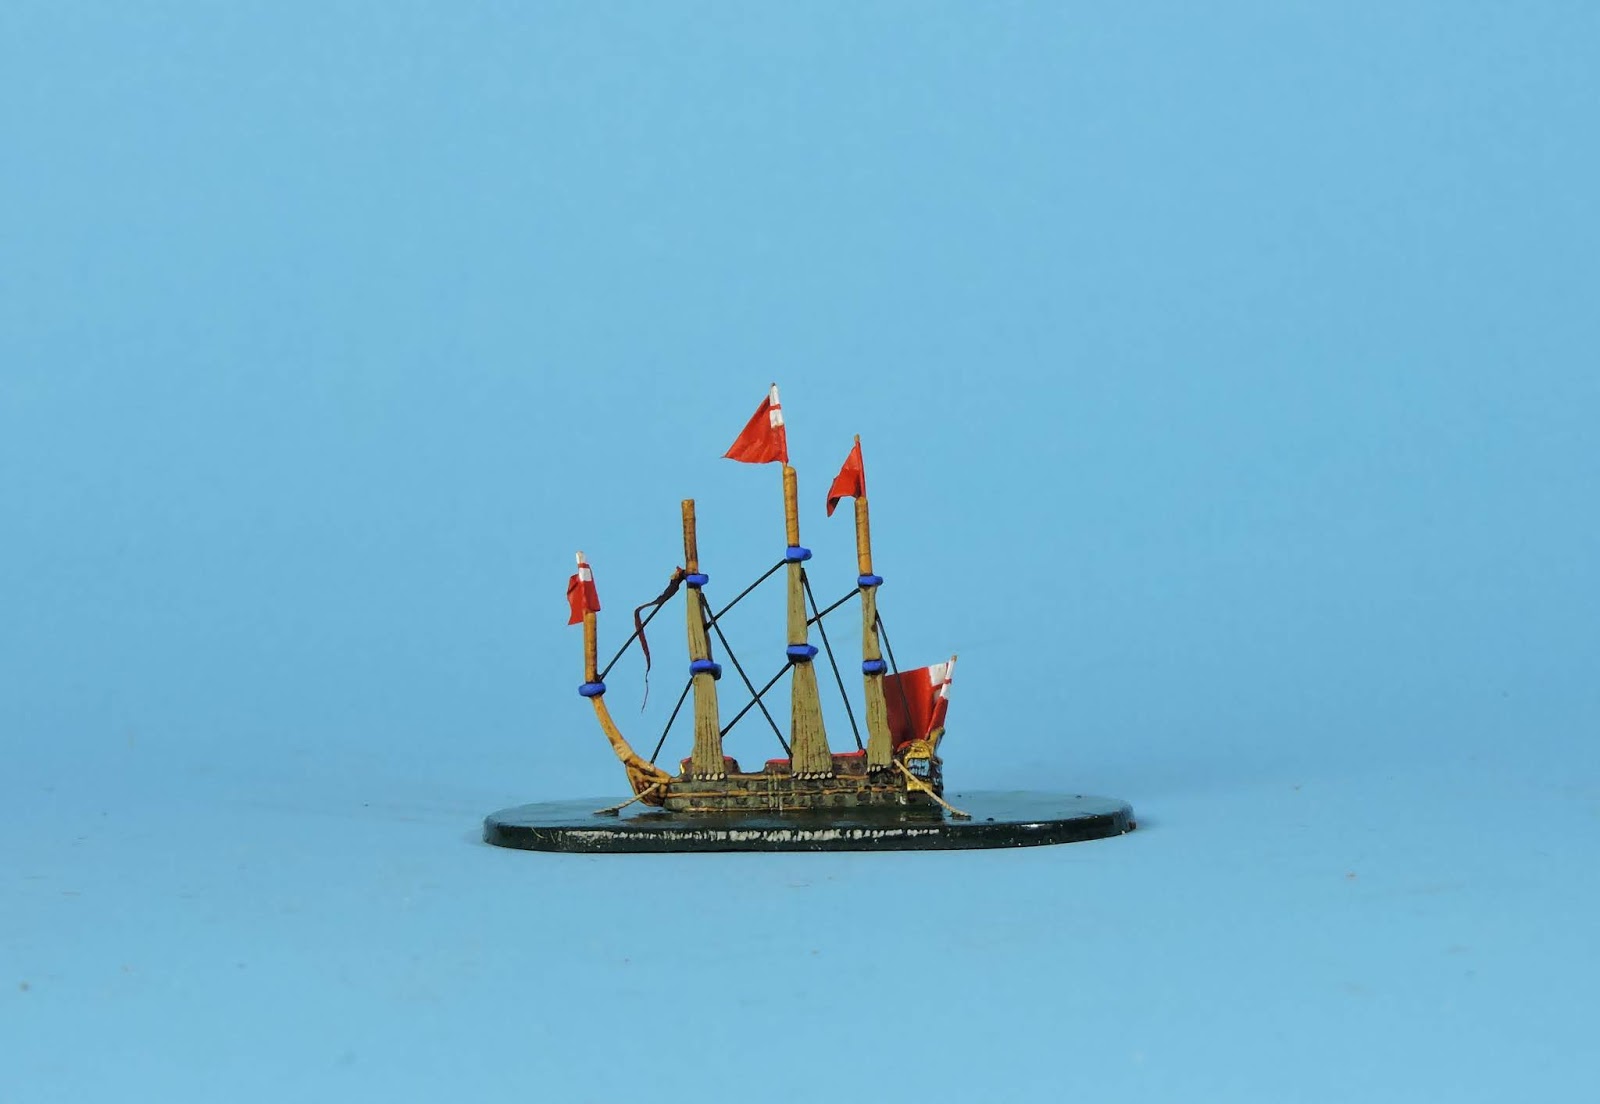
| Blue Squadron: HMS Loyal London V2 in ordinary |
 |
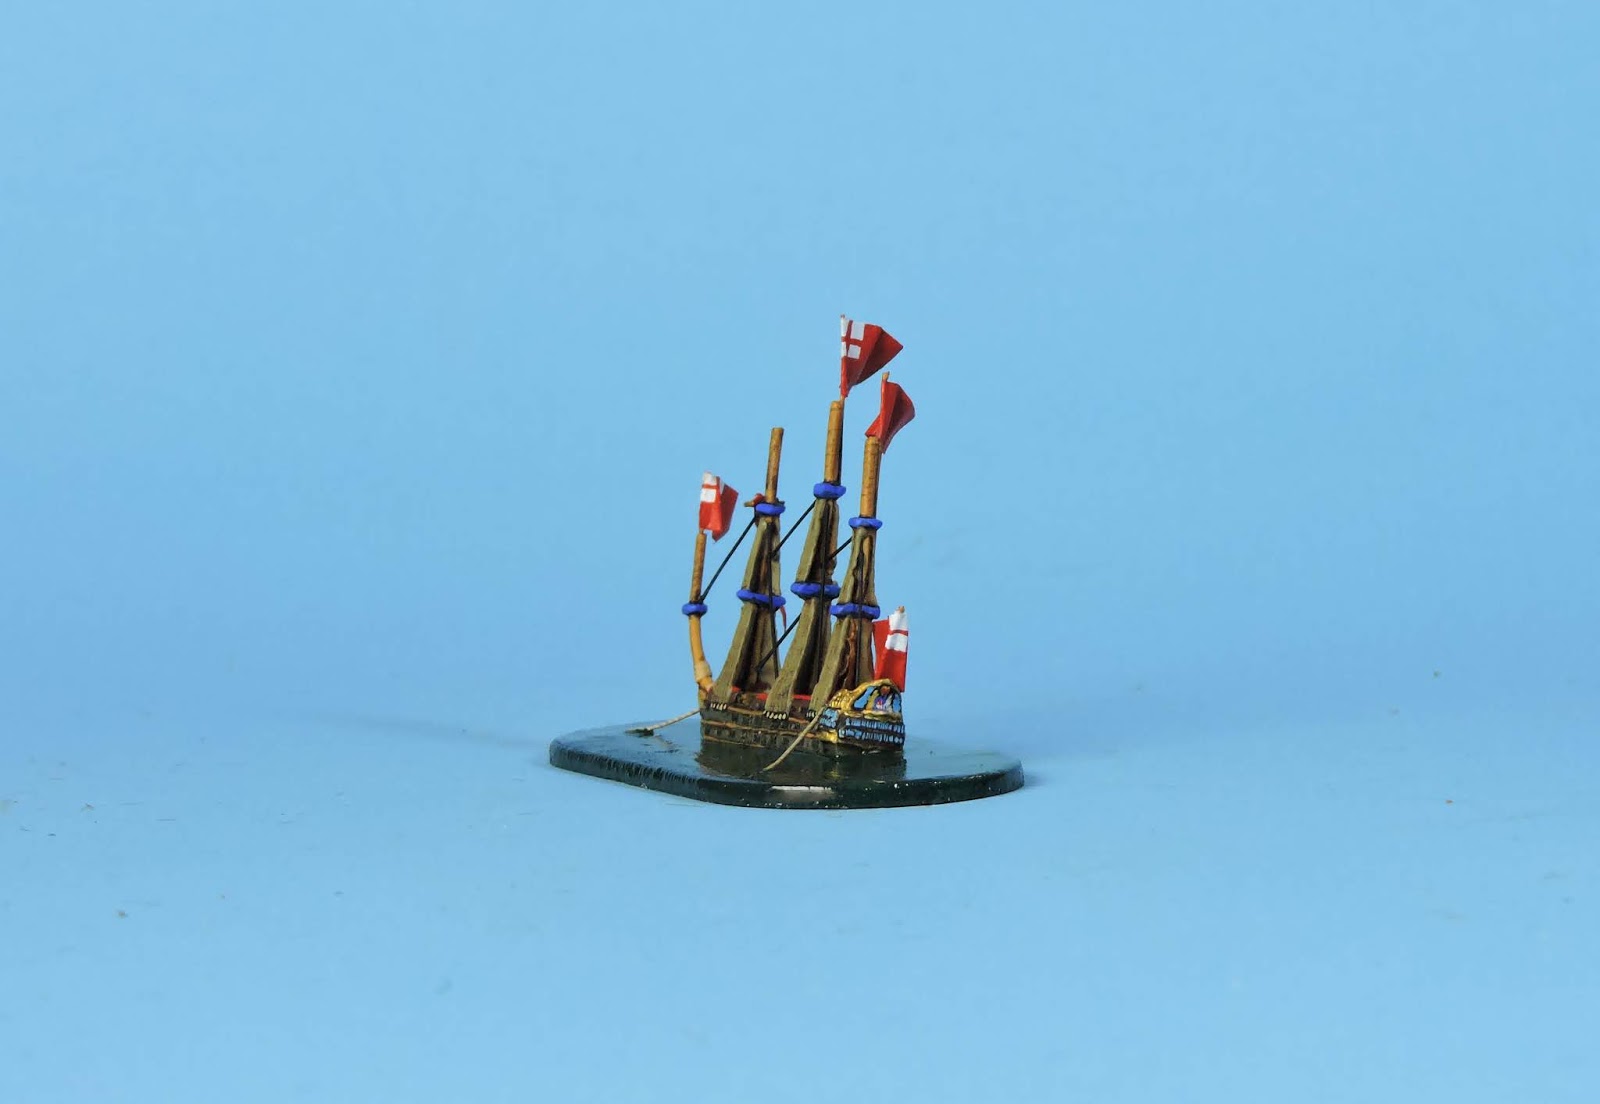
| Loyal London's list to port can be seen clearly in this shot. Model filed to submerge lower gun deck |
 |
| Loyal London starboard side to the west bank of the Medway |
 |
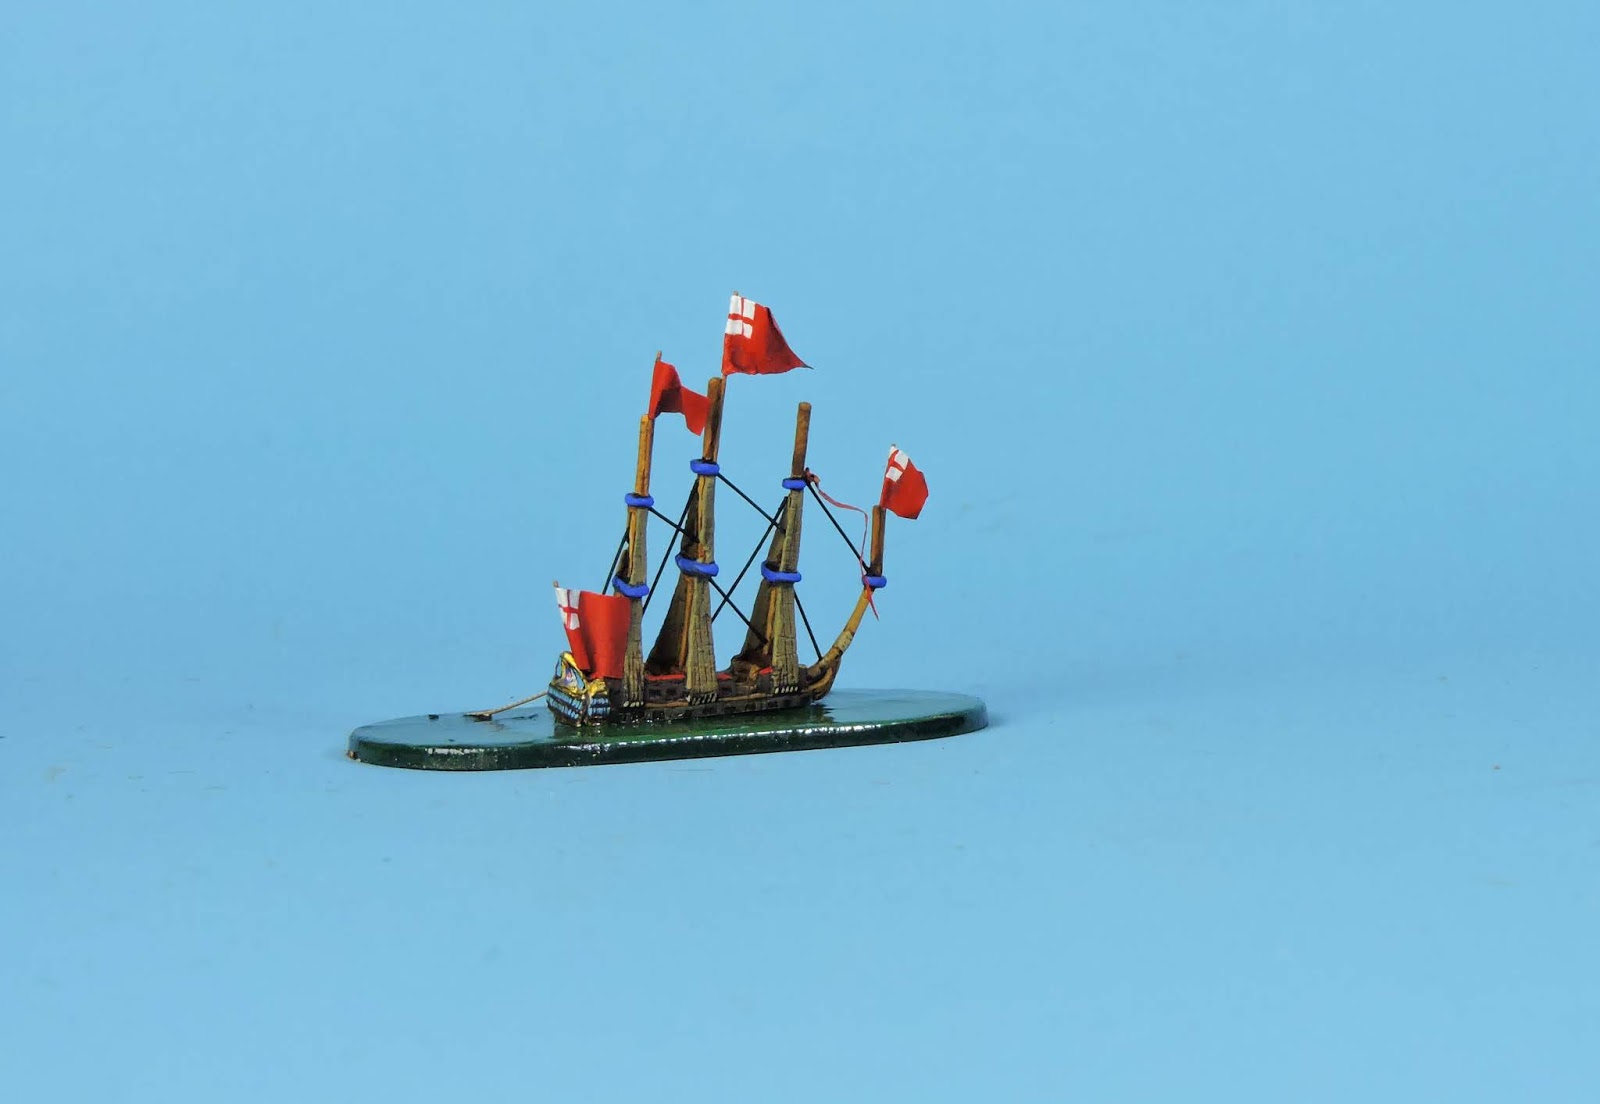
| Starboard side elevation of Loyal London |
 |
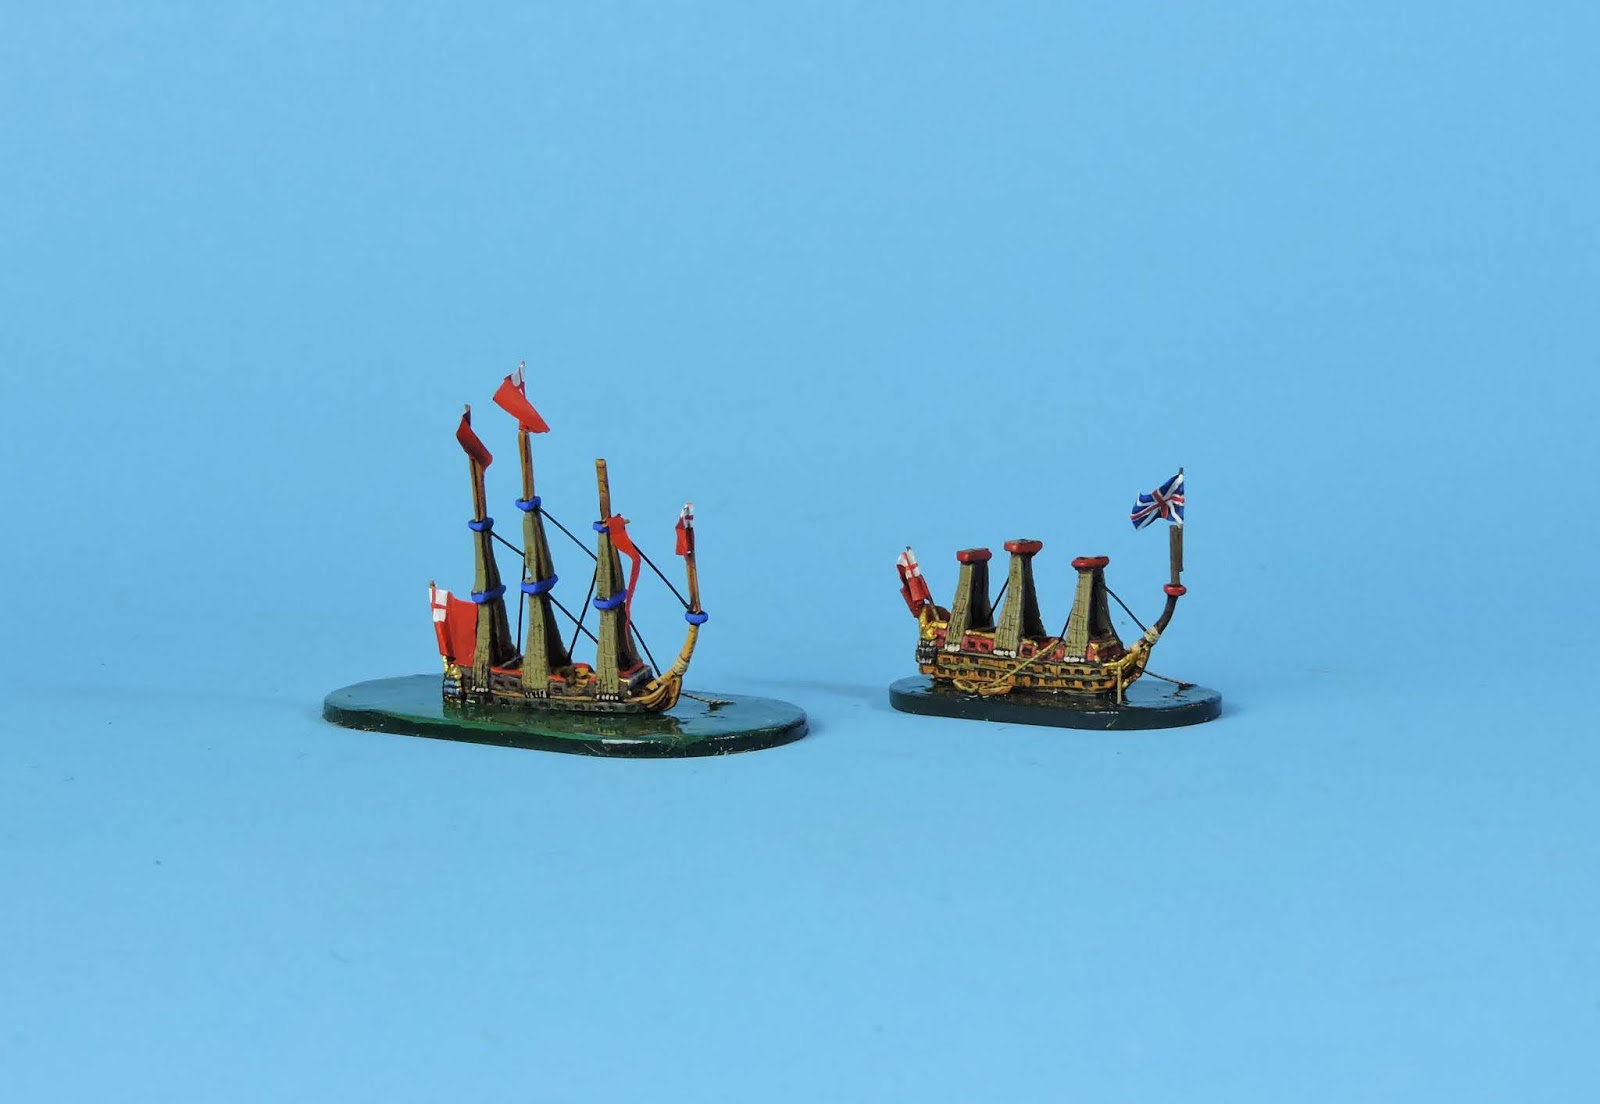
| HMS Loyal LondonV2 and V1 which will now be used for another captial ship in ordinary. |
I purchased a large file of good quality and set about filing down new versions of the vessels - Royal Oak, Royal James and Loyal London. After consulting the astonishing artwork of Jan Querely I also decided to leave the masts at full height to provide a more prominent and eye catching model. His representations of the Medway Raid are breathtaking. Please check them out here:
Naval art of Jan Querely
 |
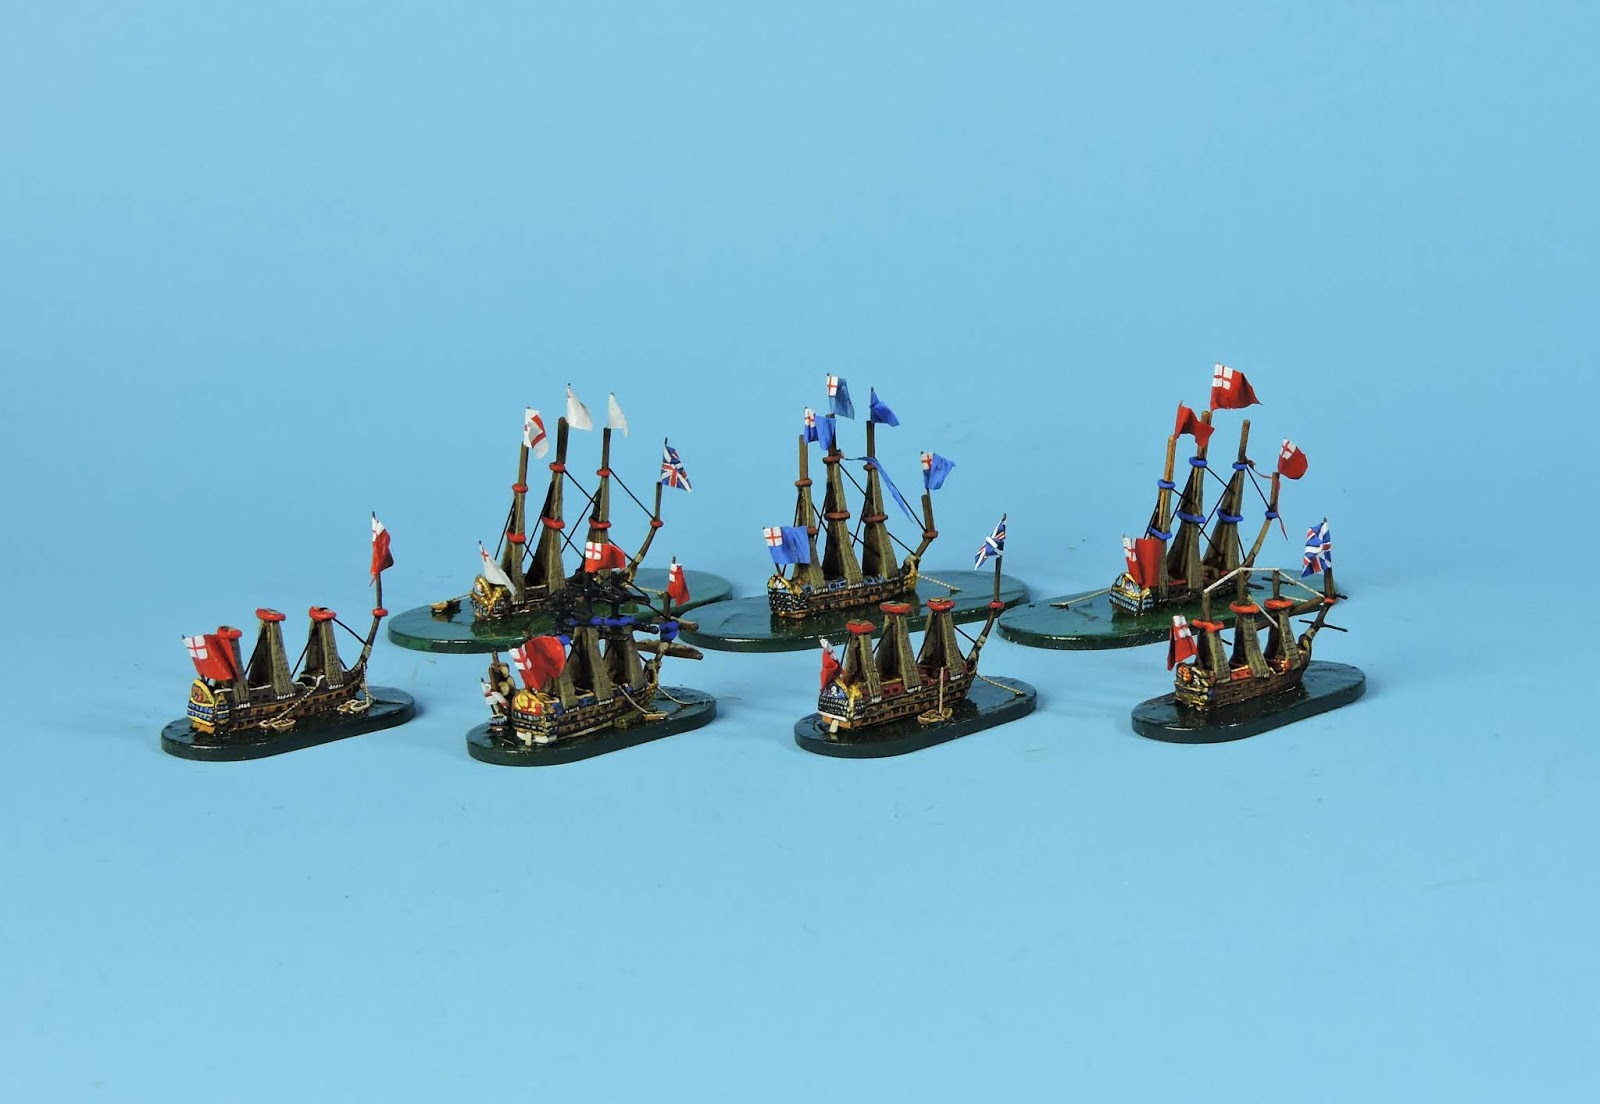
| Another view of the V1s of the Big Three |
I have learned much about how to bring detail out on these models since I started the project to build the English and Dutch forces participating in the Medway campaign. This includes the painting methodology and the way of picking out features such as gunports and stern decoration. Lots of washes of different colours have been deployed to achieve this.
Another distinguishing feature to differentiate each model was to move away from giving every ship the flags of the Red Squadron. By consulting the order of battle for the English Fleet at the St James Day Battle of August 1666 I noticed that each of the three ships mentioned served in different squadrons. This being the last major action before the fleet was laid up in the winter of 1666/67 I decided to flag the second iterations of each with the colours of the squadron each was part of when the previous year's campaign finished.
 |
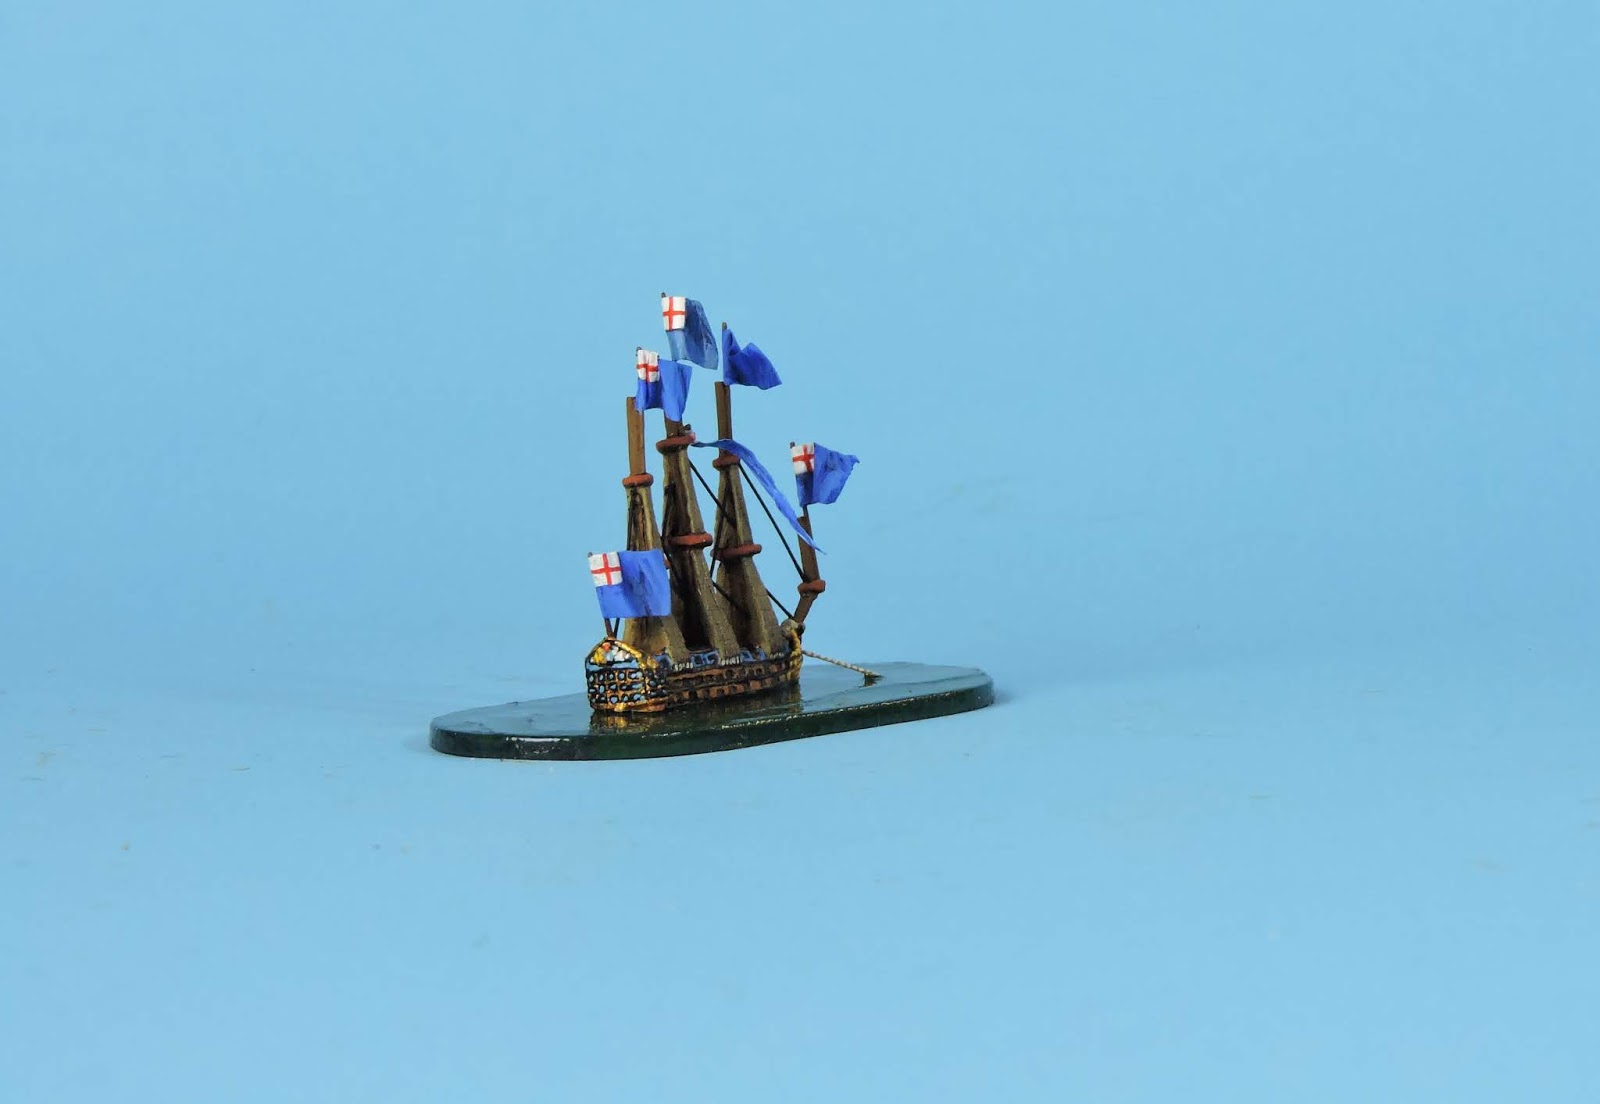
| RED Squadron: HMS Royal Oak V2 in ordinary |
 |
| Port quarter view of HMS Royal Oak V2 - her list to starboardi s very evident. |
Coupled with distinctive paint jobs this created a whole new way to represent the Big Three. The final difference came in the basing. I chose to use significantly larger bases and 'paint on' depth variation to indicate the ships were sitting to the edge of the deep water channel in the river. The addition of the usual yacht varnish finish only served to enhance this modelling detail.
 |
| Royal Oak V2 starboard view - facing west bank of river. |
 |
| The angle and sunken lower gundeck is very clear in this shot. |
 |
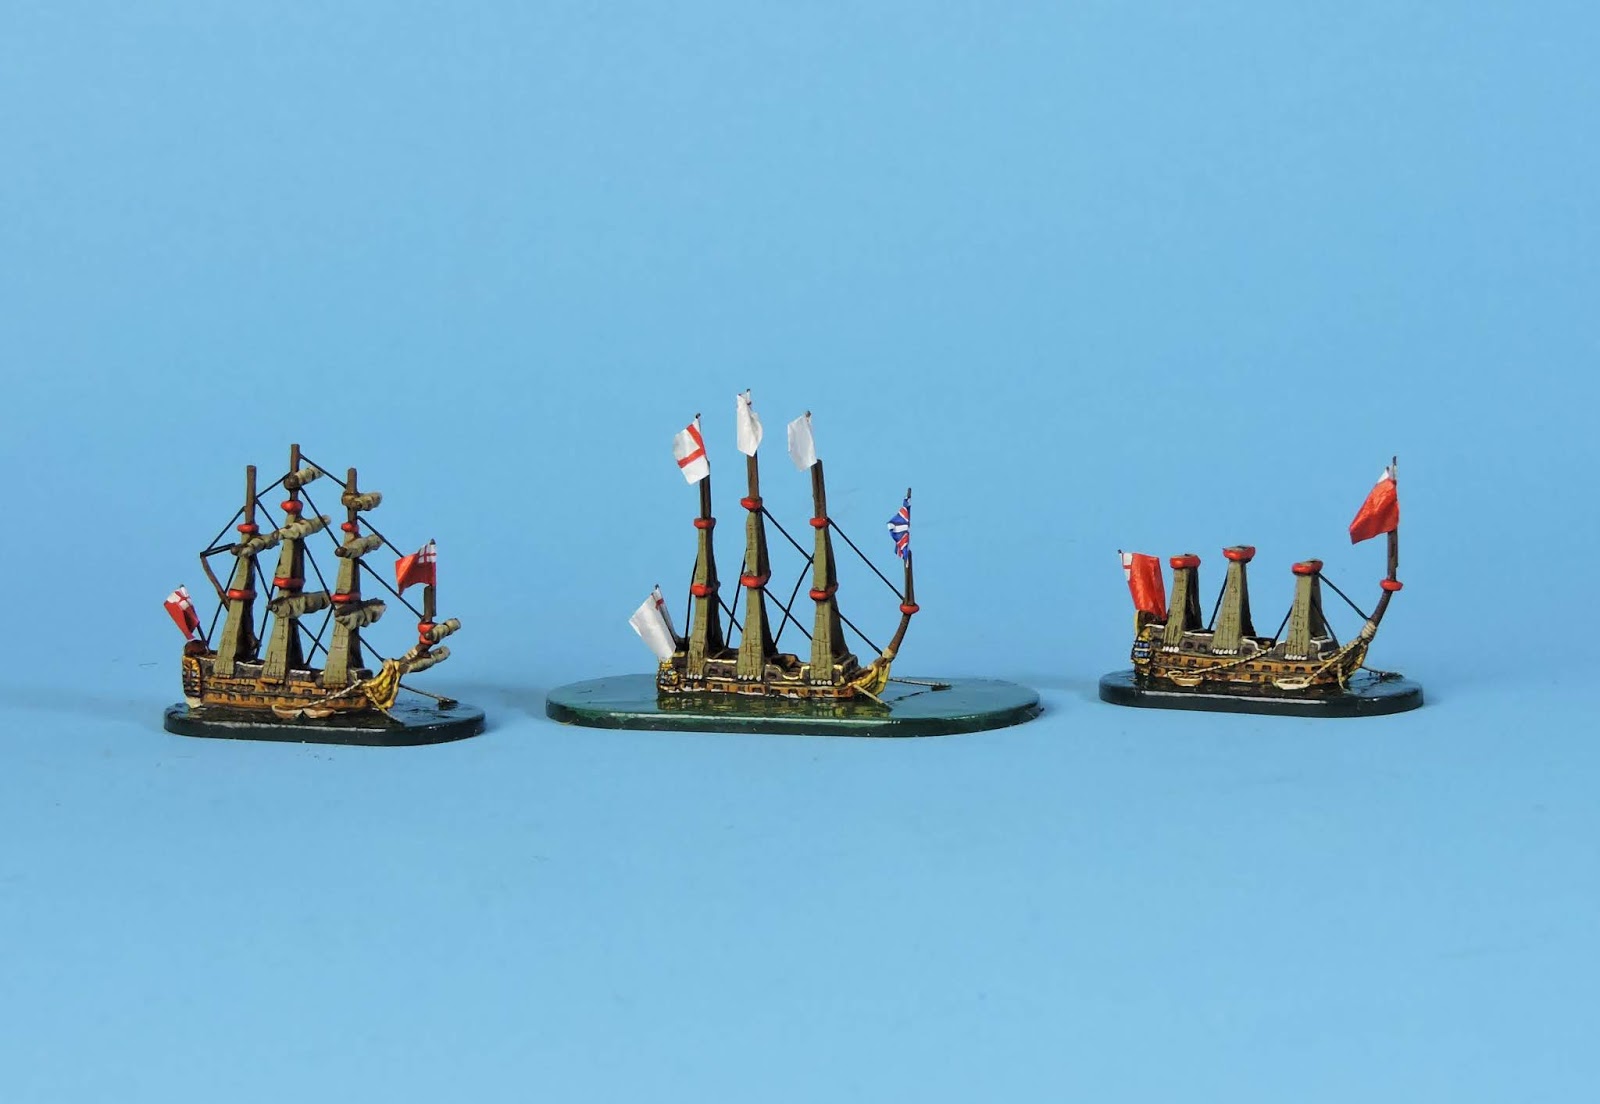
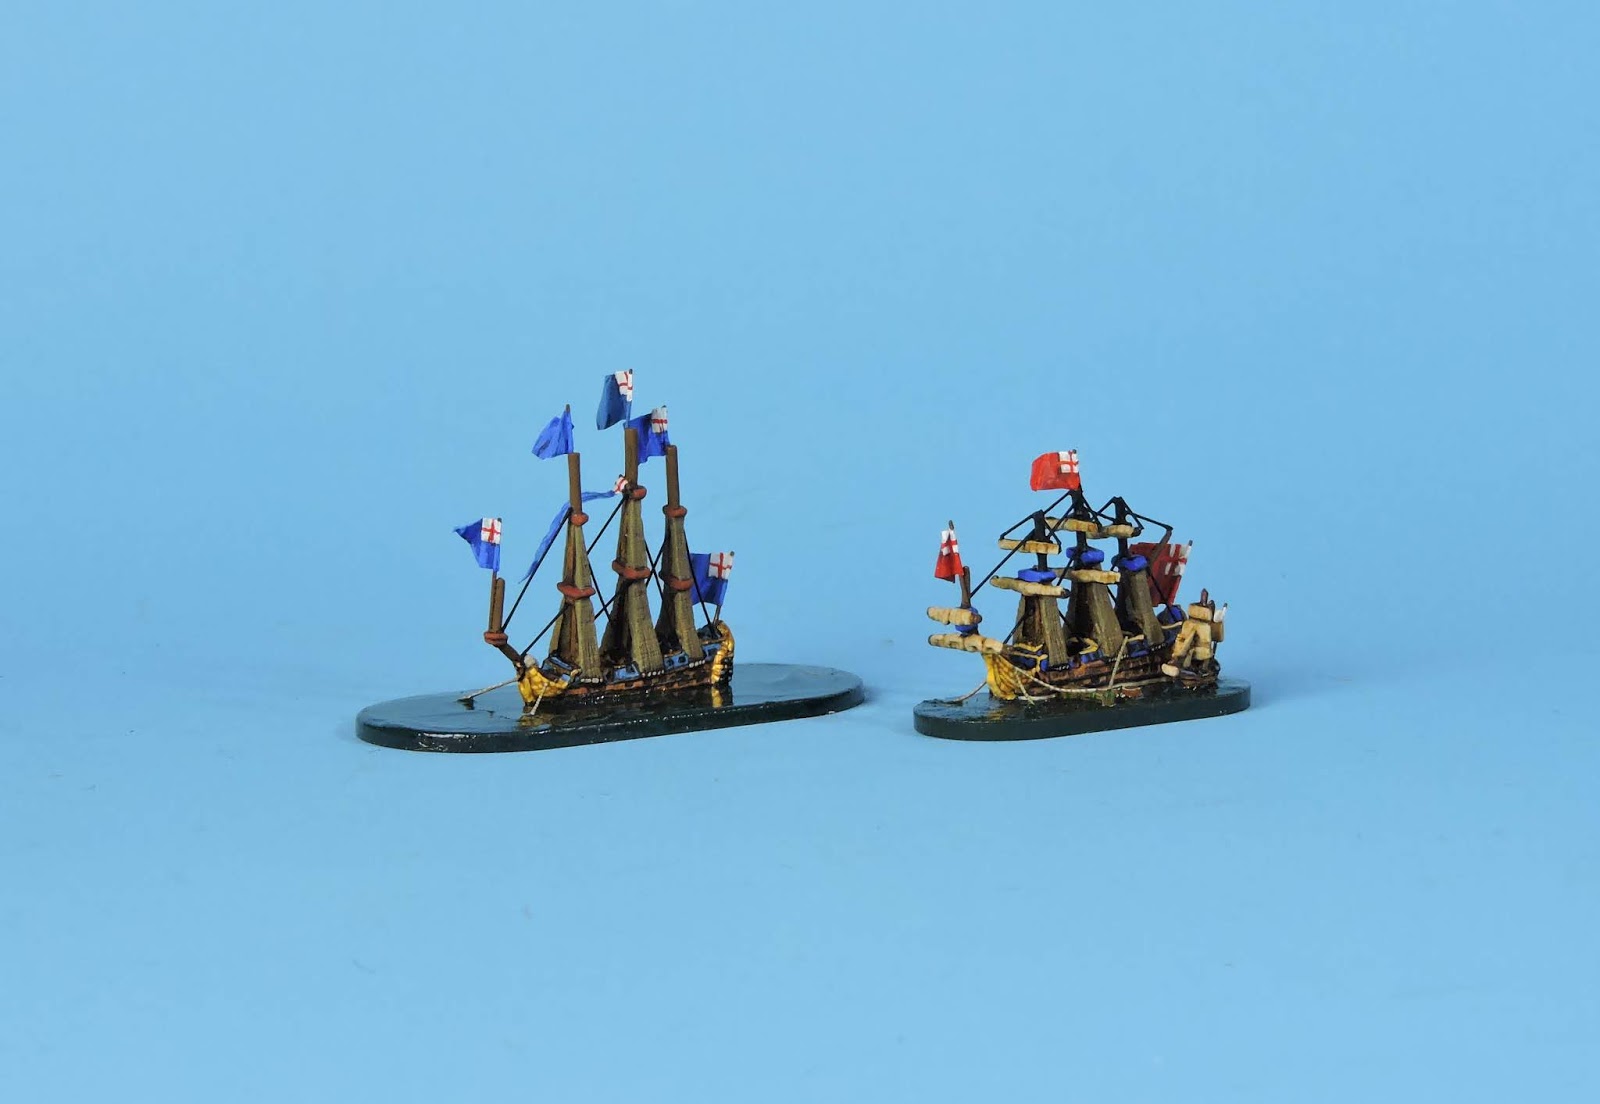
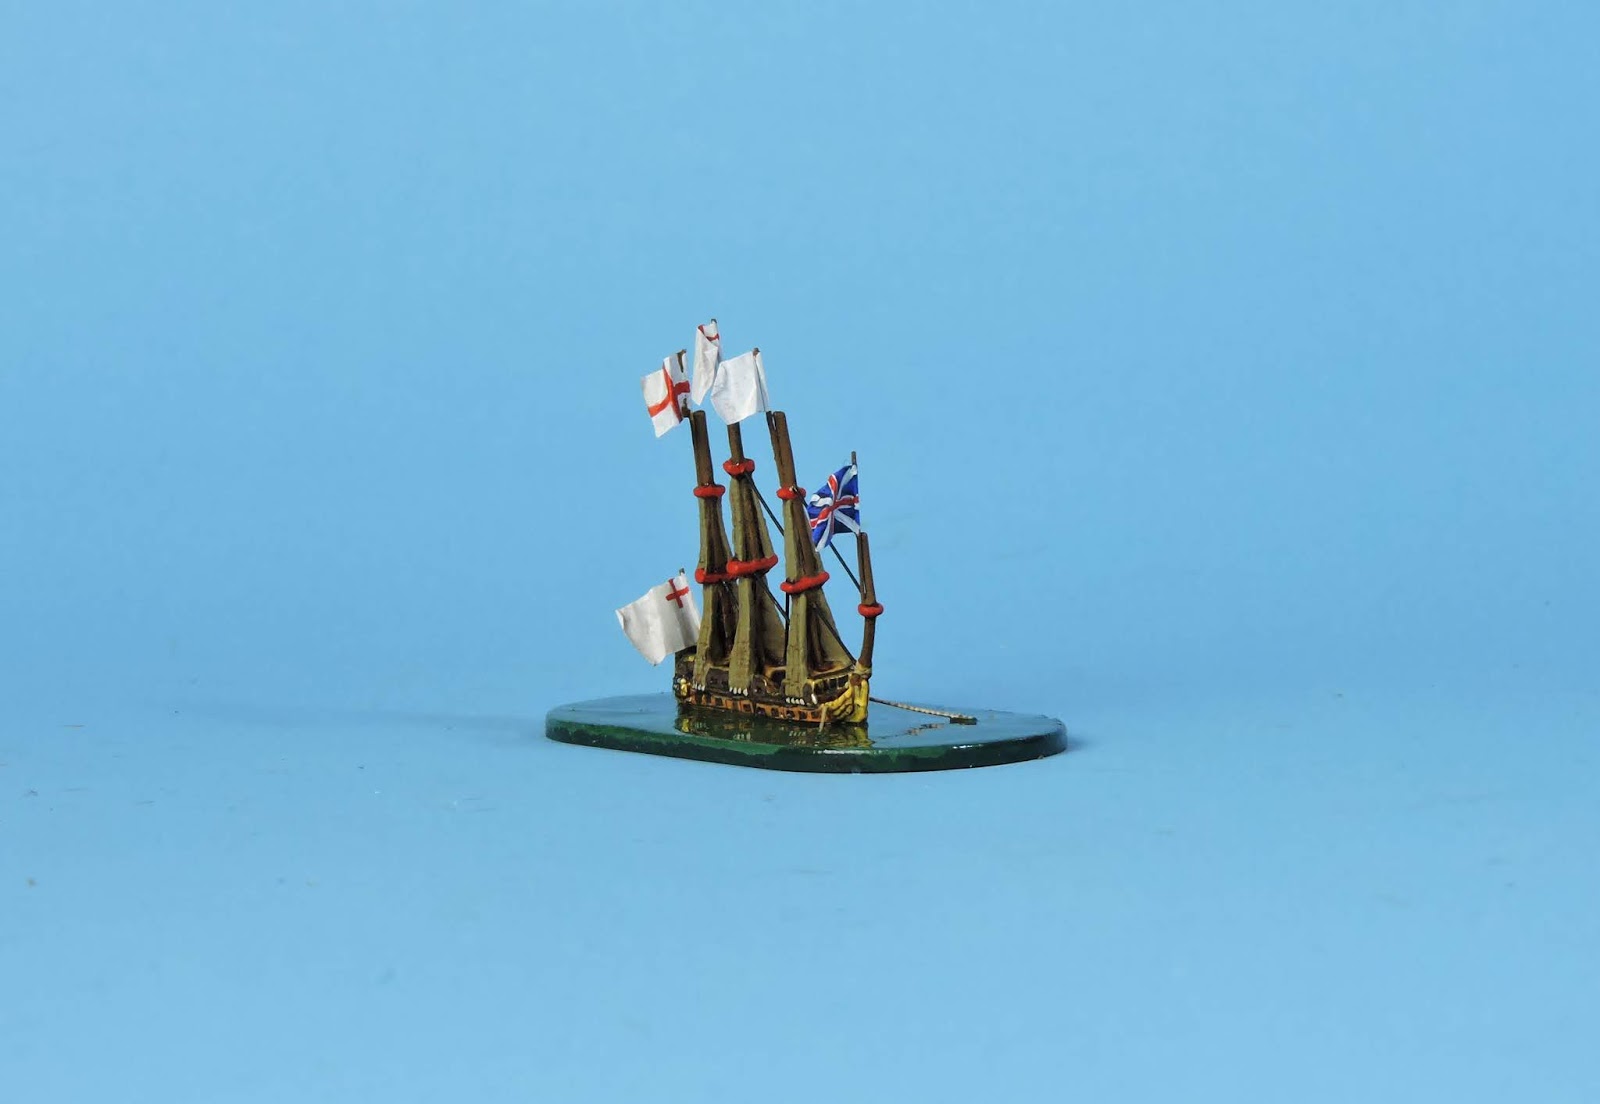
| HMS Royal Oak V2 and V1 for comparison. V1 will now be used as HMS Henry. |
I added even more flags than before as these models will be the centrepiece of the climactic phase of the Medway river action and need to catch the eye of anyone examining the action.
The previous models will not be retired but will be used to represent other large ships which were anchored in the river at the time such as Henry, St George and Vanguard.
 |
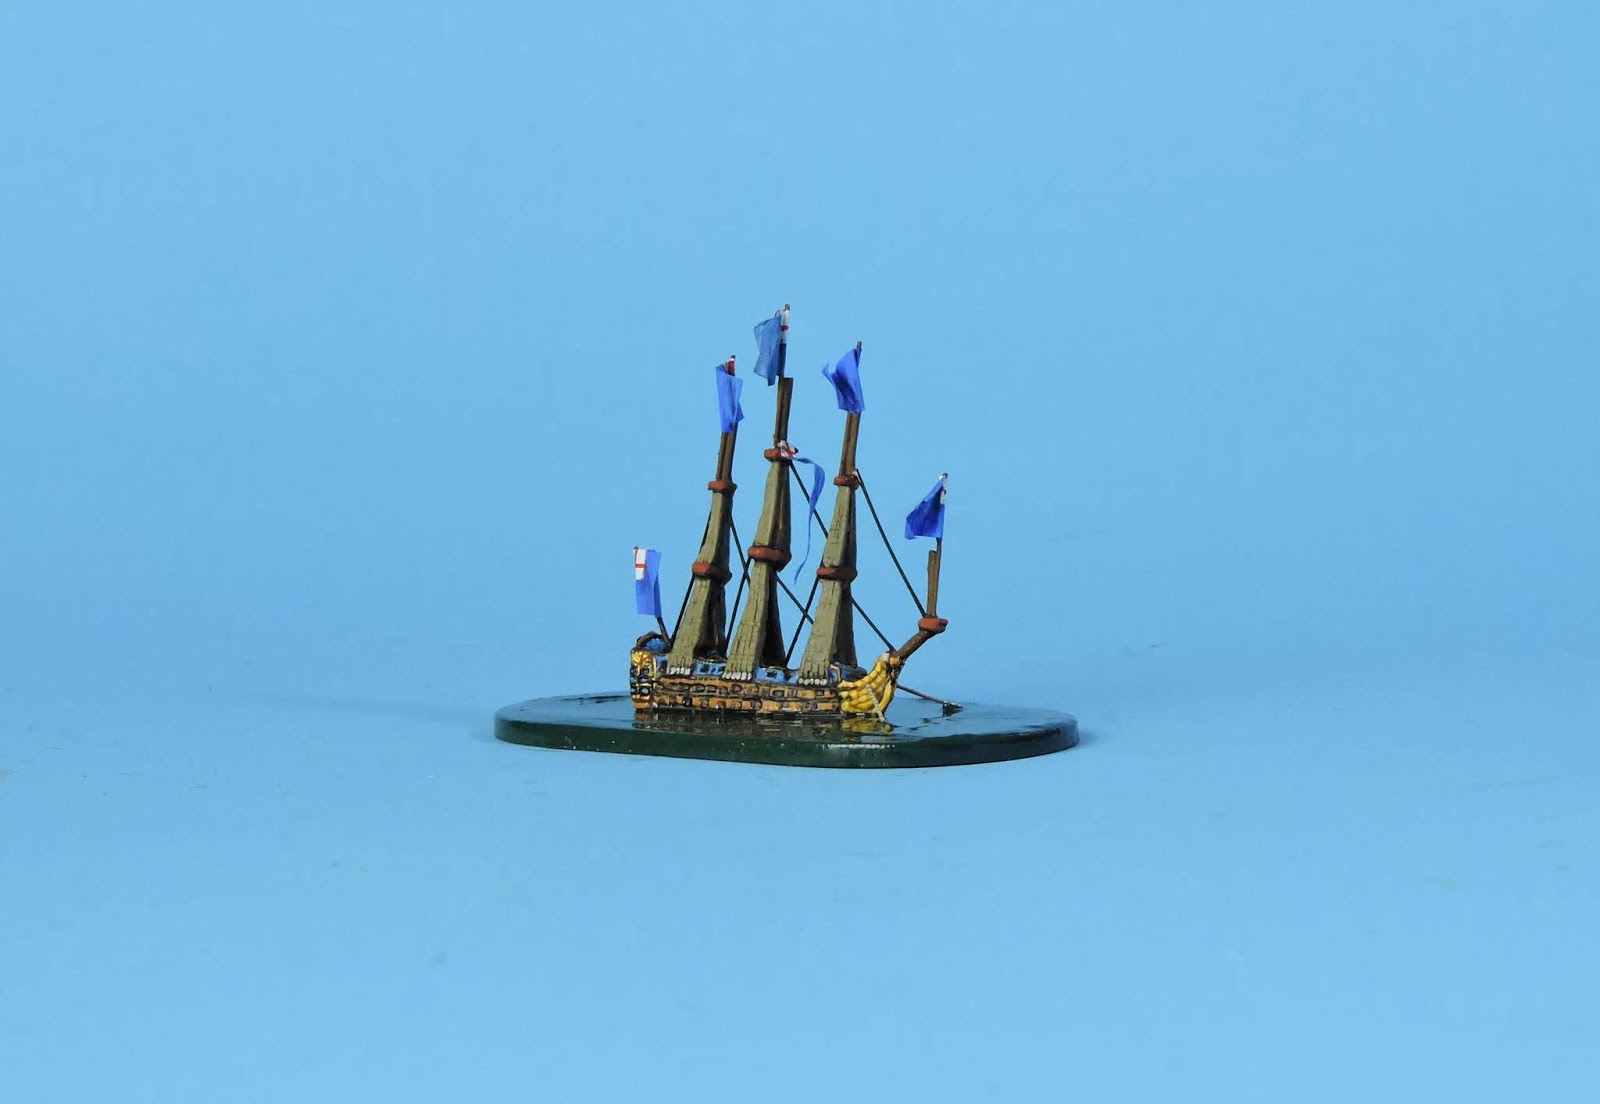
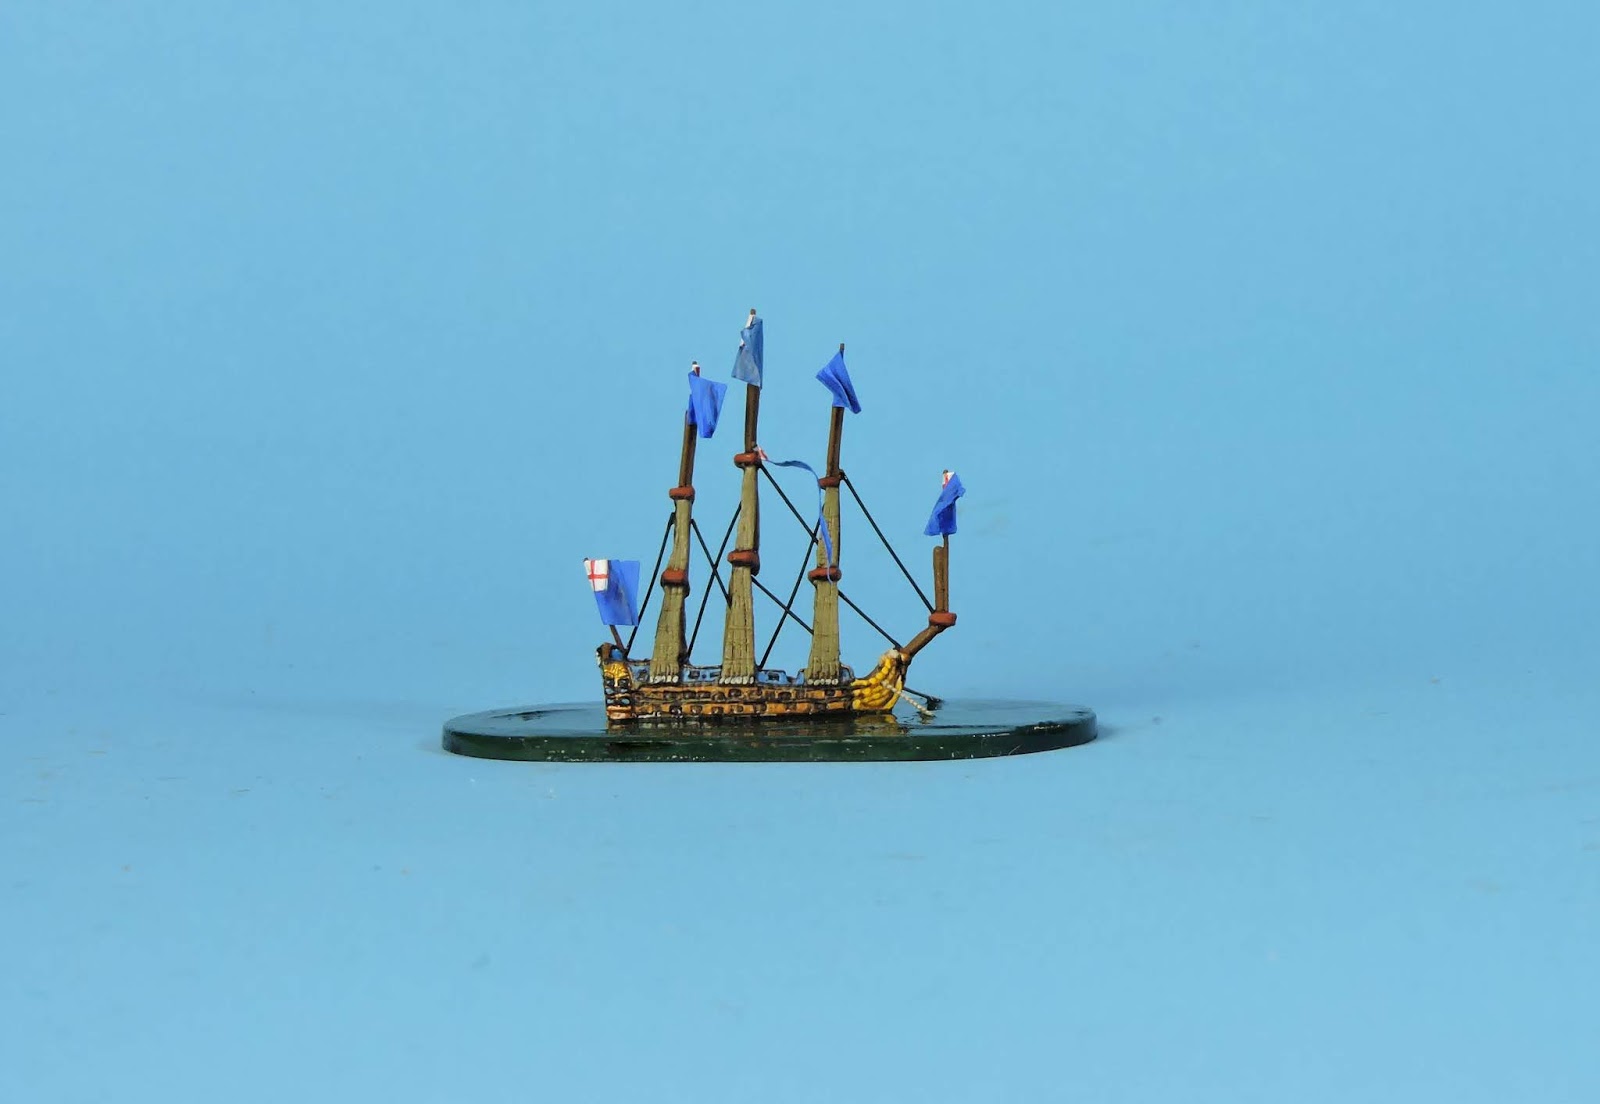
| WHITE Squadron: HMS Royal James V2 |
 |
| Royal James V2 port side view |
 |
| Royal James V2 with marked list to starboard as the vessel was sunk and grounded on the riverbed. |
 |
| Royal James - shallows on her starboard side are visible on the base. |
 |
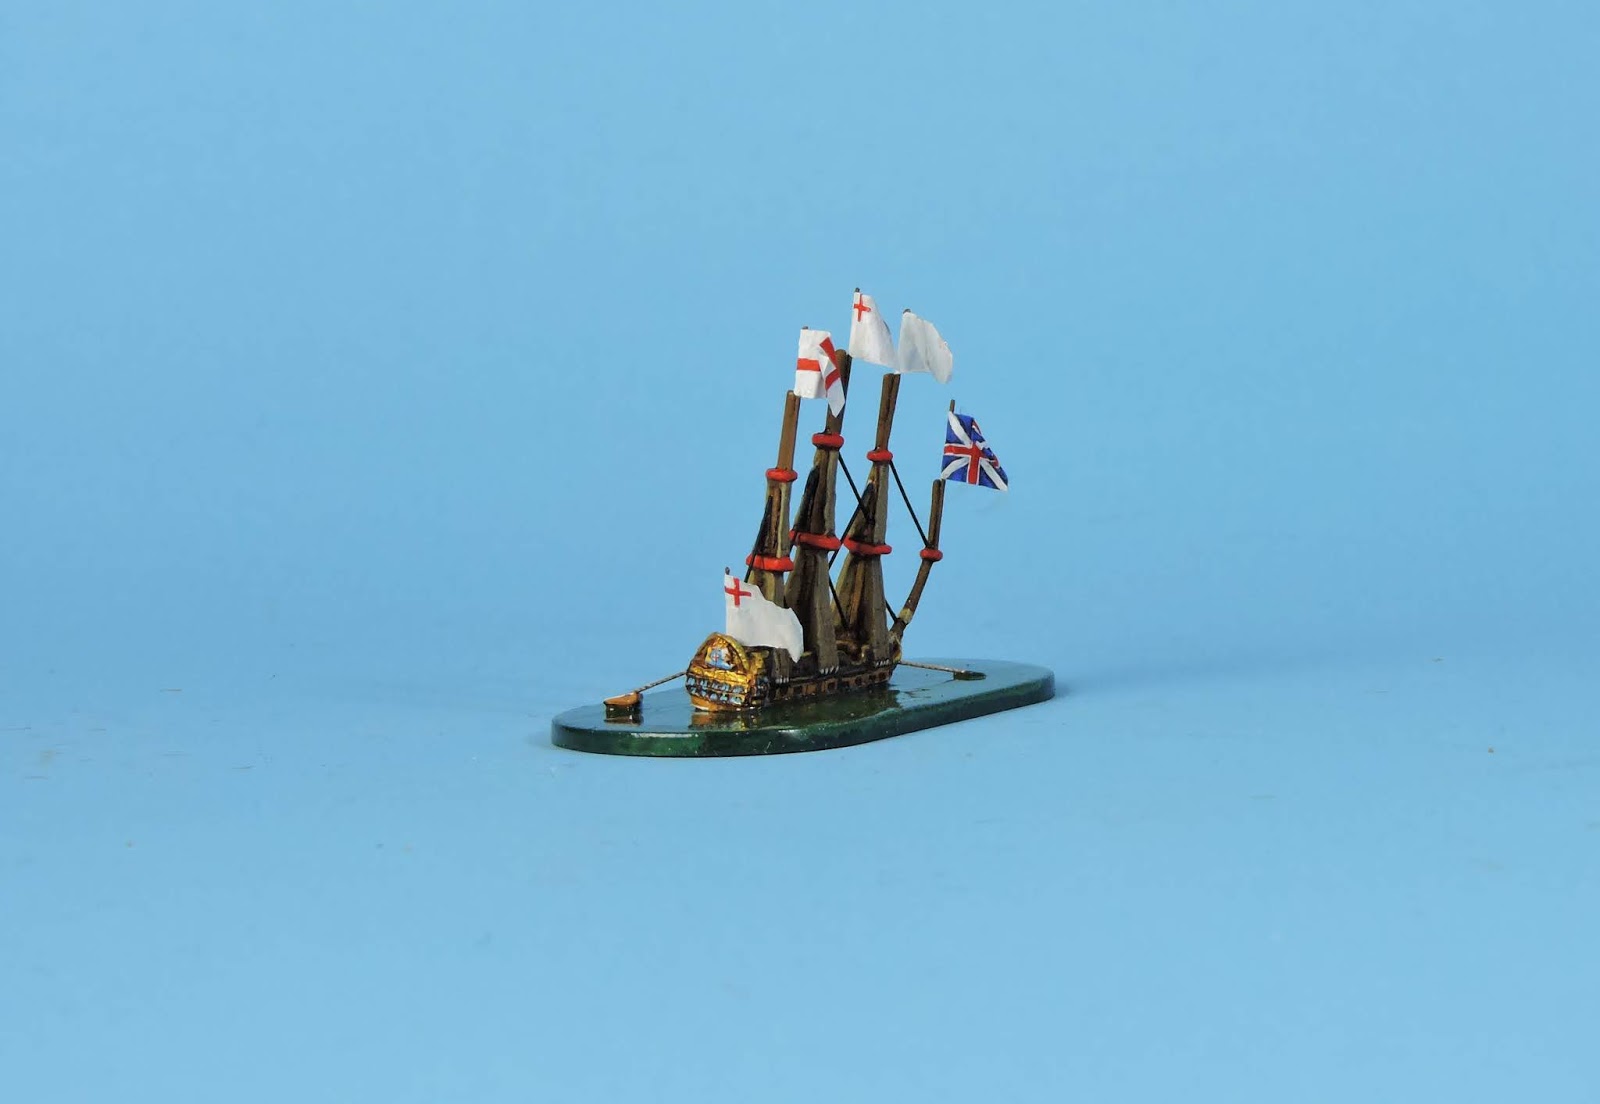
| HMS Royal James V2 and V1 for comparison. |
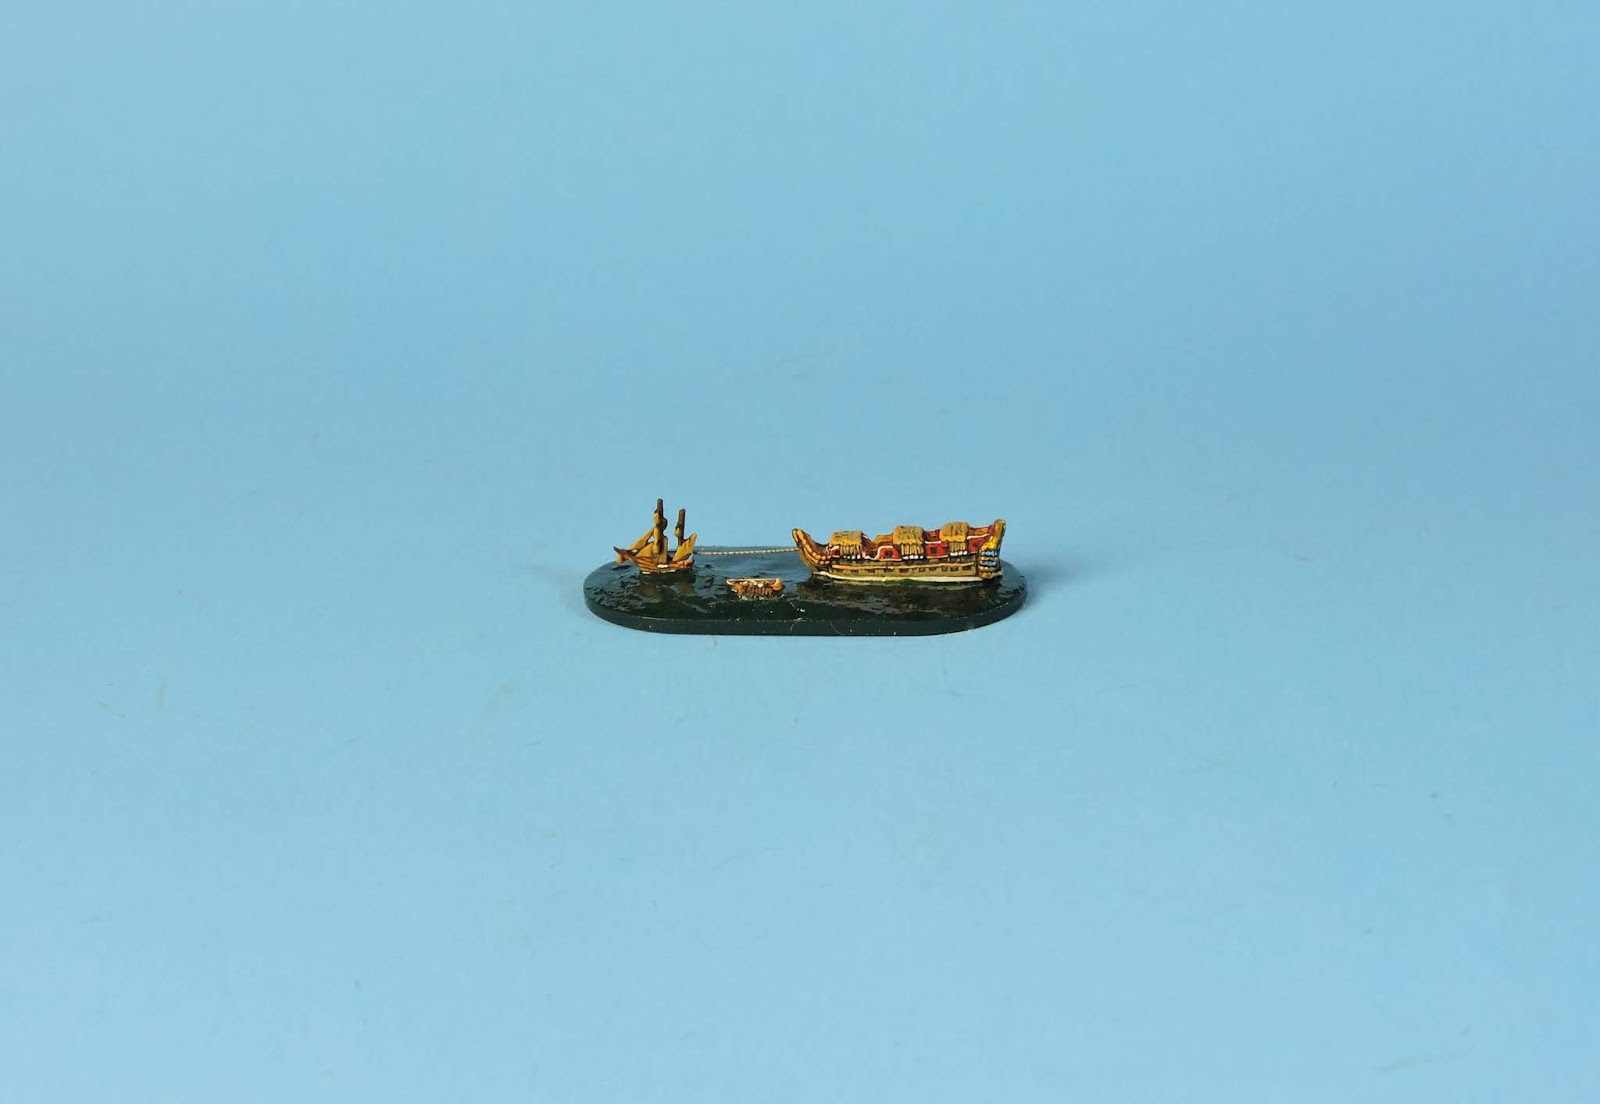
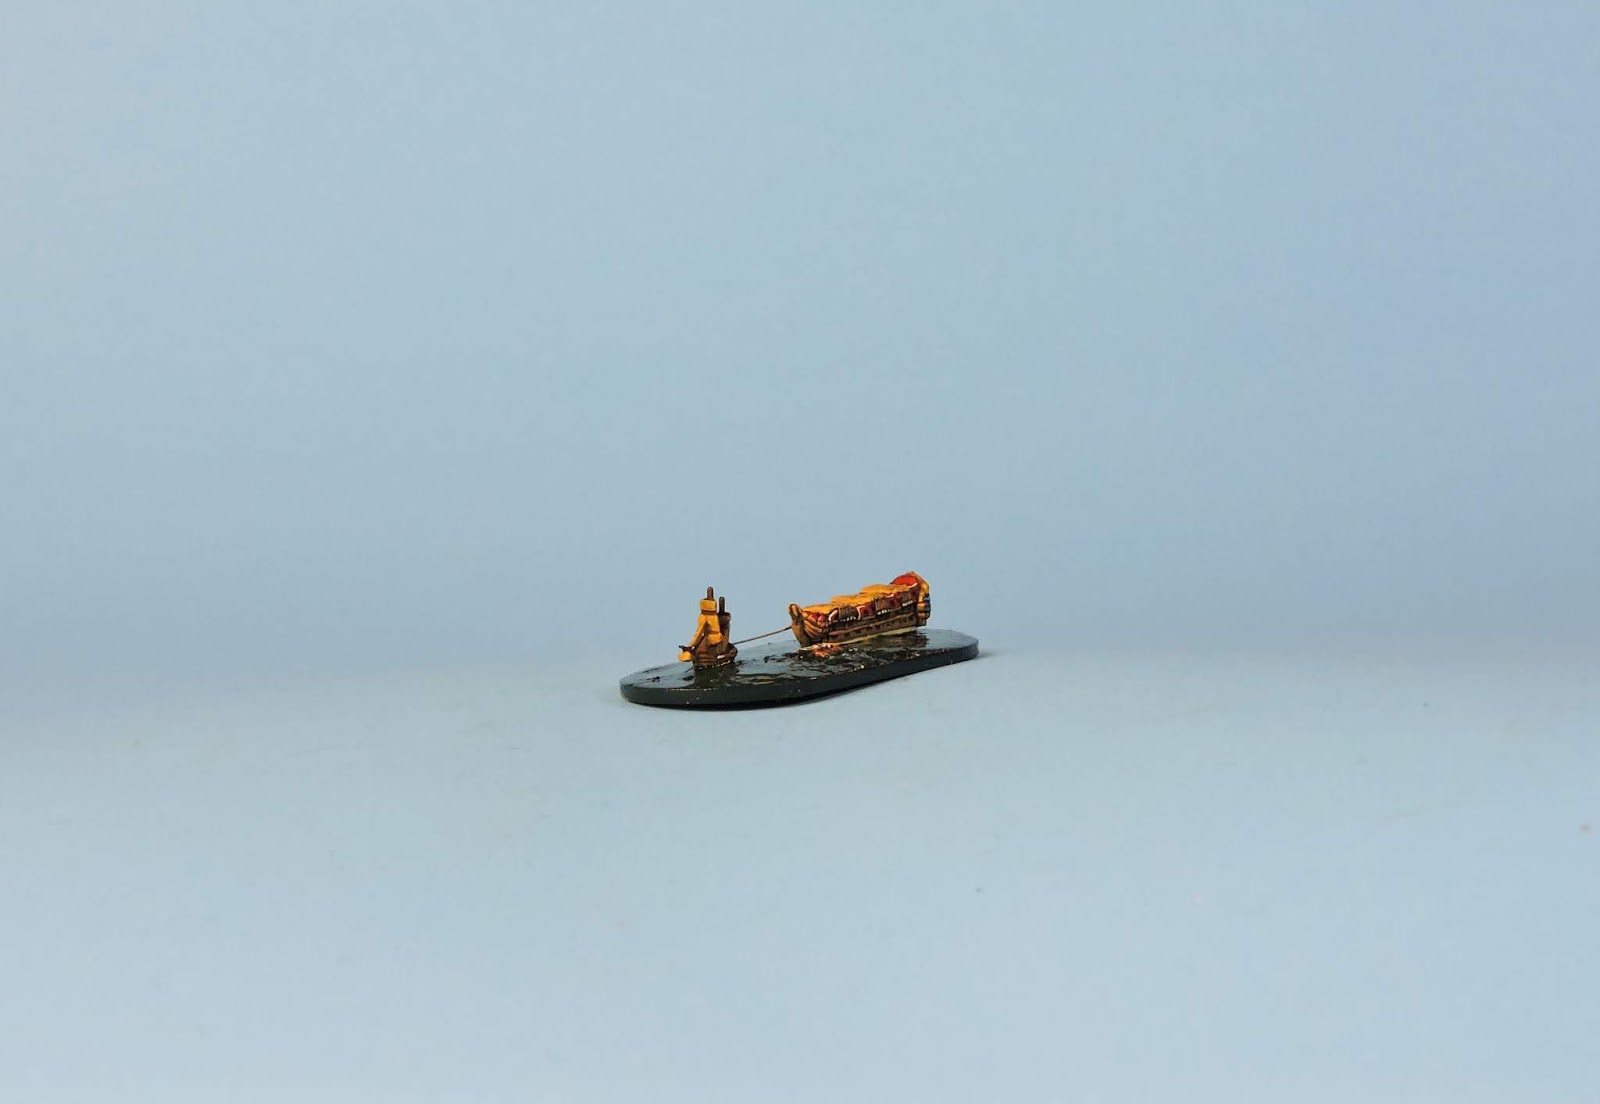
Another idea which took my fancy was to model a battered or partially repaired capital ship being towed by a smaller vessel such as the theoretical thirty brigs which the Navy Board had allocated to move capital ships up and down the river. In reality there were only 10 available and some of these were used to remove the valuables of Navy Board worthies and not to save the precious fleet!
 |
| Towing a 2nd rate |
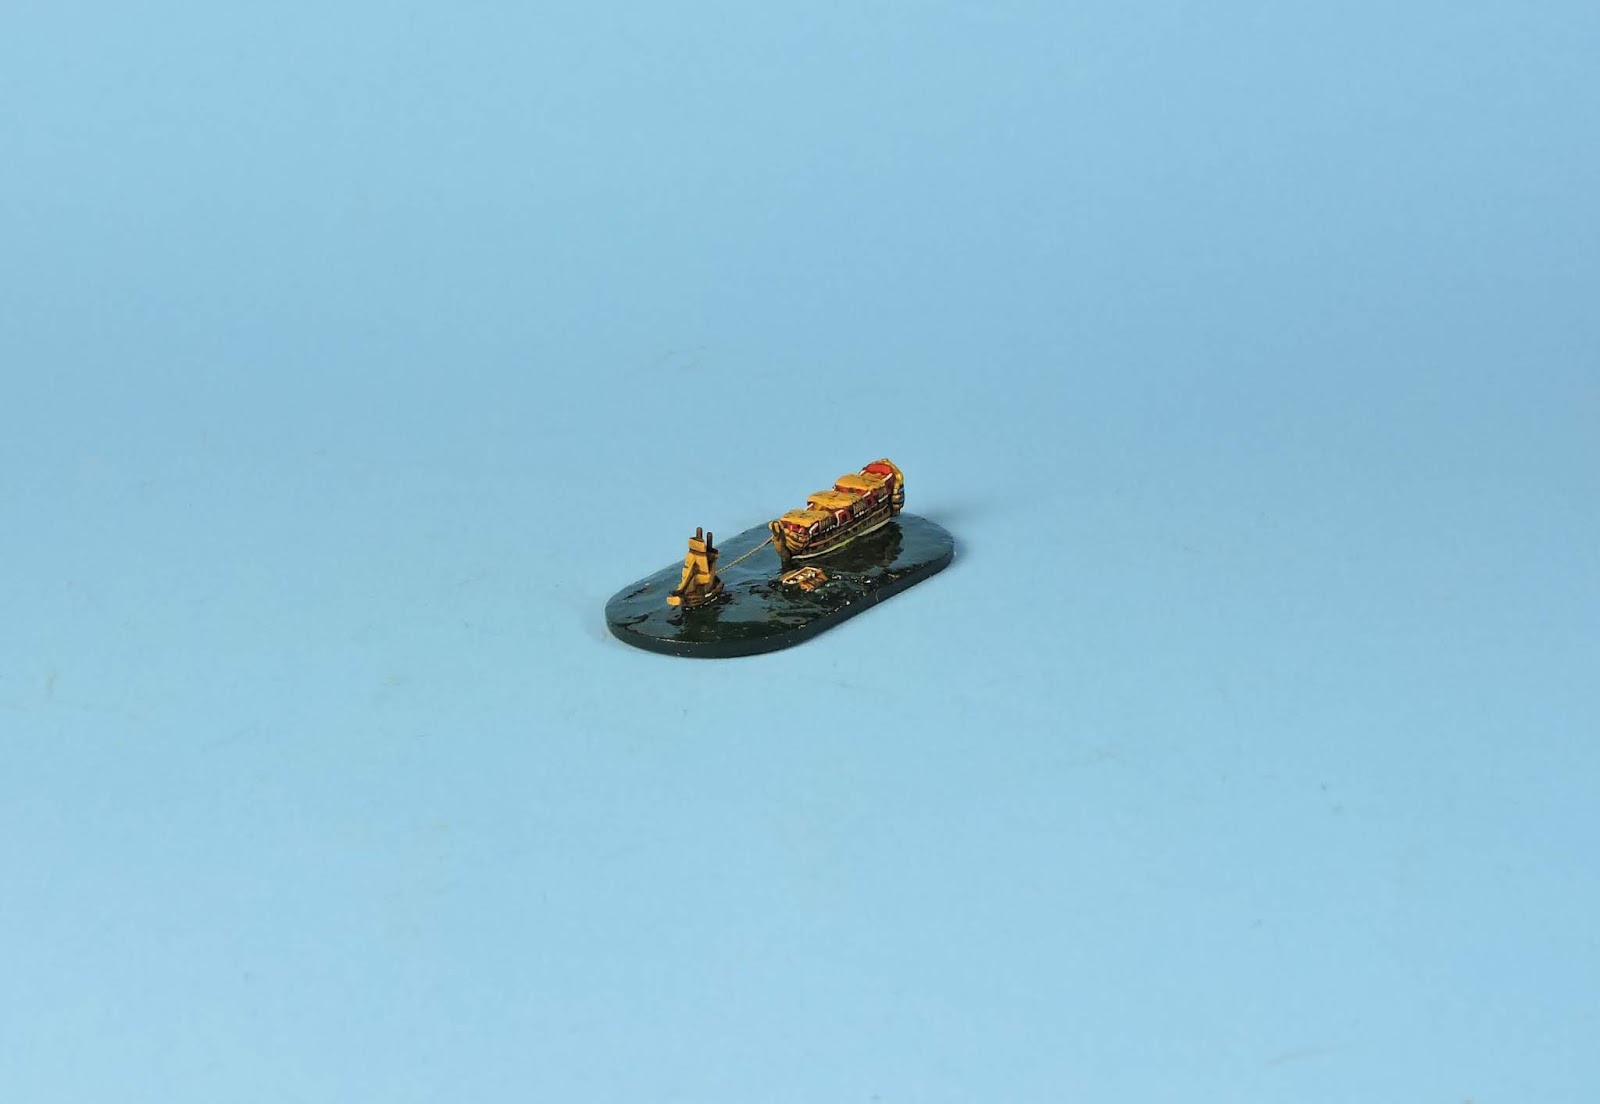 |
| The longboat is full of engineers and labourers in case any difficulties arise during the hazardous towing process. |
 |
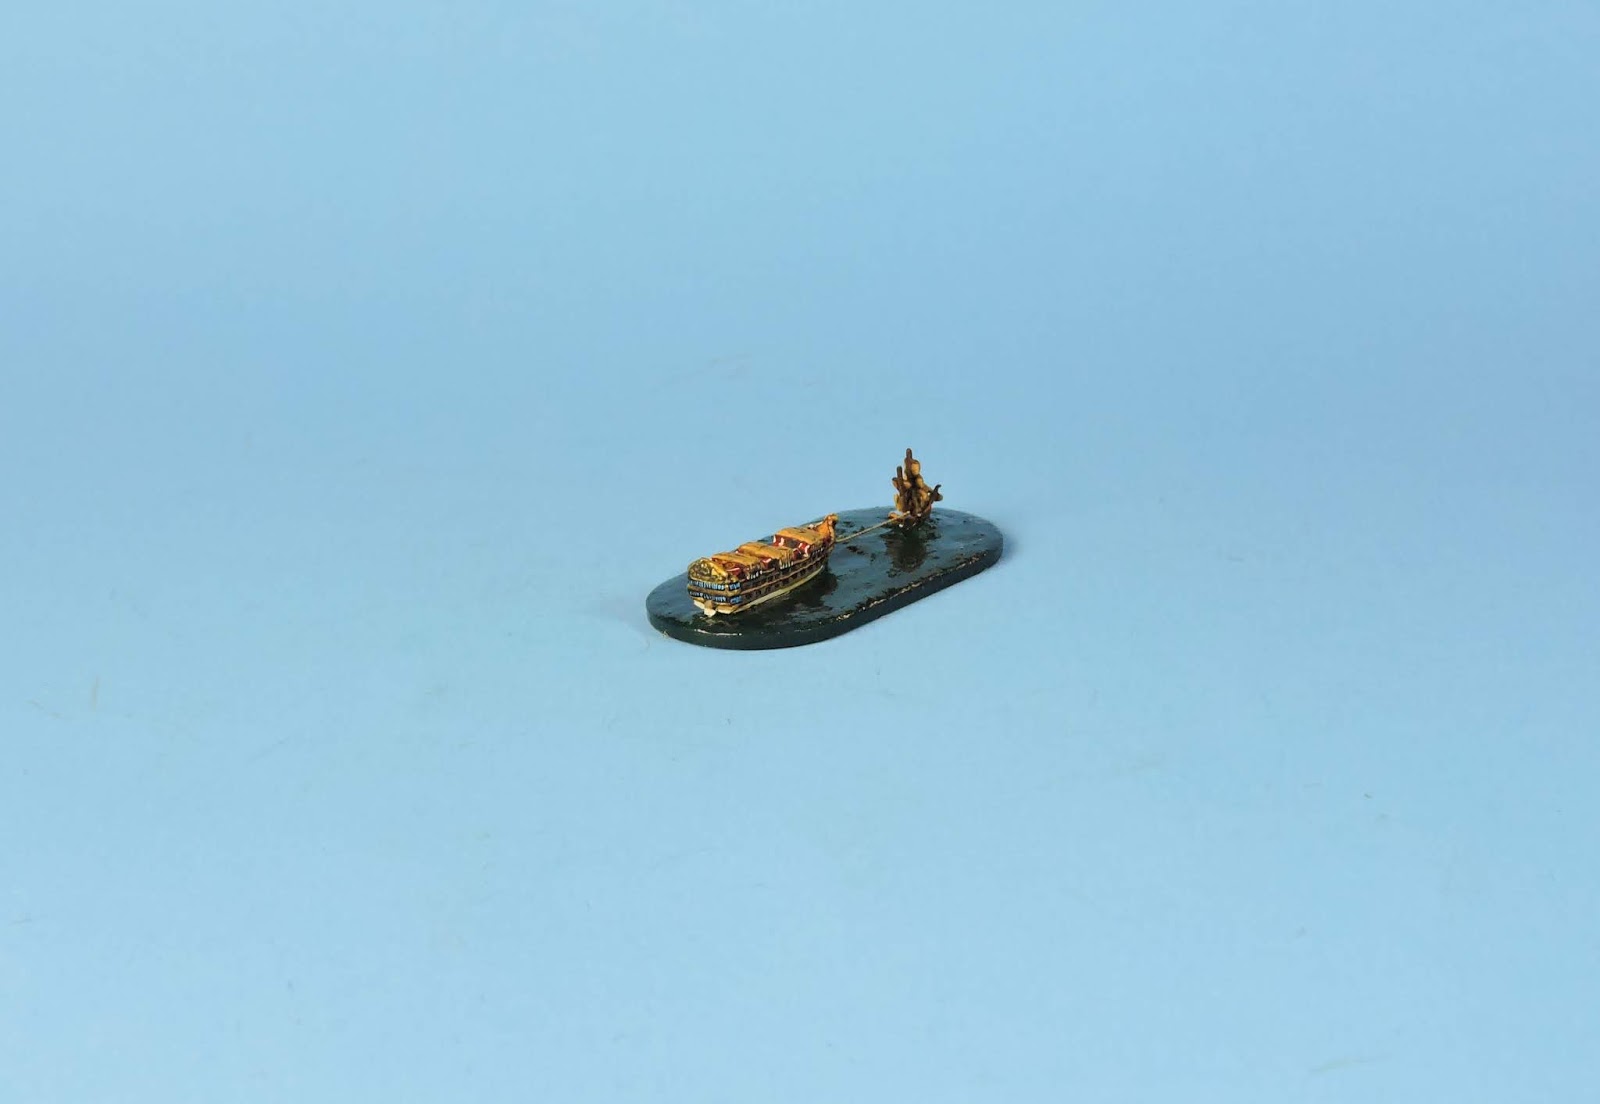
| Nice view of the wounded beast under tow. |
The badly damaged 2nd rate Victory was one such. She was lost during the battle - sinking and never recovered. I did some major surgery on a 2nd rate model removing all of her masts and covering those areas with large sections of tarpaulin modelled from milliput and rolled out very thinly and cut with a scalpel. If the vessels had open deck sections with shipwrights working on them then the erection of such temporary covers seemed logical and hid the rough areas where I had cut and filed out the masts and ratlines.
 |
| Atmospheric low angle view |
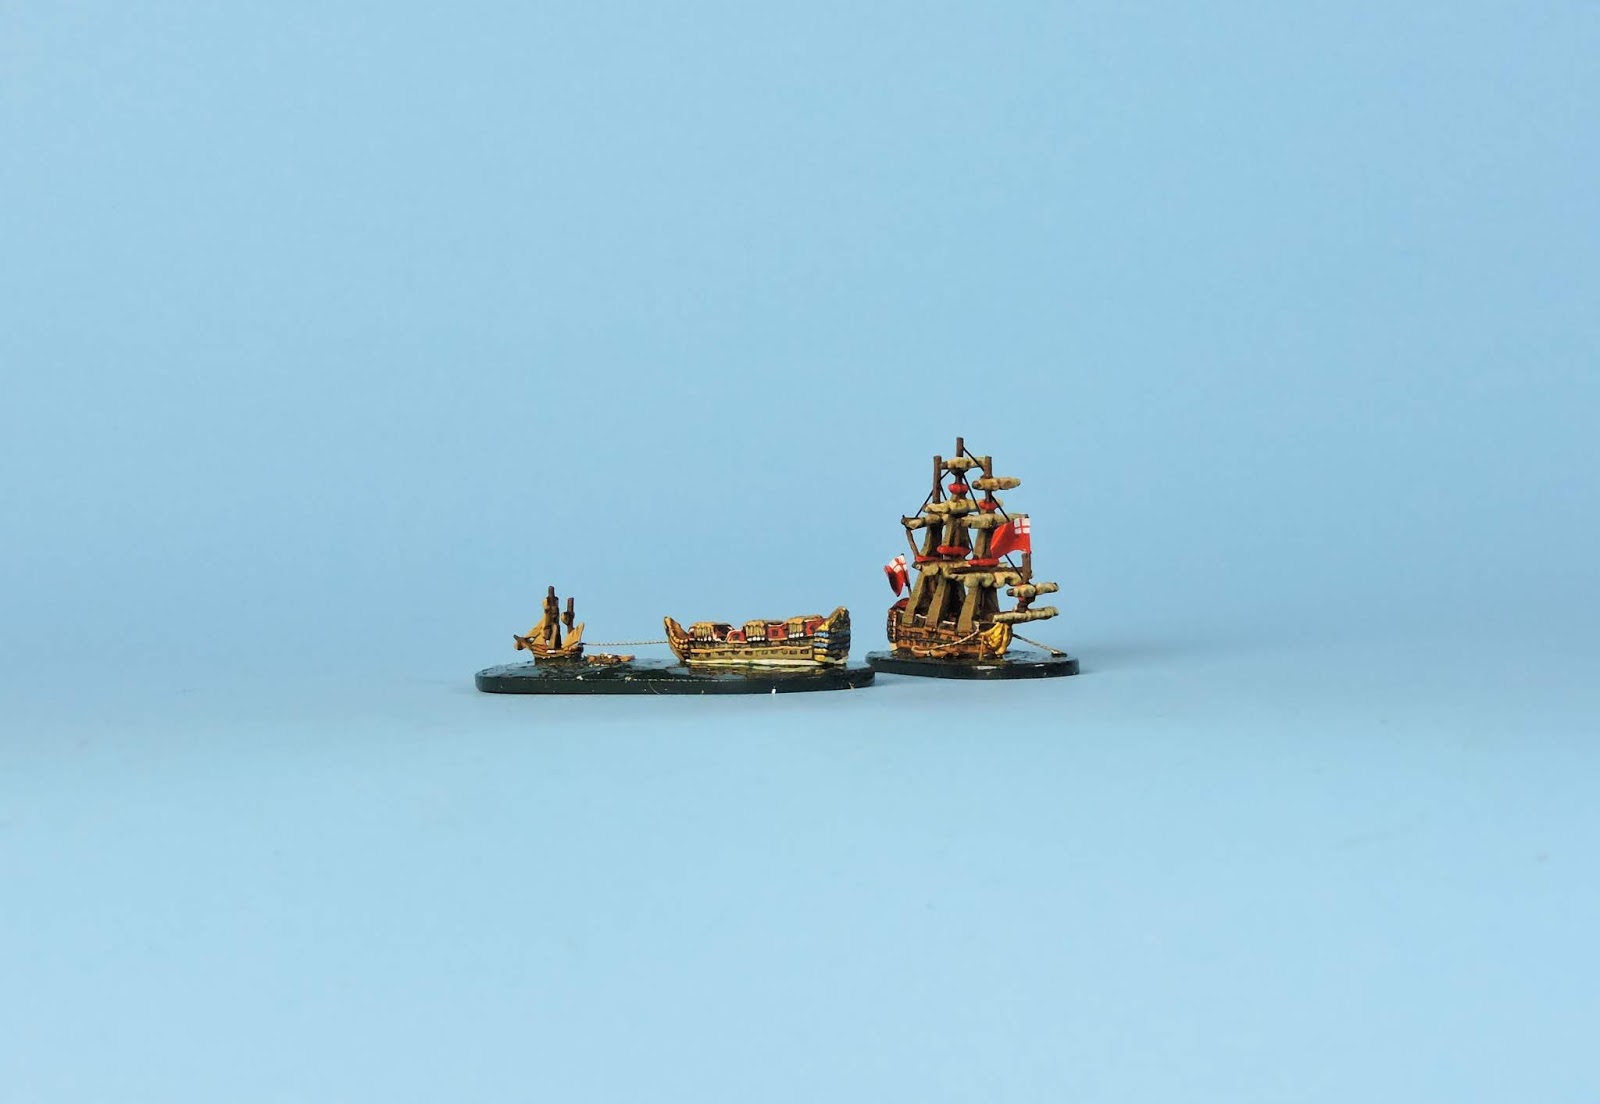 |
| The battle damaged HMS Victory is towed past the anchored flagship Royal Charles. |
I was very pleased with the first attempt at this with the small vessel towing and the rowed longboat in attendance. This will also feature as part of the English rescue mission in some of the Medway river scenarios.
More Medway modelling and meddling soon.