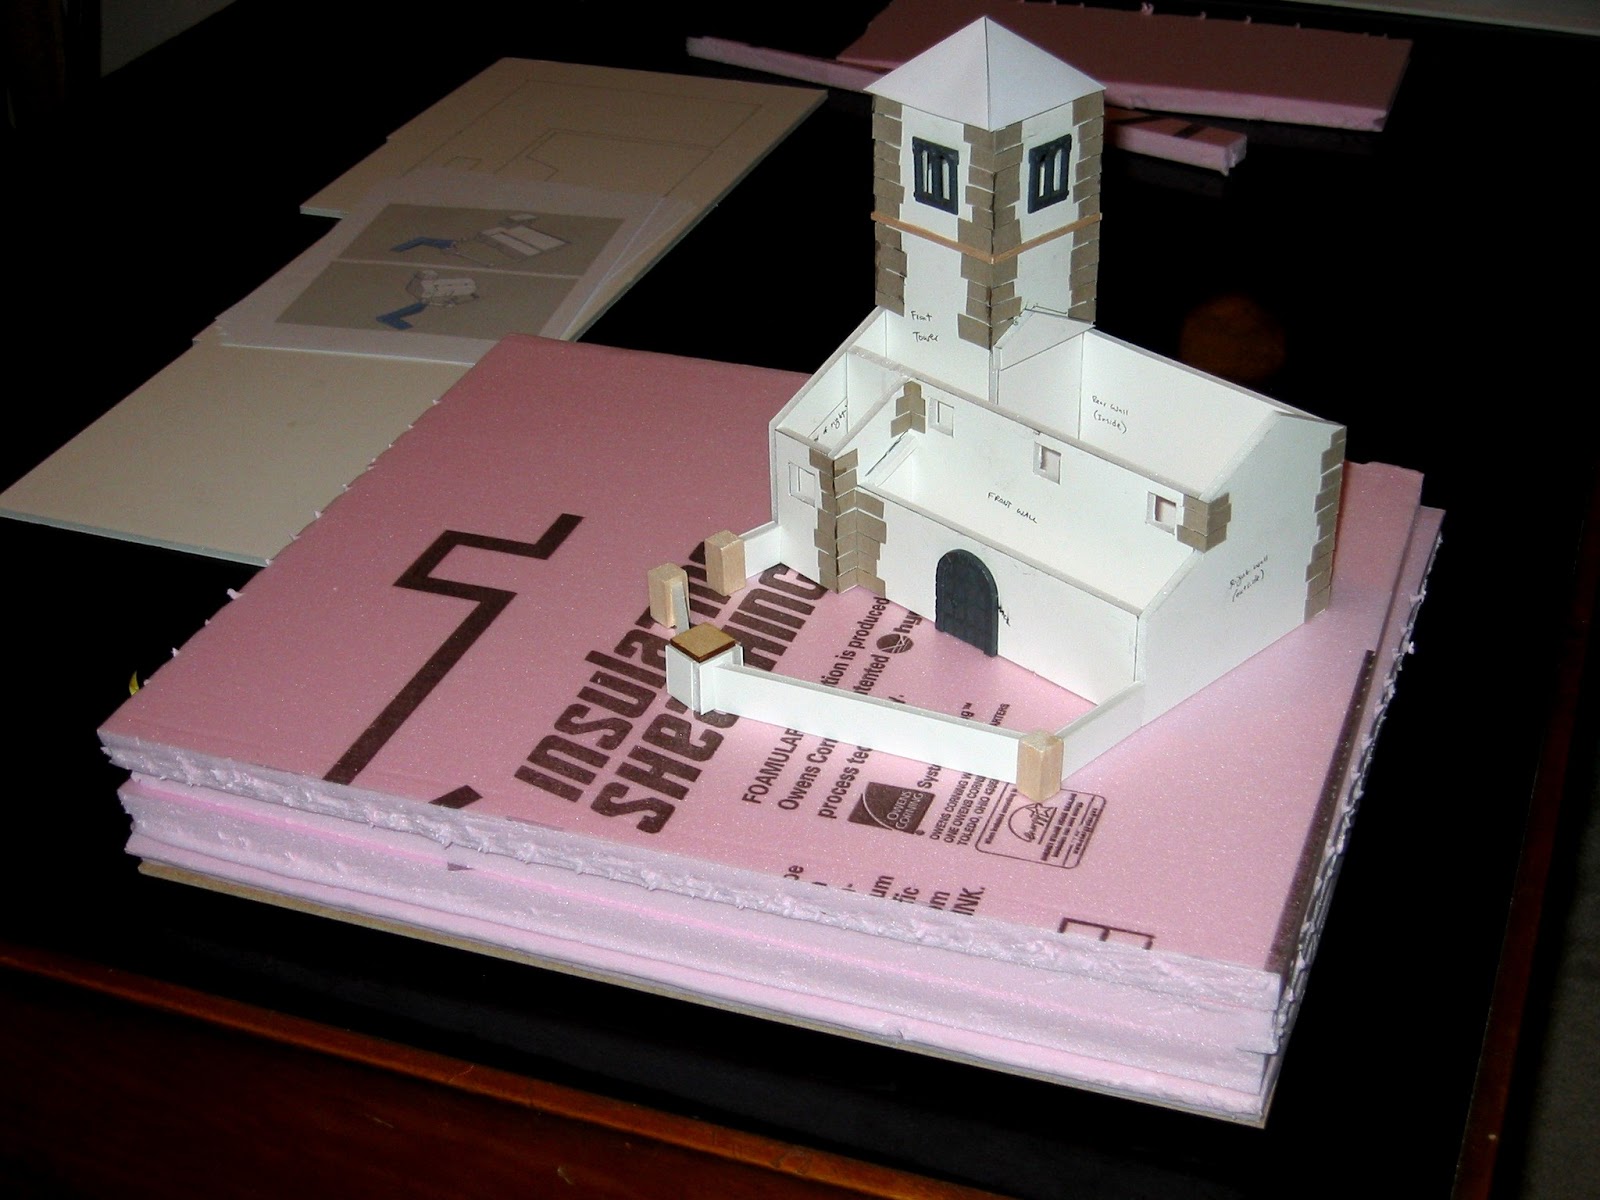
Clarence Harrison - I use 1/2" high density insulation board for most of my terrain projects. It comes in 4x8' sheets at most hardware stores. For this particular hill, I wanted to portray a steep, easily defended ridge so I decided to go four levels high. This means that models will not easily stand on the slope, but for the purpose of this project, that wasn't really important.
 |
| A: Plastruct card (HO scale Random Stone), B: Plastruct card (O scale Spanish Tile), C: Thin cardboard, D: Masonite hardboard, E: 3/8" foamcore, F: 1/2" Insulation board. All of these materials can be found at your local hobby and hardware stores. |
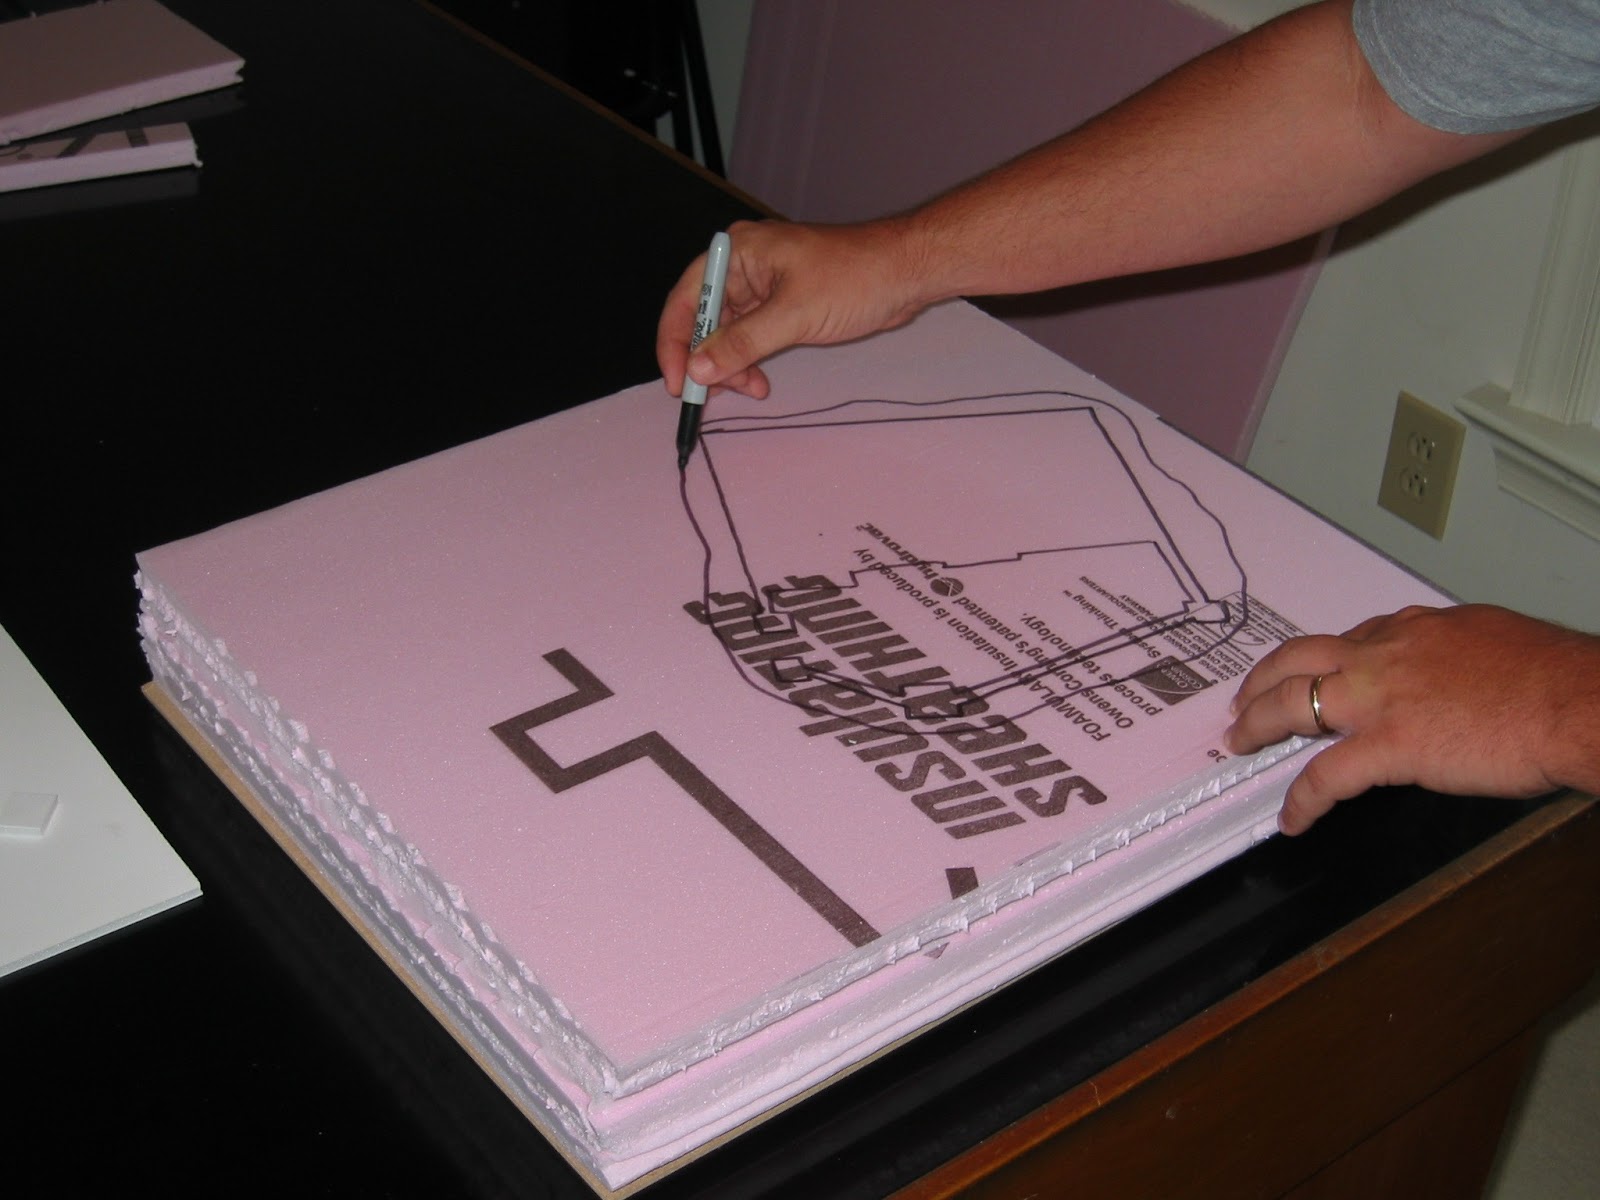
I set up my building on the summit, including the walls that would form the courtyard, and traced the outline of my building on the board. Then I drew a rough circle around the building to use as a guide for cutting. My favorite tool for shaping insulation board is a Hot Wire cutter. This is basically an insulated handle with a sturdy wire attached to it. When you plug the tool in, the wire heats up and will go through the foam like the proverbial hot knife through butter! However, you need to use it in a well ventilated area because the fumes from the foam are mildly toxic. After each layer was finished, I simply laid it on the next piece, drew another guide, and kept cutting until I had four. I glued them together with PVA glue, set a heavy book atop the pile, and left them to dry overnight.
 |
| To make the hill I set up the abbey and the walls on a stack of insulation boards. |
 |
| I traced the outline of the abbey and then drew a rough circle around it to mark the summit of the hill. |
 |
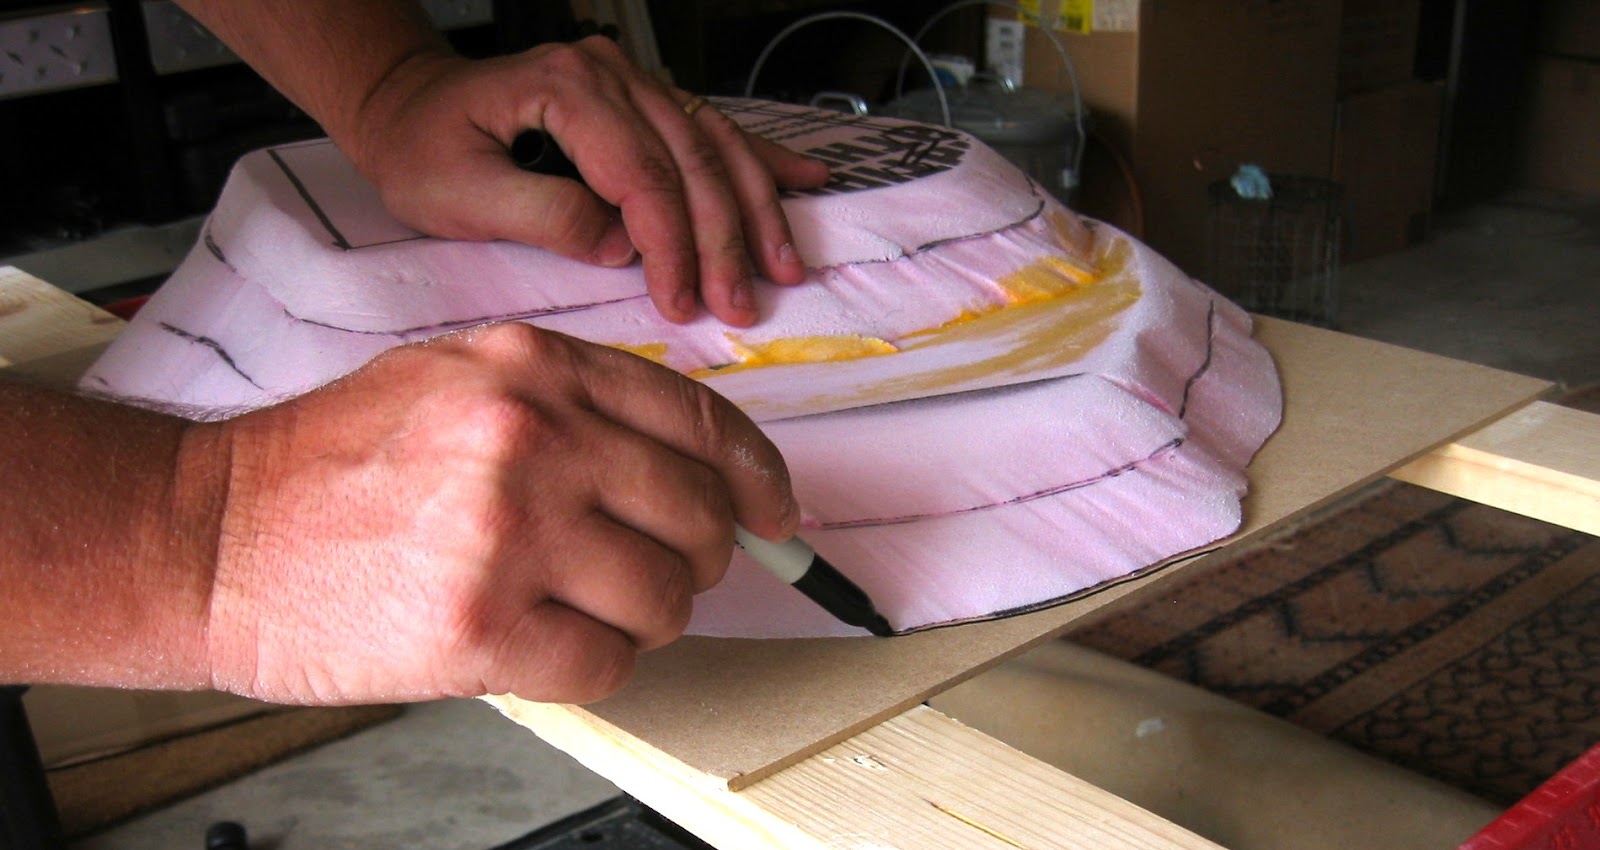
| I used a Hot Wire foam cutter to cut out the shape. You want to hold the tool at an angle so you end up with a slope and not a cliff (unless of course you are trying to make a cliff). |
 |
| Place the trimmed hill section on the next level and trace the shape as a guide for the next cut. Repeat this as many times as necessary to achieve the height of hill you want. |
 |
| Well, it's starting to look like a hill... |
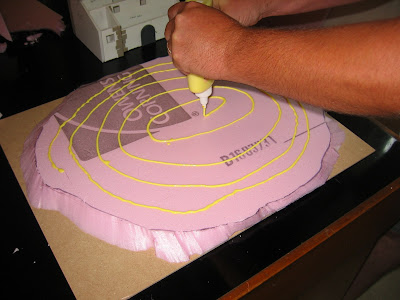 |
| I use PVA glue to glue insulation foam. Stack each layer then place a heavy book on top to ensure a strong bond when it dries. |
The next morning, I moved the construction process to the garage since the next steps make a fair amount of mess! One of the great things about the insulation foam is that you can sand it. I used a sanding block to remove sharp edges and blend the levels smoothly into each other. Then I placed the hill on a masonite base and traced the outline to serve as a guide for cutting with a jigsaw. It's not necessary to base terrain in this fashion, but it will provide more support for all of your hard work and protect the edges of the foam.
 |
| The great thing about insulation foam is you can sand it. I used a sanding block to remove any sharp edges and blend the stack of shapes into a single smooth hill. |
 |
| You don't have to mount the foam on a base, but the piece will be much studier if you do. I use masonite and mark the shape of the hill with a heavy black marker. |
 |
| I use a jigsaw to cut out the base and a sanding block to smooth the edges. |
I attached the hill to the board with PVA glue, applied more books, and went back up stairs to turn my attention to the roof...