Again, if you've just stumbled upon our site for the first time (welcome), this isn't really a tutorial. You can find a twelve-part series detailing my techniques to use on your terrain here. This series is mainly to record the progress on this project and point out a few details on this that may be different from what I've done in the past.
Well, first I need to make note of something I left out last time - adding extra texture. I use pine bark chips to simulate large rock formations and then add a bit of rough terrain using coffee grounds (non-instant... the instant kind will melt when they get wet and make a mess). I didn't add many boulders because part of the table is going to be a bog, but I wanted some around the stream for two reasons. First to add interest and another color to my landscape and second to blend in a bridge model that I will show off soon.

The paints I use are all games workshop tones, but I have quarts of flat interior house paint that I matched to these colors long ago. These quarts will last forever - the only one I've ever had to replace was the dark tone.

This texture is followed by the first layer of paint which I mix with sand to give us the basis for the remaining paint work. Note that I painted the water with the same color, but used pure paint for the large open expanse of water. Texture in the streams is fine, but I want the open section fairly smooth.

Some random work in progress shots. The first one is around mid way through while the last two are after all five tones. The is applied in a solid coat and the next two are overbrushed fairly heavily. The last two layers are drybrushed, with the fifth only applied at the very tops of the banks and the highest points of the roadway.

You can see the transition between earth and grass begins quite starkly, but each successive tone is brushed a little farther (and little lighter) and the blend becomes more more gradual. Color is applied randomly across the grass areas as well to break up the golf course green.
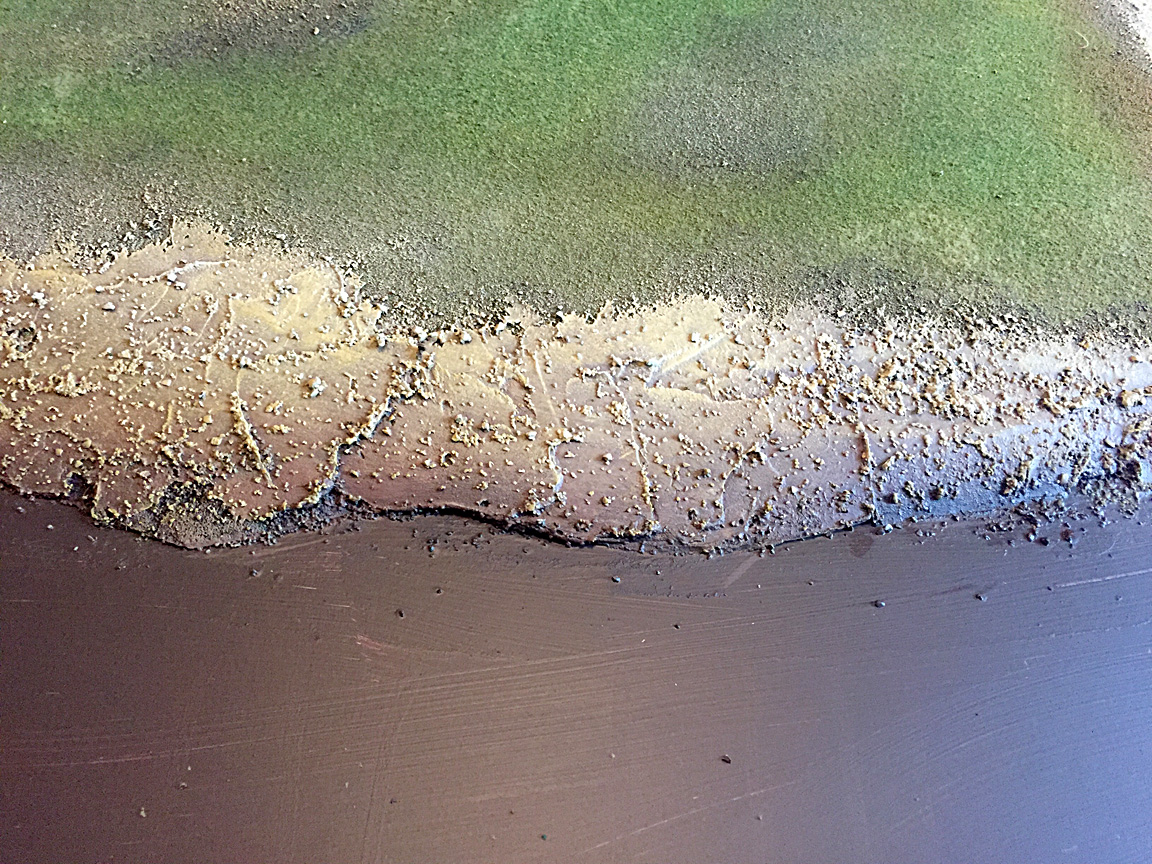
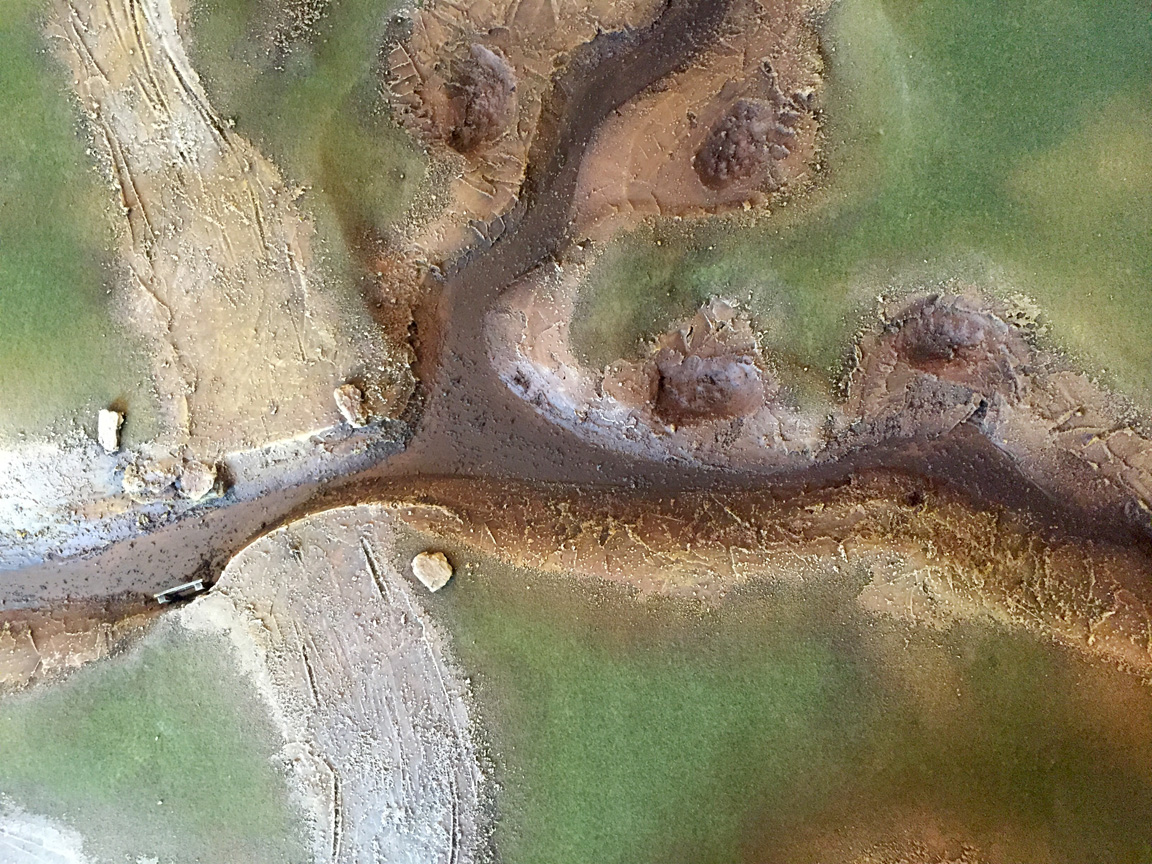
The dark spot in the lower right corner of the last pic is my shadow from the window. Something I tried to do which I haven't bothered with in the past is vary the earth tones across the board. For instance, the boggy area is going to be quite a bit darker than the road and coast line. Also all of the banks are darker toward the bottom to simulate wet earth. This basically accomplished by simply starting each highlight a bit farther up the bank.
If you have any questions, I'll be happy to answer them - just ask below. A little more painting next time, but this time we are going to paint in the rocks to add yet another level of color to the table.