Clarence Harrison - Turns five through seven saw the action heat up as both sides began to make more aggressive moves.
Sir Arthur attempts to dazzle his opponent with a double order deployment in hopes of confusing his foe...
Unfazed, General Hamilton responds by trying to blind his opponent...
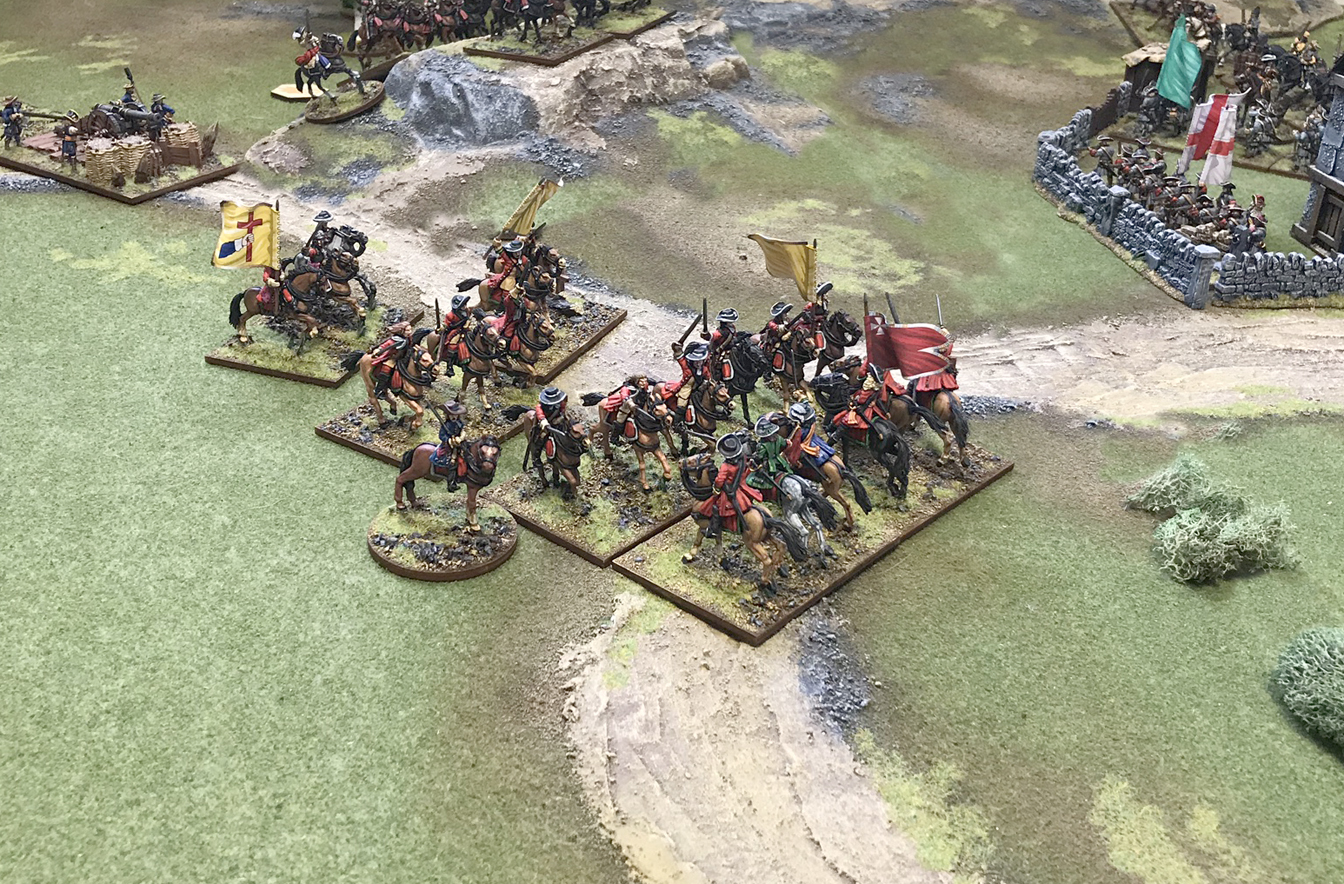
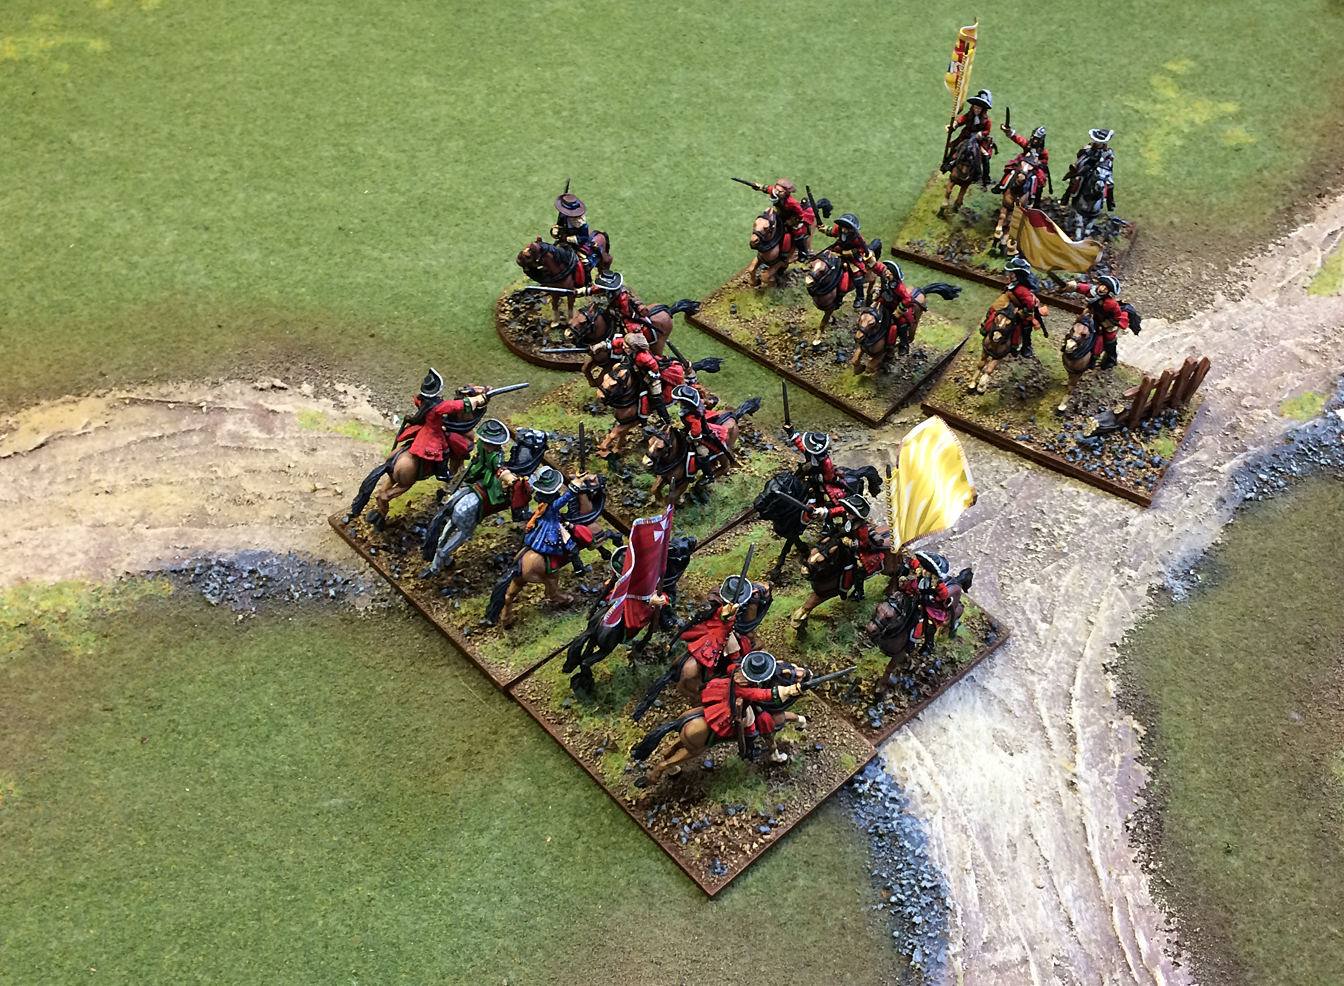
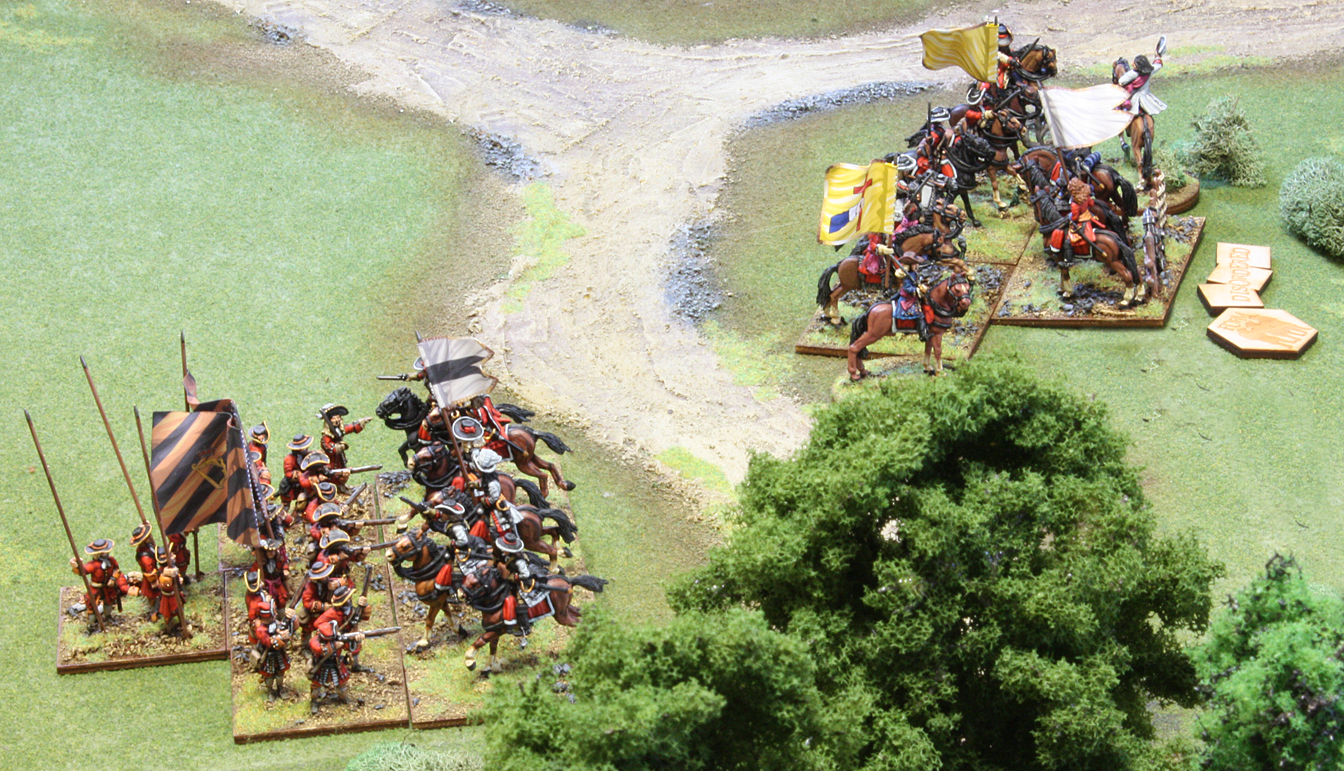
In the center of the field, Captain Magill's Dragoons crash into the second squadron of Tyrconnel's Horse. A furious combat ensues, but the balance is tipped by the reinforcement by the third squadron and the dashing presence of Colonel Sheldon. Magill's squadron bloodied their foe, but in the end were cut down to a man and their standard captured by Colonel Sheldon himself (or so he later claimed).

Major Baker and the Loughbrickland Country Companies watch the cavalry clash from the safety of Dromore, thinking 'yeah, it's better to be a foot soldier!'
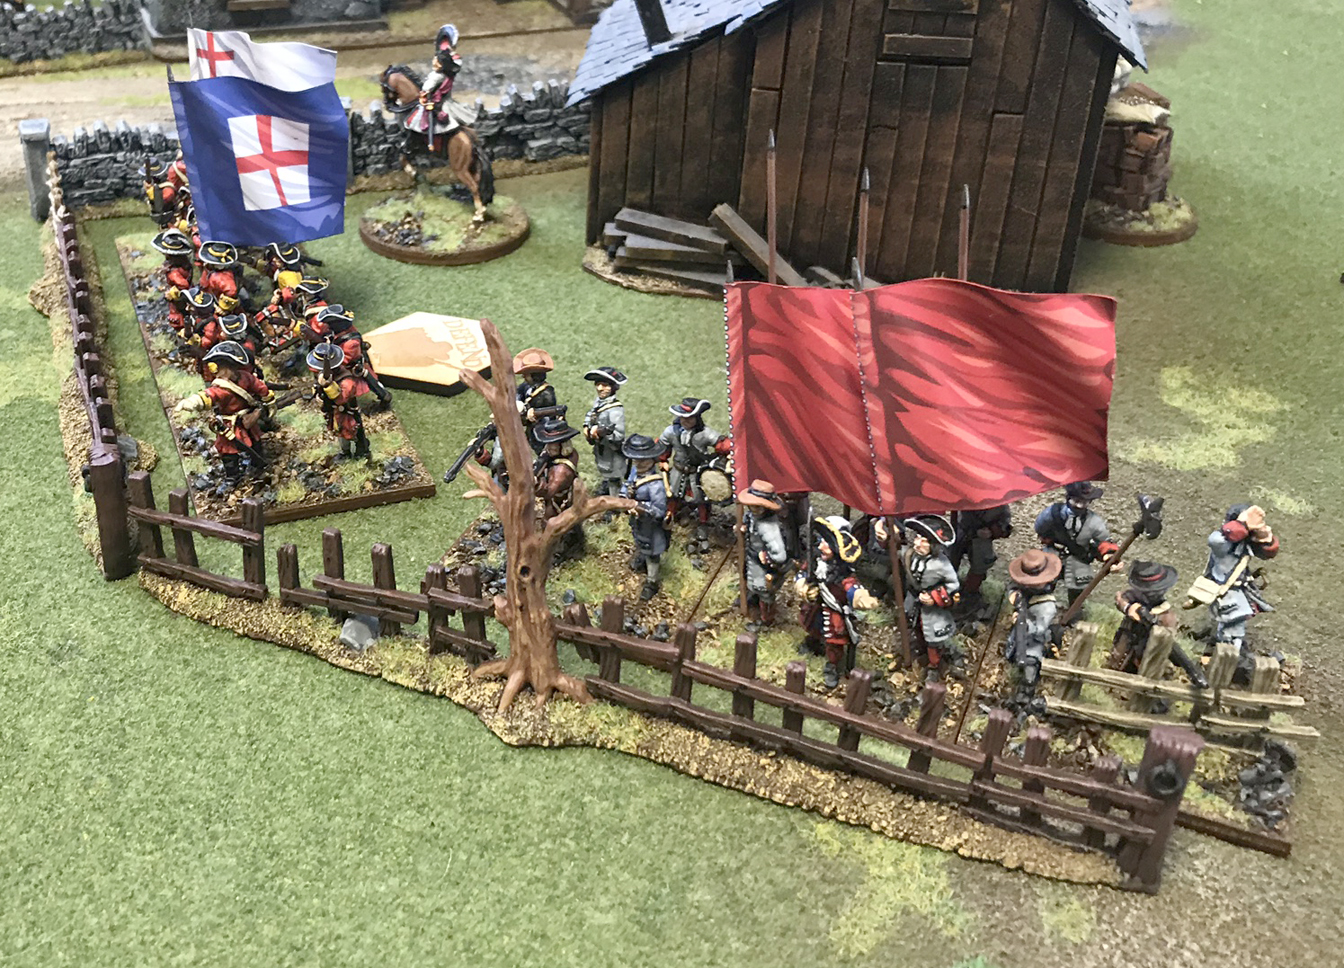
Until the guns find their range! Only the shrill shouts and threats of hanging from the nearby Sir Arthur hold them in place.

On the Protestant right, O'Neill's Dragoons refused to charge the Hillsborough Country Companies lining the stone walls to their front. Fuming over the slight by the Cock of North and planning on the letter he would shortly pen to the Association, Lord Mount seized the opportunity and succeeded in whipping the Volunteer Horse into a charge against O'Neill's Dragoons who were certain to overcome their reluctance soon. Sir Neil, eager to cross blades with the enemy officer, surged forward against Lord Mount in single combat. The duel was epic as the pair were evenly matched, but fate (and the dice) left Lord Mount dead on the field, his letter of protest unwritten.
Exultant in victory, Sir Neil turned to discover either his troops had again refused to charge or did not hear his command, and were caught by the ridiculous ploughsmen at the halt! His Dragoons were withdrawing and he had to make haste to catch them, chagrined by their lack of martial prowess and the fact that no one apparently witnessed his...

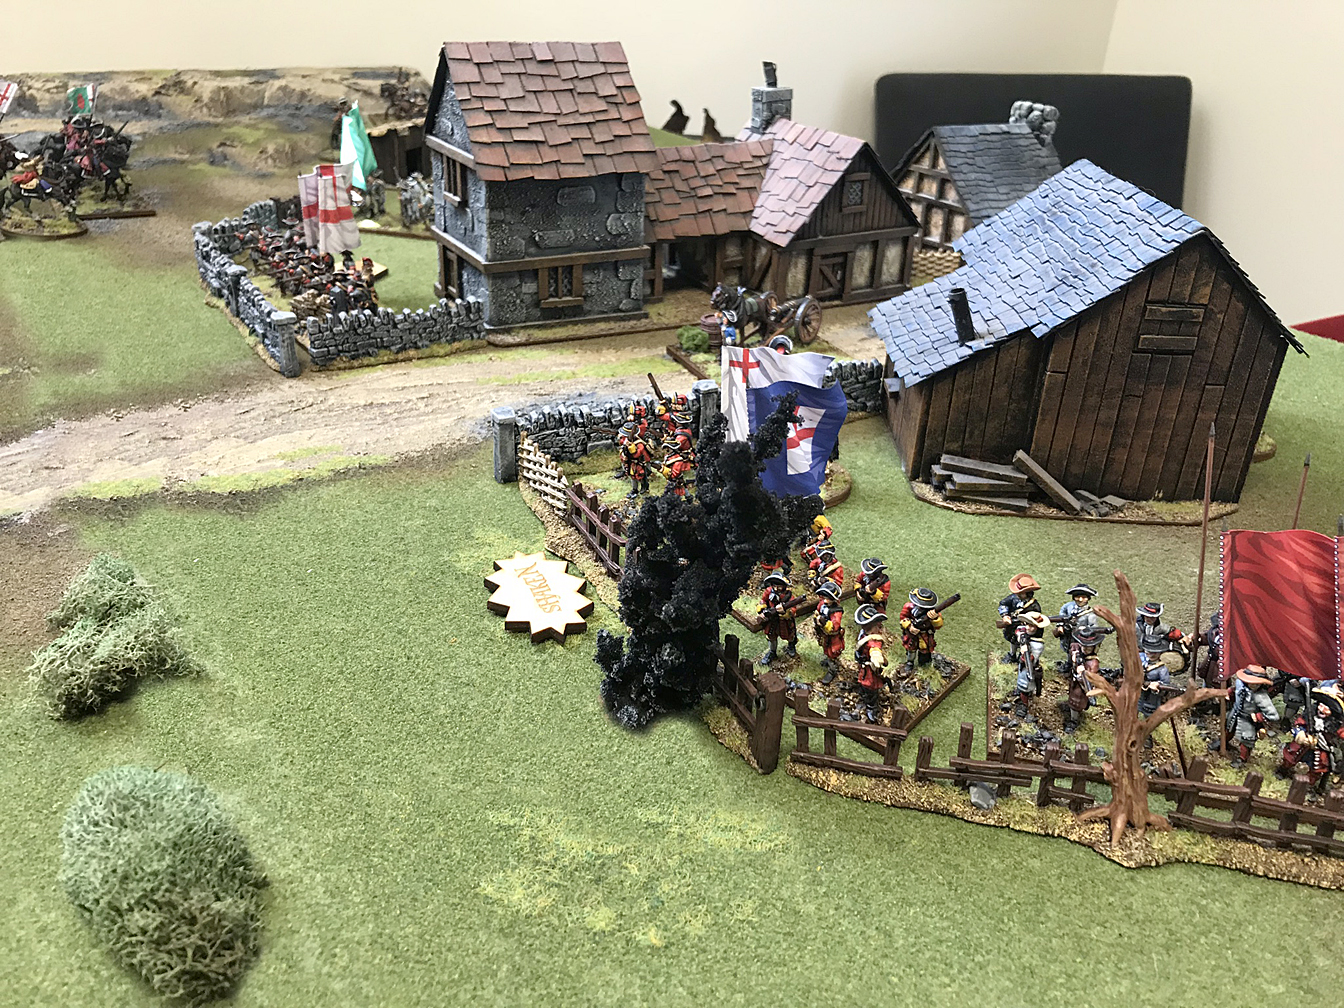
Turns eight through ten saw Tyrconnel's squadron overrun a small battalion gun while it was still limbered, only to be forced to withdraw from fire as Baker's unloaded a First Fire volley at Point Blank range! Sir Arthur left the safety of Dromore to personally take command of his three squadrons of Dragoons who seem to have lingered in the wood on the left for most of the game. They were spurred into action by the advance of the Jacobite Foot in the center of the field.
At that moment, the Jacobite field gun again found it's range to Baker's Battalion and sent them into retreat without the morale bonuses afforded by their commander. Thomas asked if the unit in reserve could lower their pikes to stop them... I think he was only partially joking.
Technically at this point, the game would end on turn ten, with the Protestant Association still firmly in control of Dromore, but events in the center of the table were far from decisive and the players wanted to keep playing.
On turn eleven, Sir Arthur's Plodder level raised its head and he got NO orders. There was desultory exchange of musketry that saw one casualty suffered by Rawdon's first squadron.
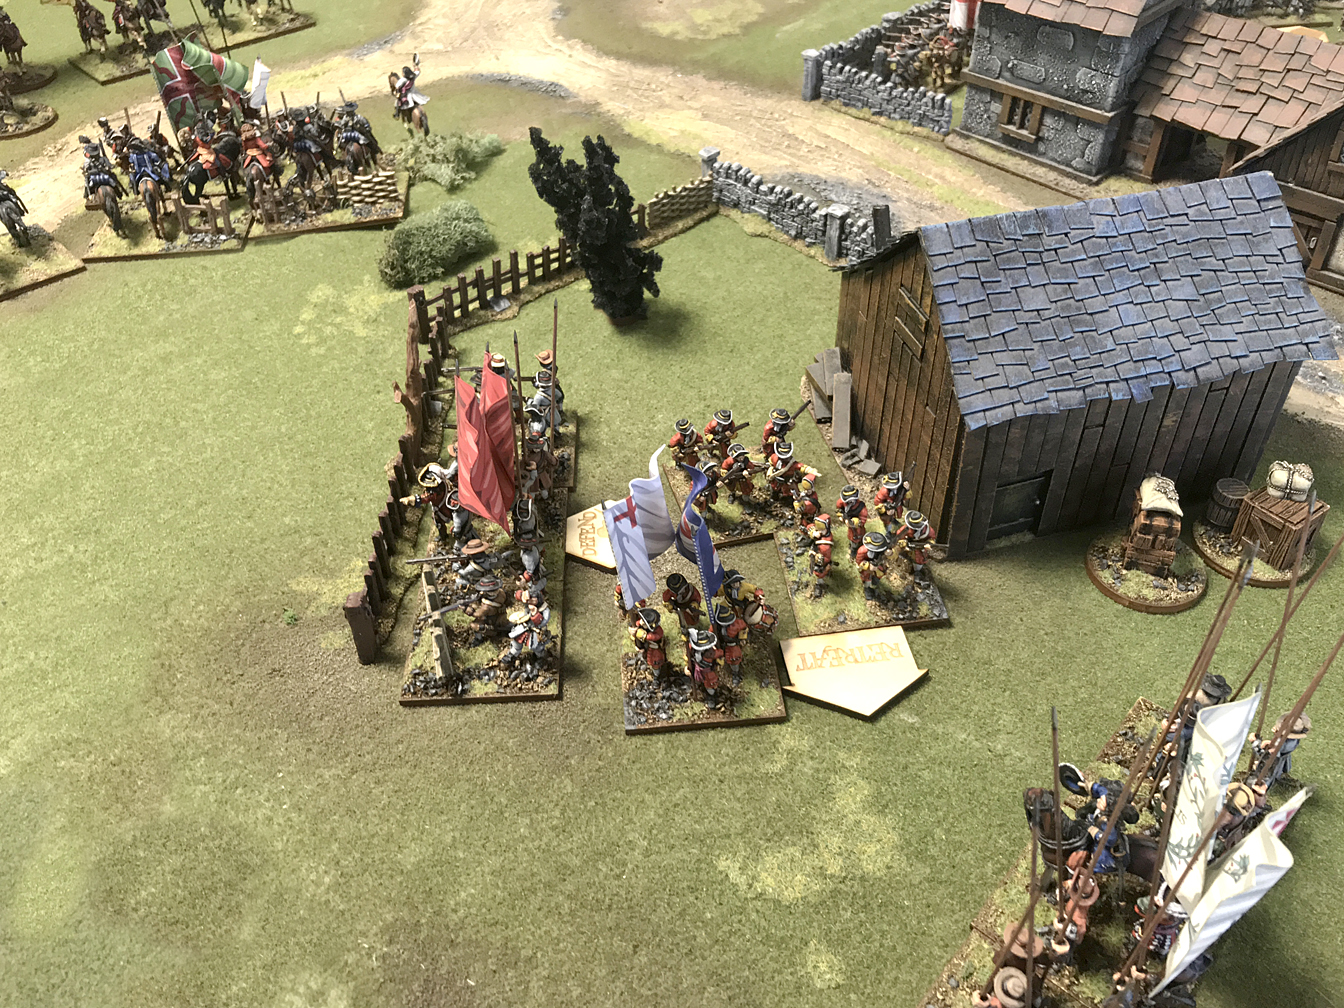
However, on turn twelve, Rawdon's 1st squadron attempts to charge Bellew's Battalion and is WIPED OUT by a devastating point blank volley as they charge in. Rawdon's 3rd squadron charges Clancarty's with the opposite result, routing the Jacobite Foot and destroying them, capturing their colours in the process!

On turn thirteen Rawdon's 2nd squadron, hurdling the twisted corpses of their fallen brethren, rides down Bellew's Battalion and captures their colours. The consolidated remnants of Tyrconnel's 1st-3rd squadrons crashed into the disordered ranks of Rawdon's 3rd. Sir Arthur pushed through the ranks to reach General Hamilton. In the ensuing duel, the general was unhorsed and he struck his head in the fall, rendering him unconscious!

Rawdon's 3rd squadron of Dragoons were destroyed in the melee and their colours were lost, but Sir Arthur escaped, crowing 'I AM the Cock of the North' as he outpaced the pursuit!
At this point they players decided to call it. The Jacobite army had been reduced to a couple of very depleted squadrons and a field gun. With Hamilton unconscious, Colonel Sheldon ordered the gun limbered and the cavalry to fall back. The rest of the army would arrive soon and possibly then they would avenge this insult and wring the neck of the Cock of the North.
My final thoughts and some impressions from Thomas Grove on the game in the last installment of this series...