Michael McNally - For
St. Ruth it did indeed seem that the area around Kilcommodan Hill south of the small village of Aughrim was
indeed a sign of Divine Favour – bounded to the south by the
Tristaun Stream and to the north by a narrow causeway that traversed
the waterlogged Melehan valley, the position was seemingly perfect
for the Jacobites to deploy on the higher ground and invite attack.
In addition to this, the slopes of Kilcommodan were criss-crossed by
a network of dense hedgerows which provided a natural breastwork to
shelter the Jacobite troops from enemy fire. As if to reinforce the
suitability of St. Ruth’s position and in order both to mitigate
their own losses and reduce the achievement of the Irish troops a
number of Williamite commentators would later choose to depict the
summit of the hill as a series of carefully constructed ambush points
riddled with trenches and whilst this has, to some degree, gained
currency in recent times, the plain fact is that whilst they
certainly had the manpower present, St. Ruth’s army did not have
sufficient tools with it to conduct such an extensive feat of field
engineering. That the position was improved is clear, but it would
have more than likely have been as an integration of the natural
terrain features rather than any major construction. Like his
adversary, St. Ruth not only had to also resupply his army, which took
time, but he had no real way of knowing how fast van Ginkel would
move off in pursuit from Athlone. In short his troops needed to be in
position, ready to meet the inevitable enemy attack as soon as was
possible – The key to the whole position was a close deployment
which would prevent the enemy forces from gaining passage in any of
the battlefield sectors, and thus St. Ruth couldn’t afford to have
his troops dispersed when the enemy columns could come into sight at
any moment.
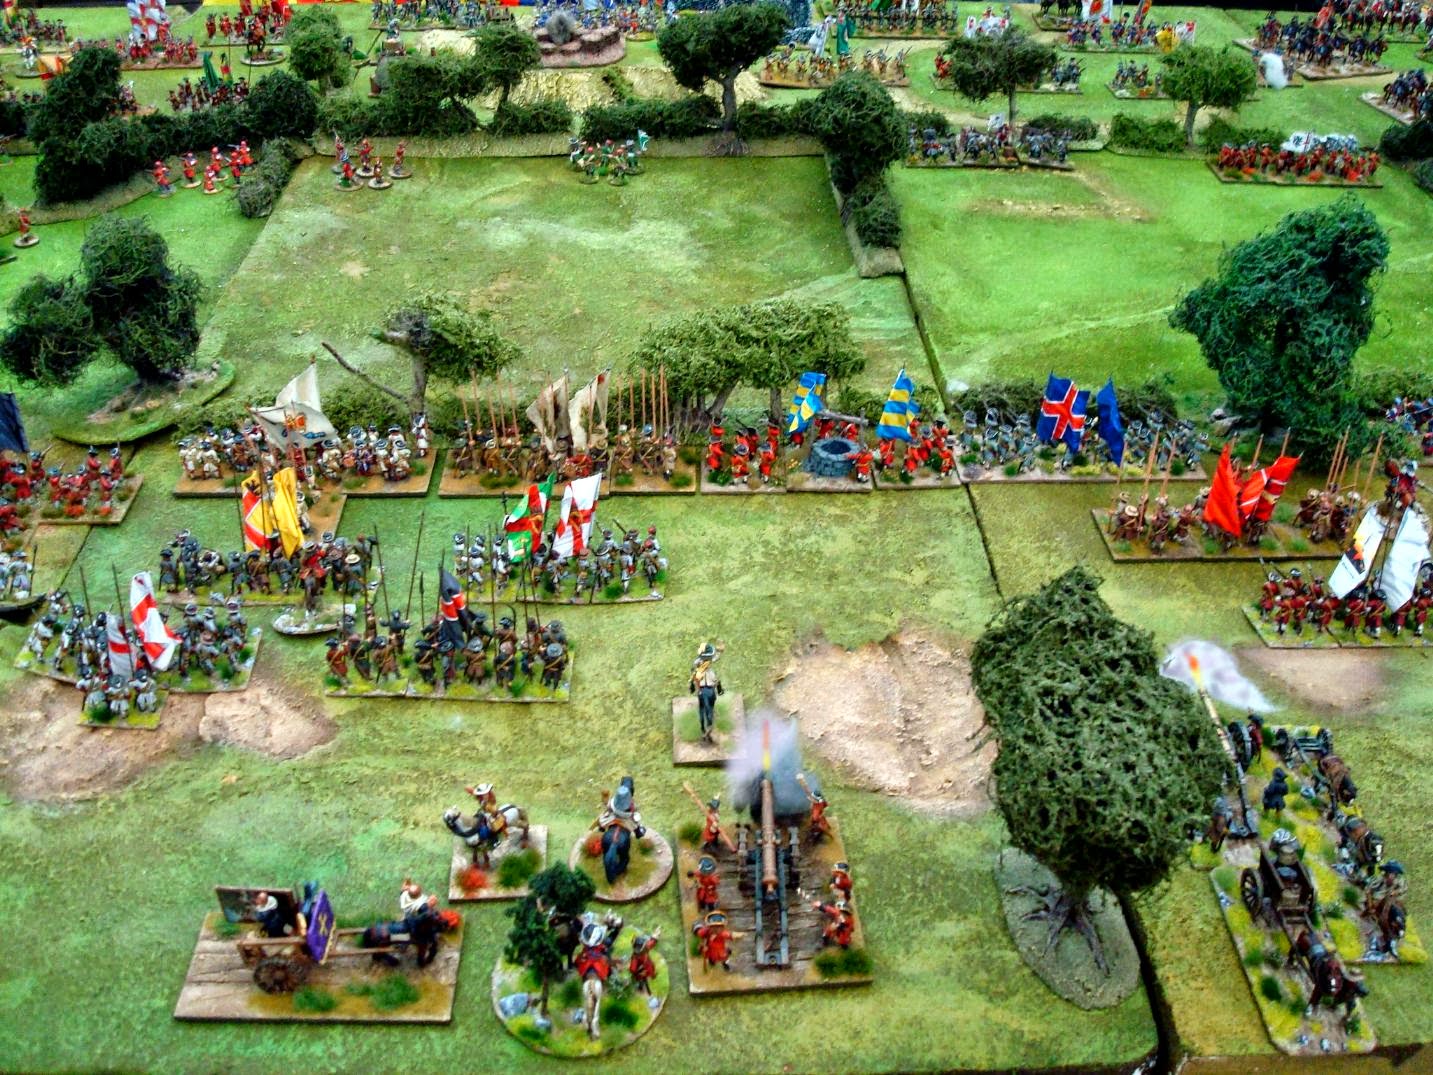 |
| The Jacobite center at the Battle of Aughrim as portrayed by the gang at Claymore 2013 |
As
if to reinforce this, rumours began to circulate that even before the
fall of Athlone St. Ruth had already chosen Kilcommodan as the
potential site for a defensive battle but, whatever the truth of this
the fact is that Aughrim was the last possible area where he could
engage the enemy without compromising the Jacobite war effort, for it
was here that the Western Road divided, with one fork heading towards
Galway whilst the other led towards Limerick. If St. Ruth were
therefore to refuse battle at Aughrim he would be forced to either
commit the cardinal military sin of dividing his forces in the face
of the enemy or uncover one or both of the two major Irish ports that
remained in Jacobite hands, an act that would in fact spell
catastrophe for the Stuart cause.
Unlike
the Williamite army at Aughrim whose composition and deployment are a
matter of documented fact, aside from a number of letters sent to
Versailles by the French commissary, Fumeron, or the contemporary
manuscript often referred to as ‘A Light to the Blind’ which was
re-edited by Sir John Gilbert in 1892, there is little concrete
information available on the Jacobite army and much is the subject of
speculation or guesswork.
From
the sources available to us, we can tell that St. Ruth placed his
troops in a fairly conventional manner: his centre consisting of two
divisions of infantry, commanded by major generals William Dorrington
and John Hamilton whilst each of the two flanks was covered by a
mixture of mounted and dismounted troops, the left based around
Aughrim village and the right anchored upon Attibrassil and the
Tristaun Stream, the two being commanded by major generals Dominic
Sheldon and Patrick Sarsfield respectively.
With
the army thus deployed, St. Ruth sat down to await the enemy, whose
advance elements began to arrive on Urraghry Hill, on the opposite
side of the Melehan valley late on the morning of 12 July, deploying
straight from their order of march into line of battle.
For
a modern analysis of the battle I would recommend the author’s
“1691 – The Battle of Aughrim”, but a rough sequence of events
is as follows:
-
Van Ginkel orders an attack upon the Jacobite Right flank around Attibrassil with the twin aims of turning the flank and forcing St. Ruth to commit his reserve troops early in the battle. Ultimately as both sides commit additional troops – which includes the Jacobites withdrawing the garrison of Aughrim village and committing it to the battle line – the fighting degenerates into a stalemate with the Jacobites holding a slight advantage in that their line remains intact.
-
Seeing his first attack falter, the Williamite commander then orders his centre to attack across the valley of the Melehan. Under fire from the Jacobites, many of the troops reach the base of Kilcommodan Hill but as they continue to advance, the Jacobites launch a counterattack which throws the majority of the attacking regiments back in disorder. The exception to this is a force of four battalions under Colonel Henry Rowe who take shelter in a cornfield adjacent to the Causeway but who, once there, are unable to leave the protection that it offers.
-
The Jacobite counterattack reaches the Williamite start lines, but is itself then forced back when attacked by the Williamite second line.
-
By late afternoon, seemingly unable to break the Jacobite line, van Ginkel considers calling off the attack in preparation for a renewed assault on Kilcommodan the following morning, but is persuaded by Major General Hugh Mackay to launch an attack across the Causeway with the cavalry of the Williamite right wing. Seeing the enemy beginning to move St. Ruth leads the two squadrons of King James’ Lifeguards to reinforce the left flank, but after pausing to re-site some cannon, he is killed by enemy artillery fire and thus, at the most crucial phase of the battle, the Jacobites are literally leaderless.
-
Mackay launches his attack and in the face of the advancing enemy, the Jacobite front line pulls back and ultimately withdraws from the battlefield, shortly to be followed by the heavy cavalry.
-
Reorganizing his forces under largely ineffective enemy fire, Mackay directs his troopers into the open left flank of Dorrington’s division, thus catching the infantrymen in the open and inflicting heavy casualties.
-
De Tessé is badly wounded leading a Jacobite counterattack. He is succeeded by Patrick Sarsfield who manages to conduct a fighting withdrawal and salvages much of the Jacobite army, although a critical amount of arms and equipment is left on the battlefield. Once the threat of enemy pursuit subsides, acrimony begins to spread throughout the army firstly against St. Ruth and then against the commanders of the left wing with Henry Luttrell rather than his superior, Dominic Sheldon being particularly singled out for opprobrium.
