 |
| Ooh - look at that! Lovely work by Rob G |
A little more detail about the fine unit of Winged Hussars commissioned for our 2017 show season.
The models are from Warlord. Nice sculpts with my only criticism being the fragility of the horses ankles which will in some cases undoubtedly lead to fractures if very careful handling is not undertaken at all times.
 |
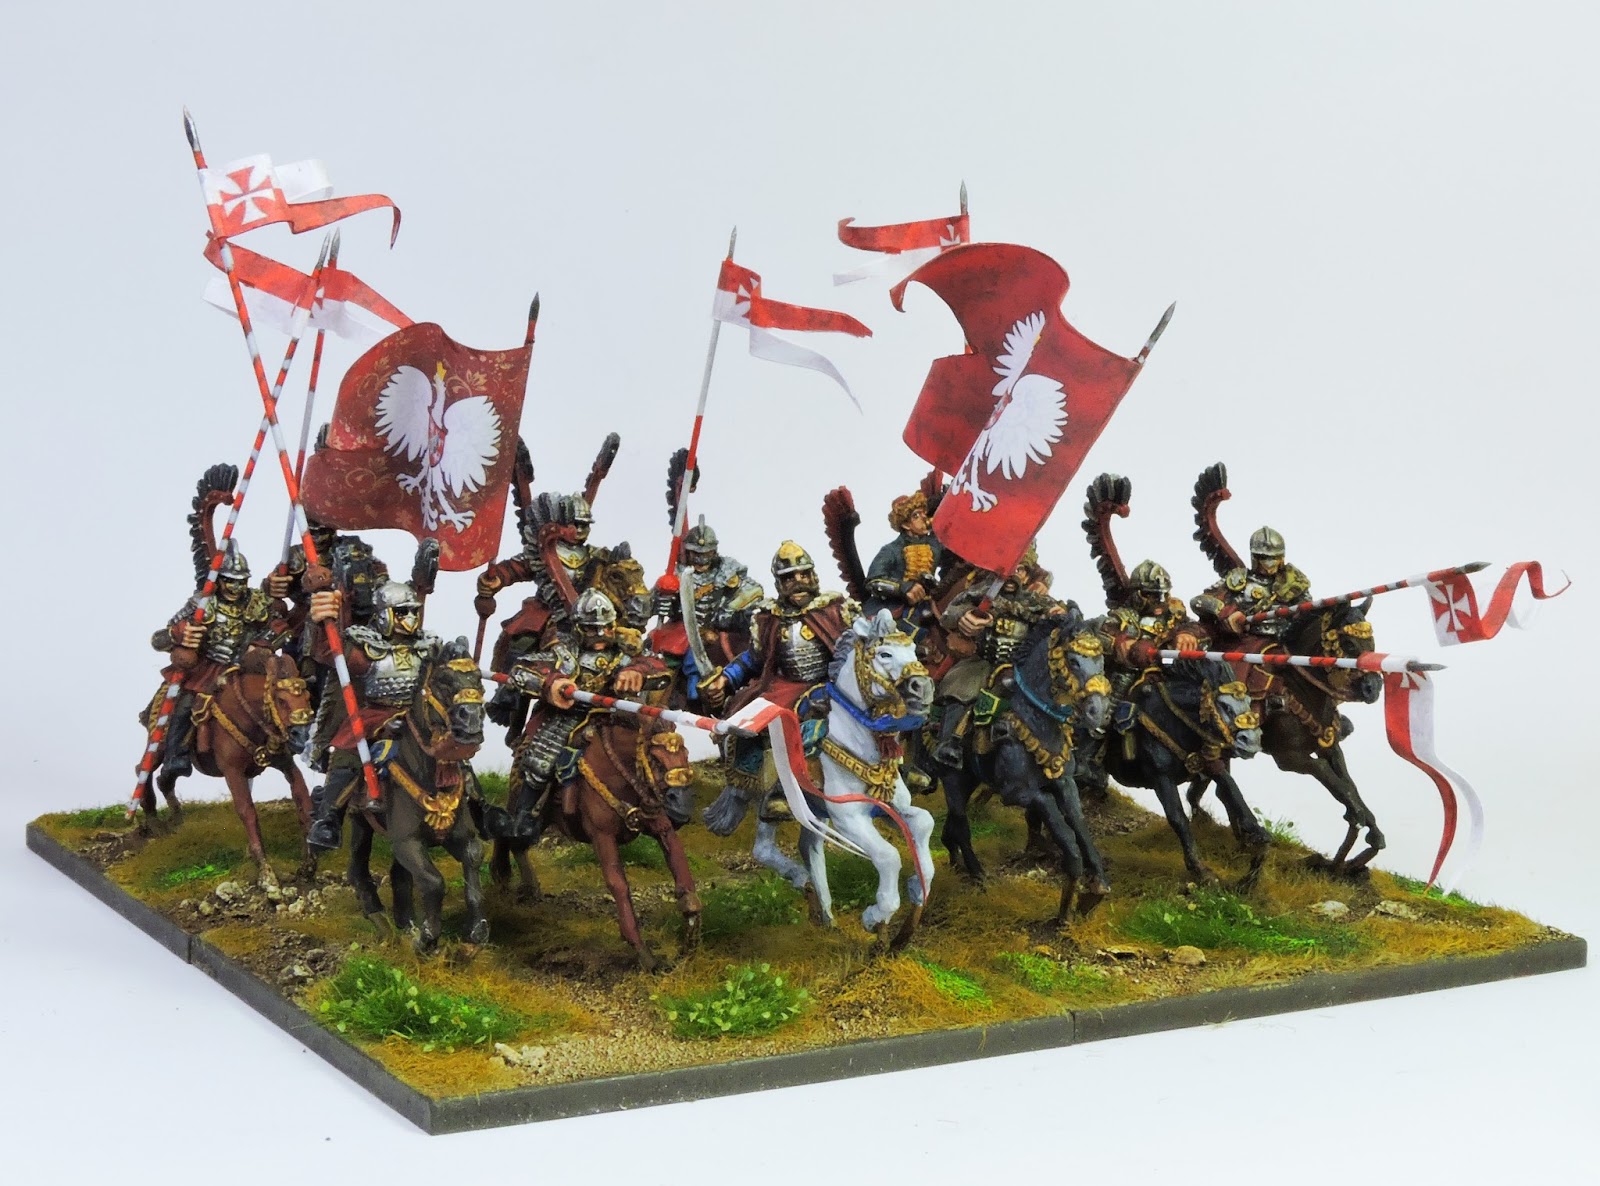
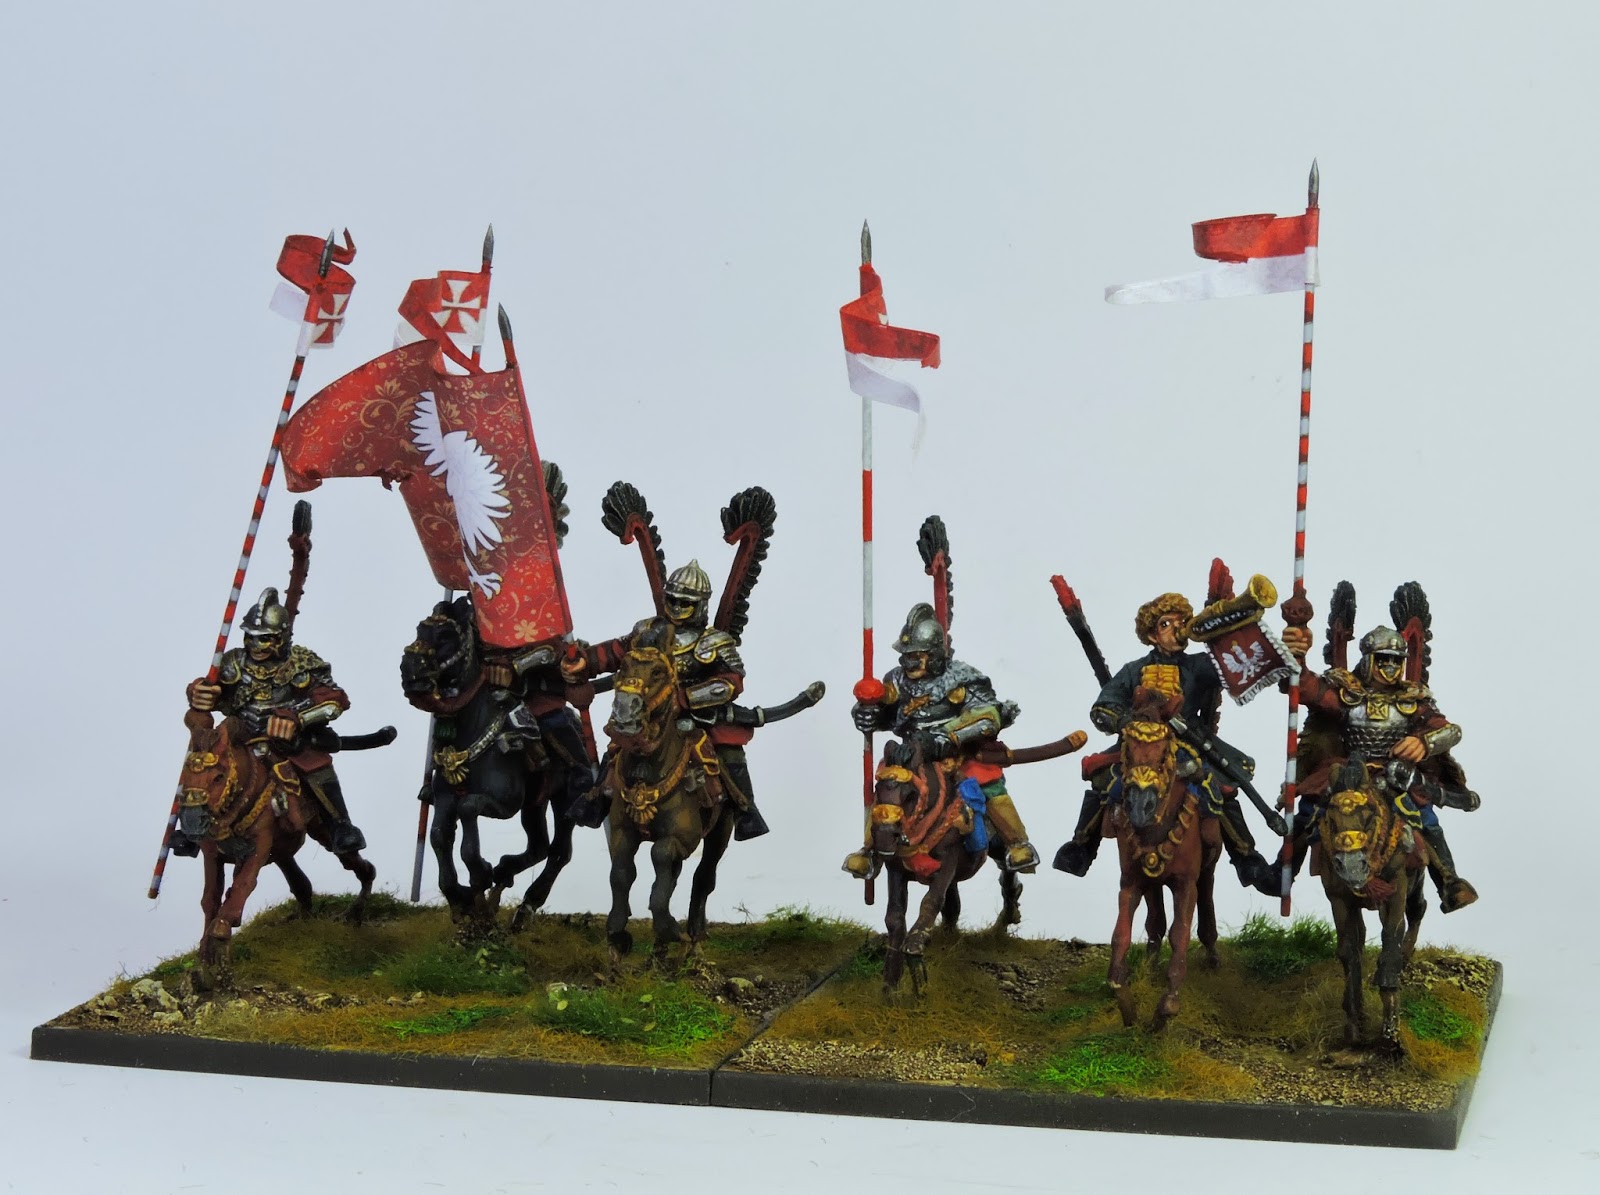
| First squadron in detail |
Rob Goodyer did a very fine job on these and the combination of his painting and the interesting sculpts has made for a very fine unit indeed.
 |
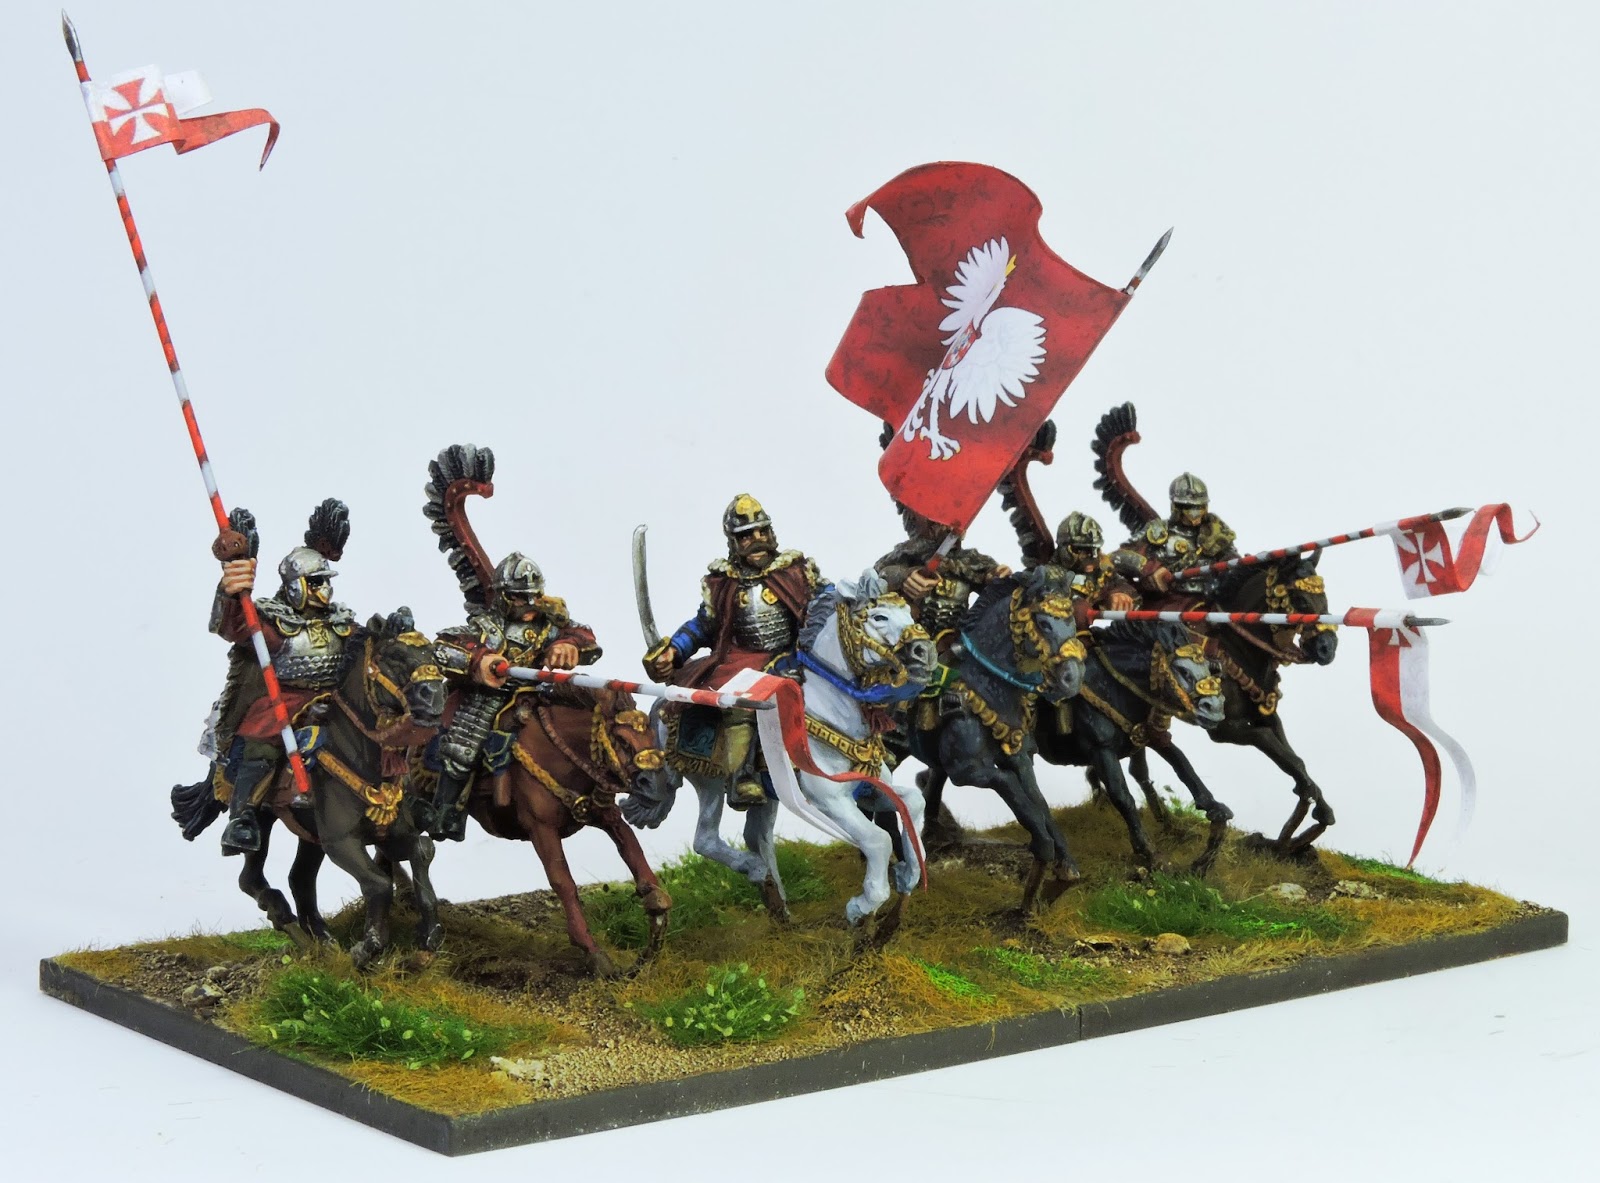
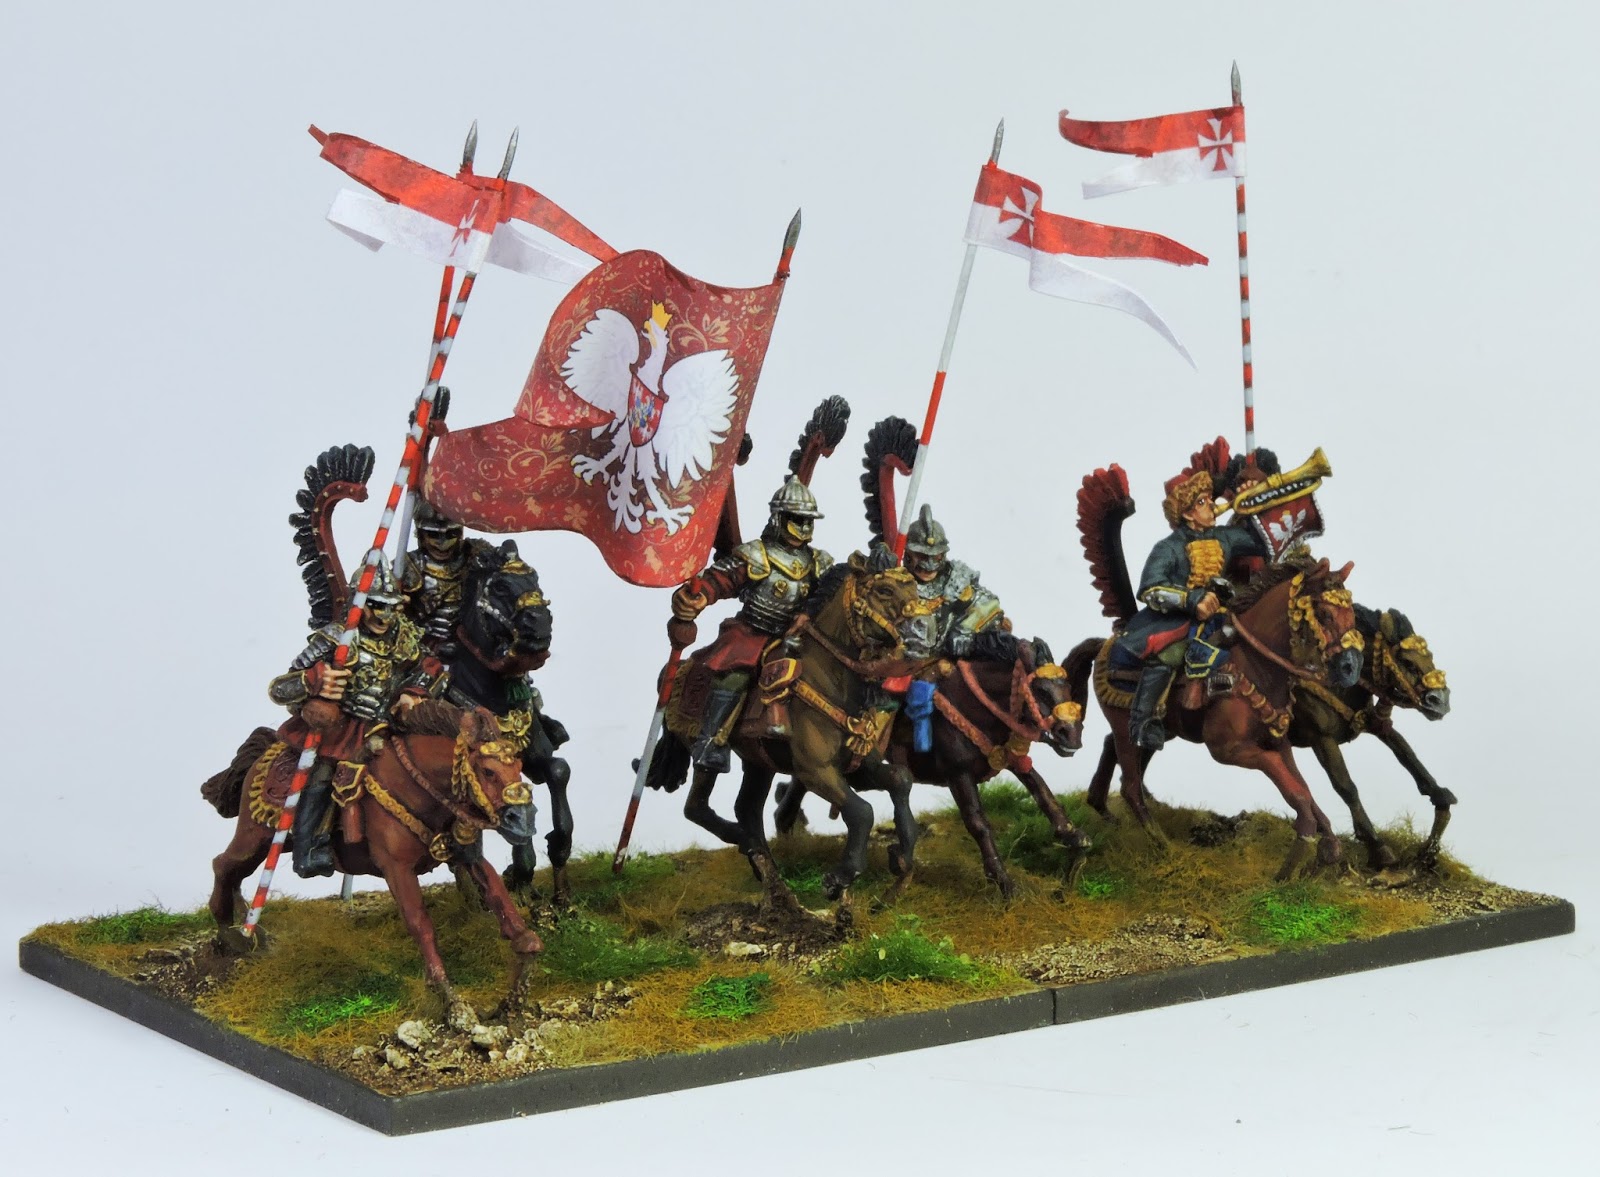
| First squadron opposite view |
I particularly like the chap I chose as the banner bearer with his fur hat and imposing moustache.
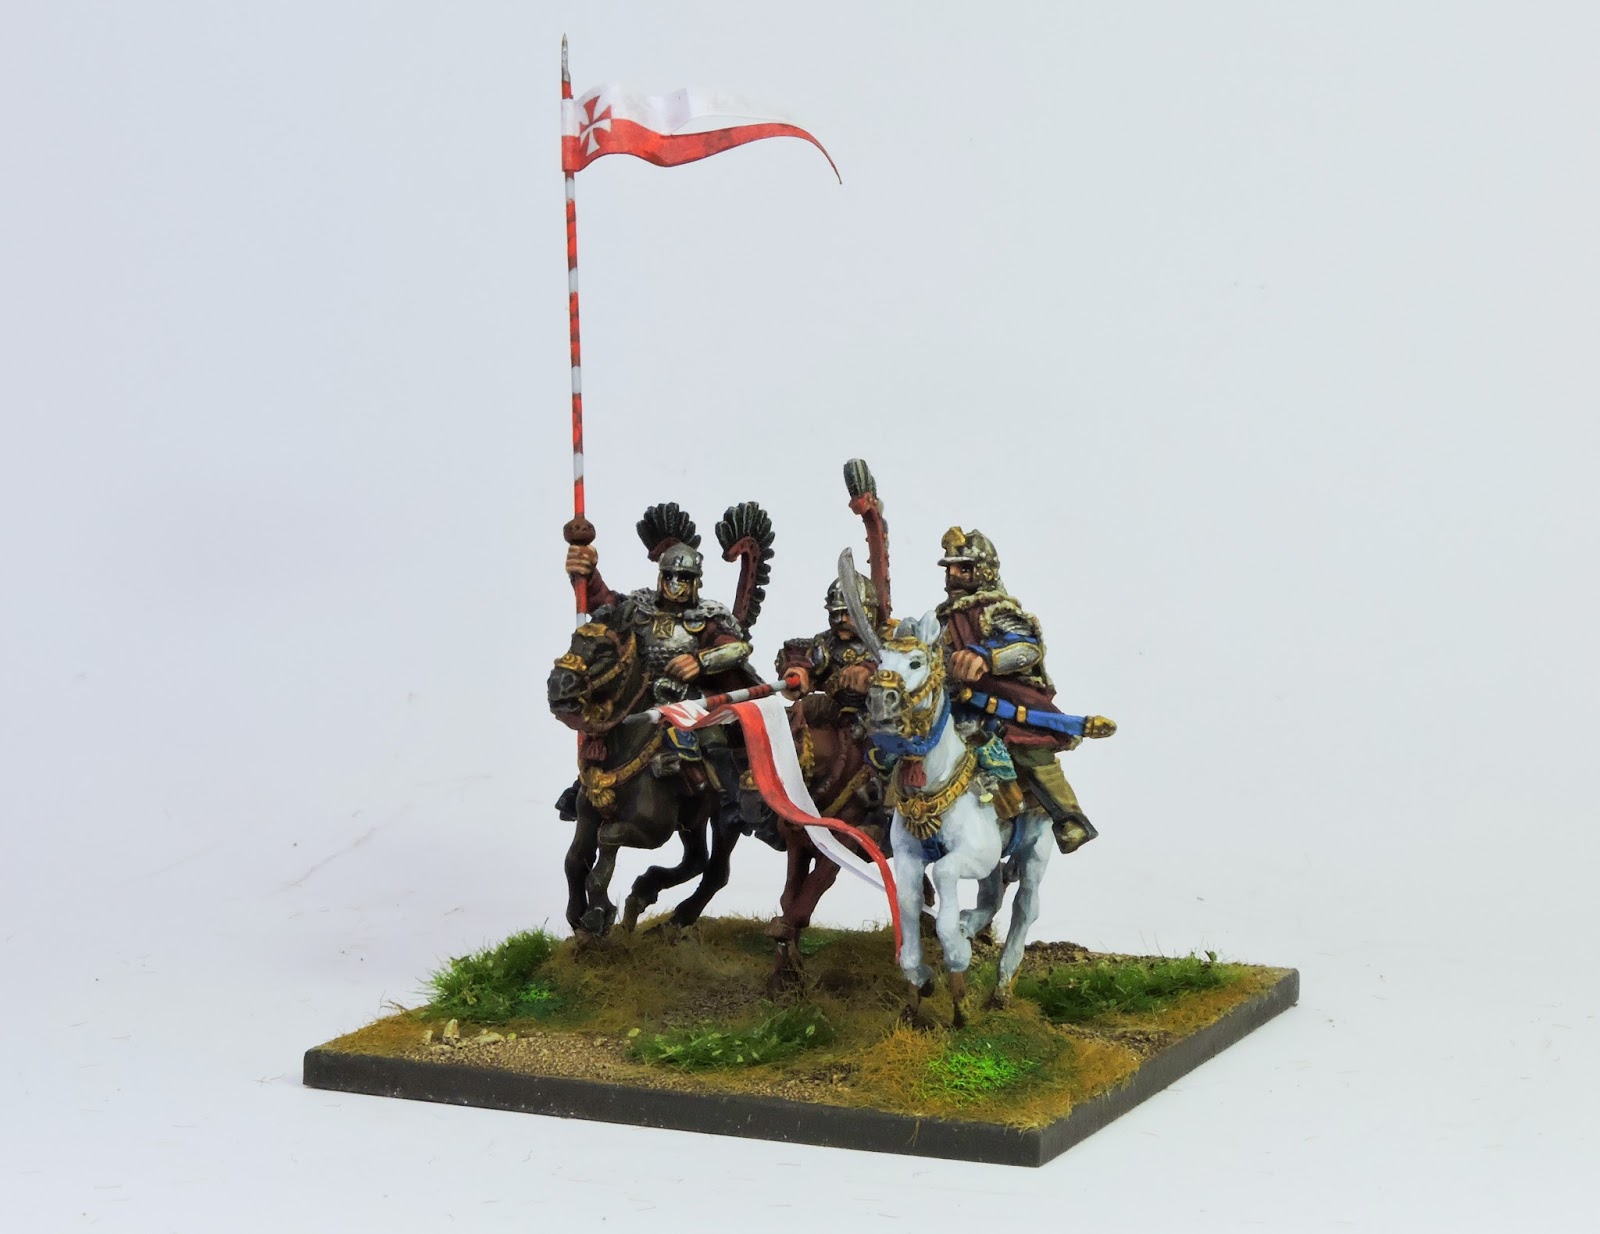 |
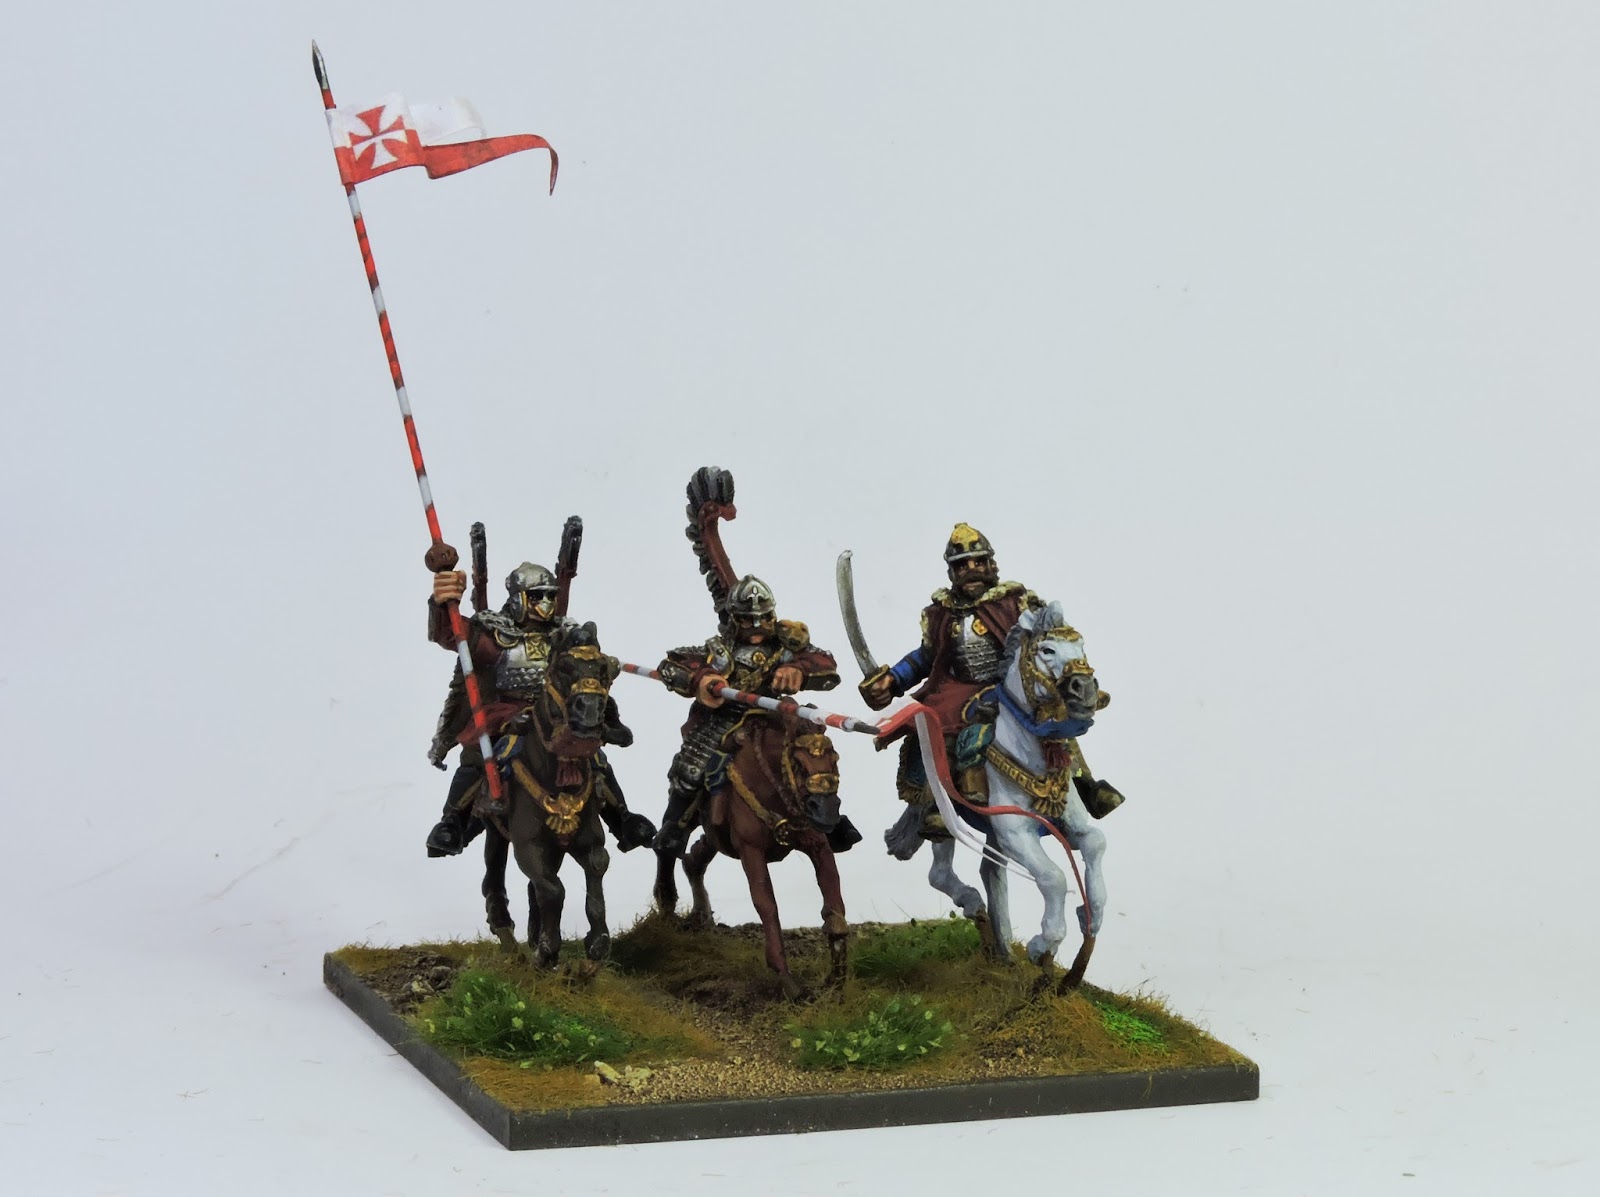
| The commander is an imposing sculpt |
The bases are my standard now for Pike and Shot era cavalry - 75mm frontage by 80mm deep which allows the sense of movement to really be built into the unit.
 |
| You can feel the heft of these laddies! |
The lance pennons were a bit of a fiddle and If I had had the time I would have hand painted these double sided on a single piece of paper to avoid the fiddly cutting and glue-ing of something which is fraught with cutting inaccuracy. Flag sheet was overall good though - a nice find by Bob, the company is called Battle Flag and can be found at www.battle-flag.com
 |
| The preferred Swedish view whether in 1620 or 1704 |
The basing is now coming out consistently the way I want. If you fancy trying it here is the method:
1. Milliput the horses to the base and blend away the metal stand on the model horse. Allow to set.
2. Lightly skim the base in plaster. Leave over night.
3. Apply a coat of dark Chocolate household emulsion. Leave overnight.
4. Patch on PVA or wood glue and sprinkle with builders sand. Leave overnight.
5. Paint sand patches with the emulsion.
6. Dry brush in a mid brown.
7. Dry brush in khaki.
 |
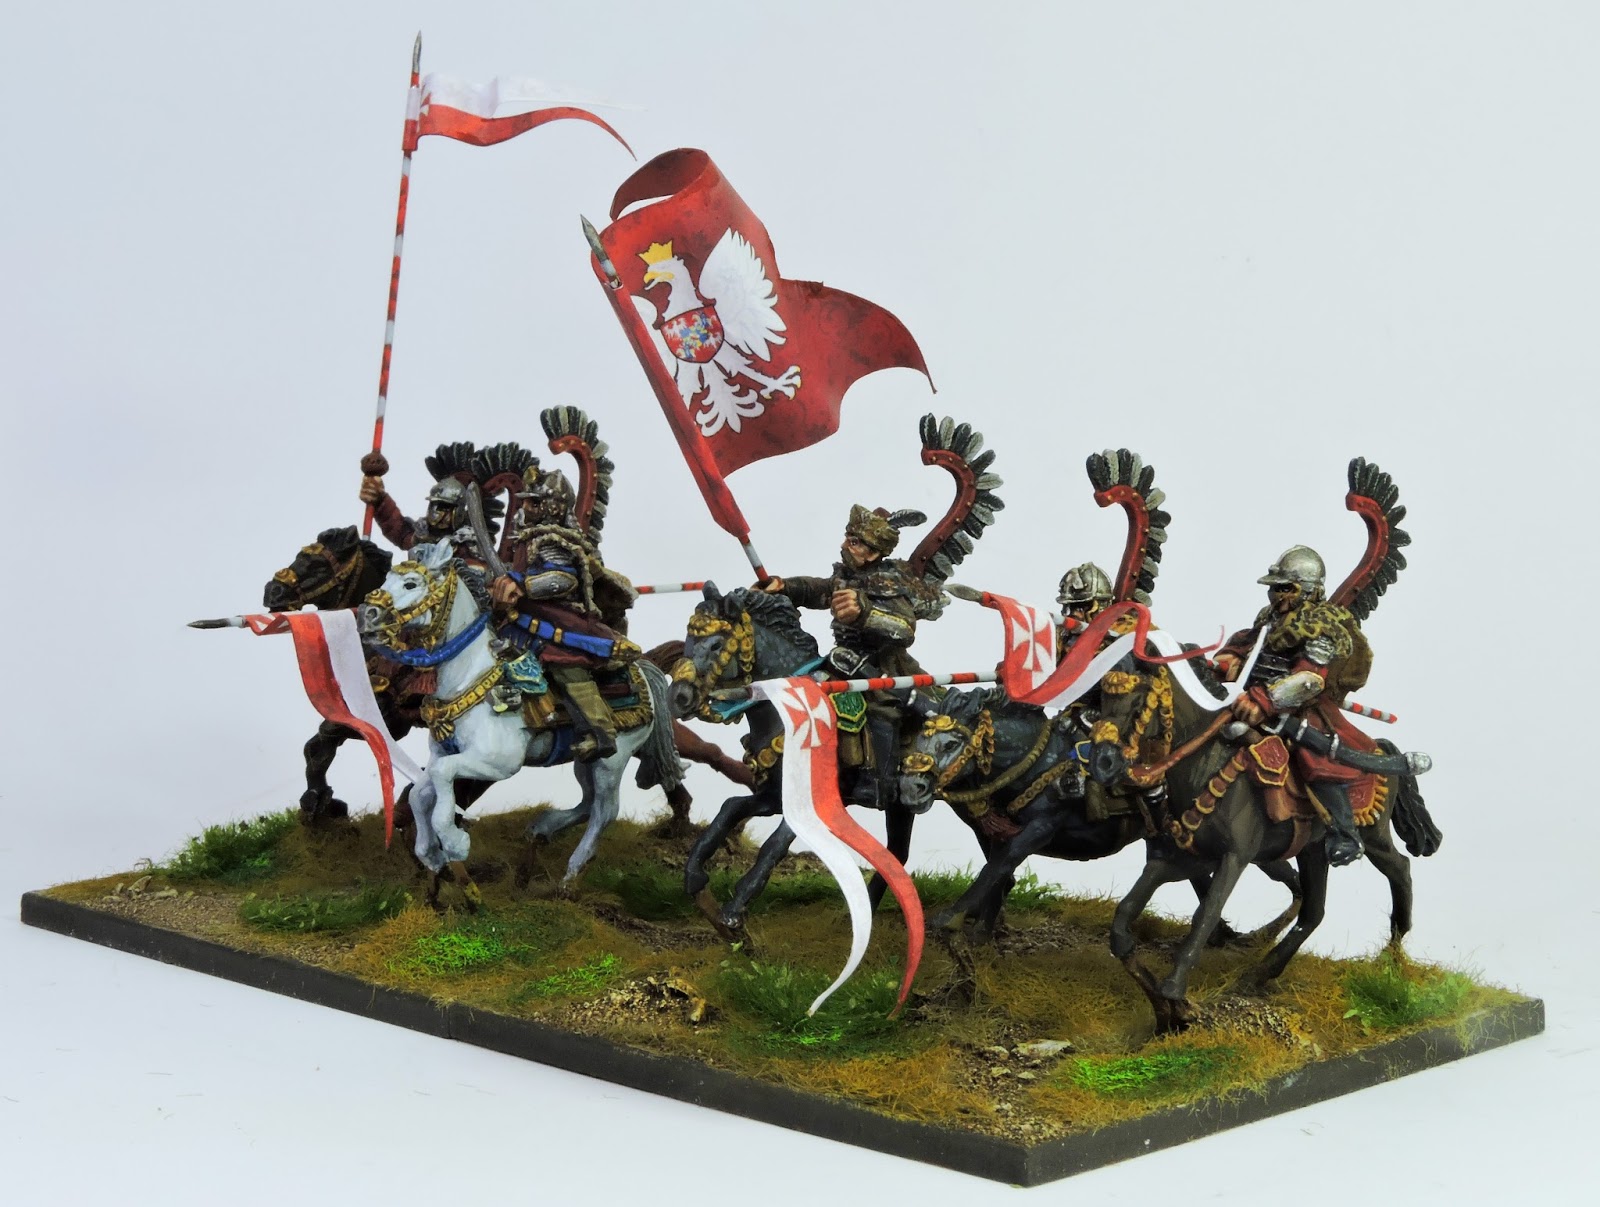
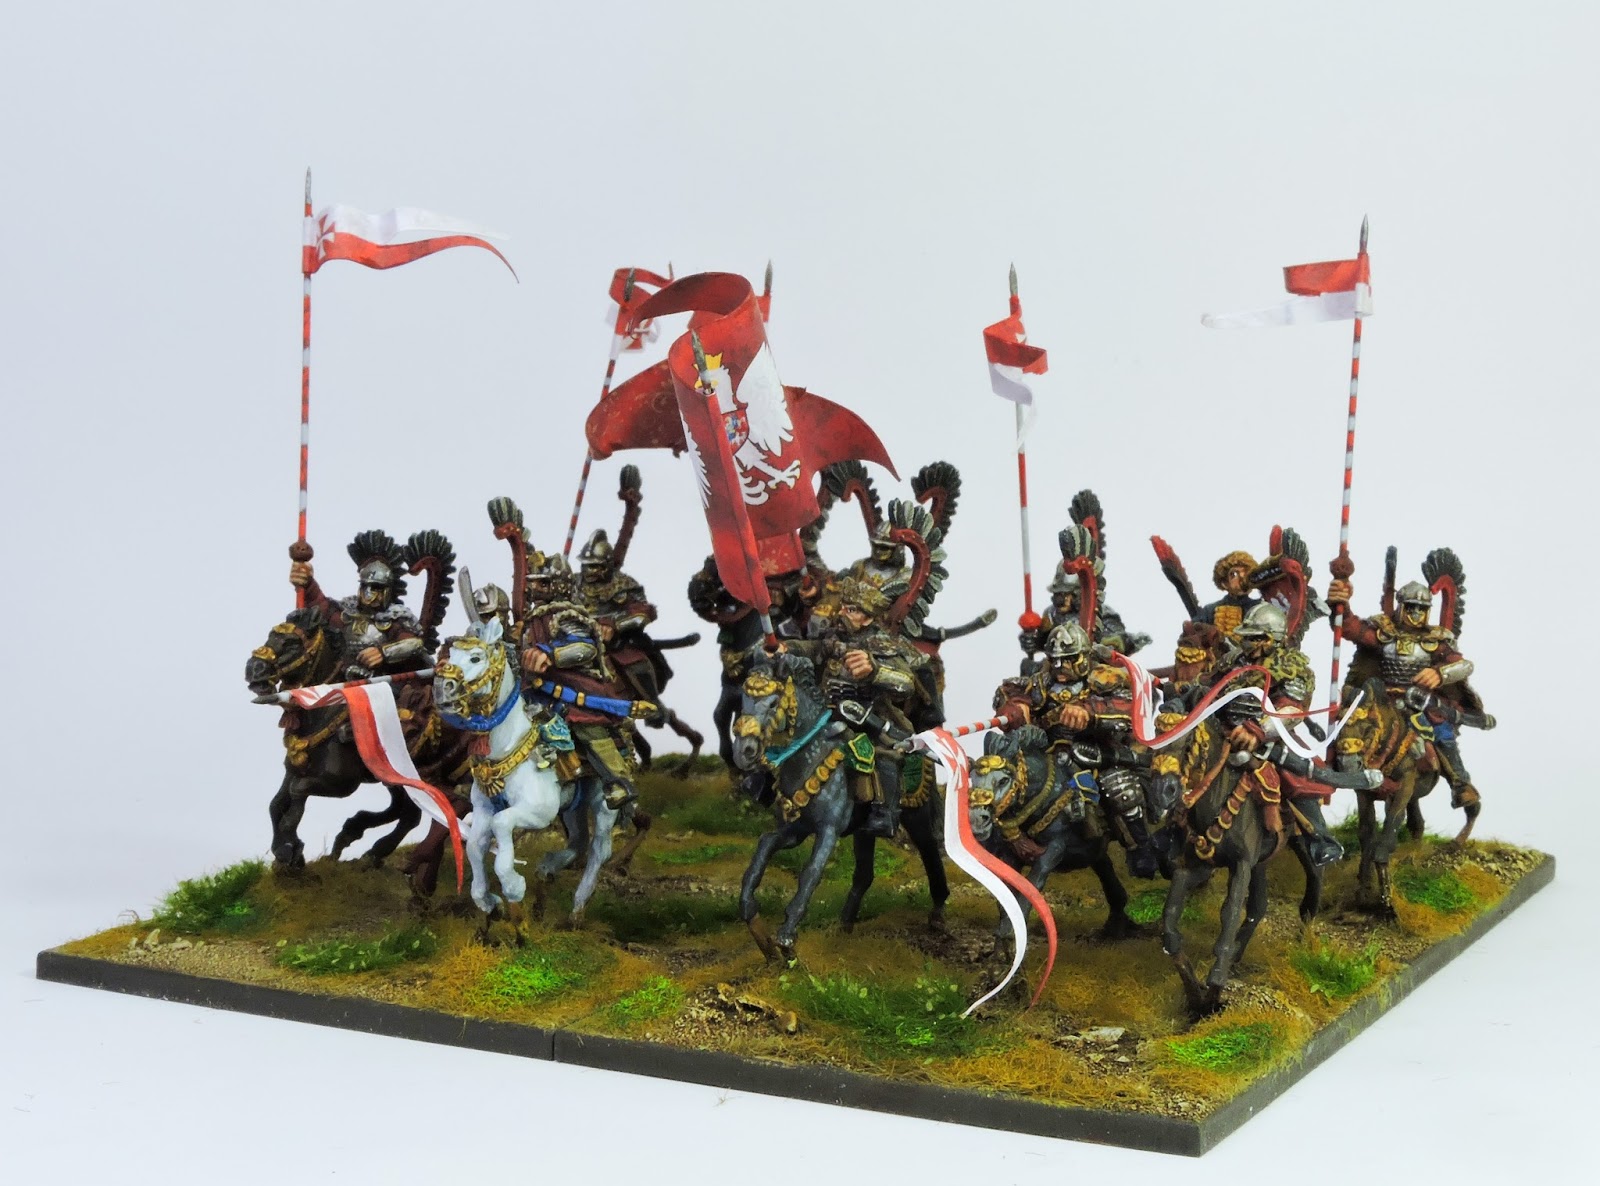
| Second squadron - nice trumpet banner from Rob |
8. Dry brush stones in pale sand.
9. Apply ink washes under the horses to form shadows.
10. Dilute a Sepia wash and run over all sand patches.
11. Paint base edges in Olive Drab.
12. Patch PVA and sprinkle with Woodland Scenics static grass - any colour.
 |
| Another view of the second squadron |
13. Dry brush static grass with Japanese uniform to get a nice effect.
14. Patch on dry brush patches of mid green.
15. Patch on stipples of light green.
16. Apply tufts to suit.
17. Dry brush some tufts.
Voila!
 |
| If you ever doubted your hobby - look at these and breathe in! Feel better? |
Good basing can lift average figures to a new level and excellently painted work like Rob's deserves the best you can achieve.
I think Toggy is combing the web for more Poles!